
Yes, Arduino is incredibly beginner friendly, offering the most accessible entry point into the world of electronics and coding available today. If you are wondering, “Is Arduino beginner friendly?” the answer is a resounding yes, provided you are willing to learn from your mistakes. We once watched a complete novice burn out a $20 board in five minutes by reversing a wire, yet she was building a working robot arm by the end of the week. That is the magic of this platform: it forgives errors and rewards curiosity instantly.
Unlike complex programming environments that require weeks of setup, Arduino lets you plug in a USB cable and see a light blink in under ten minutes. The community support is so vast that if you get stuck, someone has likely already solved your exact problem. With over 10 million boards sold worldwide, you are joining a massive global family of makers.
Key Takeaways
- Accessibility: Arduino is designed for non-enginers, featuring a simplified C++ language and a plug-and-play IDE that requires zero prior coding experience.
- Versatility: From simple LED blinks to complex robotics and IoT projects, the platform scales effortlessly as your skills grow.
- Community Power: You gain access to millions of free tutorials, forums, and open-source code examples, making troubleshooting a breeze.
- Cost-Effective: You can start building with a starter kit for under $10, avoiding expensive proprietary hardware.
👉 Shop Top Arduino Starter Kits:
- Official Arduino Starter Kit: Amazon | Arduino Store
- ELEGO UNO R3 Smart Robot Car Kit: Amazon
- SunFounder Super Starter Kit: Amazon
Table of Contents
- ⚡️ Quick Tips and Facts
- 🕰️ From Italian Labs to Your Desk: The Arduino History and Origins
- 🤔 Is Arduino Beginner Friendly? The Honest Verdict
- 🛠️ Top 7 Arduino Boards for Newbies (2024 Comparison)
- 1. Arduino Uno R3: The Gold Standard for First-Timers
- 2. Arduino Nano: Tiny Power for Small Spaces
- 3. Arduino Mega: When You Need More Pins and Memory
- 4. Arduino Leonardo: Built-in USB Magic for Keyboards and Mice
- 5. Arduino Pro Mini: The Budget-Friendly Workhorse
- 6. Arduino MKR10: Stepping Up to IoT and Wi-Fi
- 7. Arduino Nano 3 IoT: The Smart Home Starter Kit
- 💻 Coding Without Tears: Mastering the Arduino IDE and C++ Basics
- 🔌 Wiring Woes No More: Essential Sensors, Modules, and Shields
- 🚀 Real-World Projects to Build Your Confidence
- Project 1: Blinking LED (The “Hello World” of Hardware)
- Project 2: Temperature Monitor with LCD Display
- Project 3: Smart Home Light Switch with Relay
- Project 4: Obstacle Avoiding Robot Car
- Project 5: Weather Station with Data Logging
- ⚖️ Arduino vs. Raspberry Pi vs. ESP32: Which Microcontroller Should You Choose?
- 💸 Cost Breakdown: Is Arduino Expensive for Beginners?
- 🛡️ Common Pitfalls and How to Avoid Them
- 🎓 Best Learning Resources, Tutorials, and Communities
- 🏁 Conclusion
- 🔗 Recommended Links
- ❓ FAQ: Your Burning Questions Answered
- 📚 Reference Links
⚡️ Quick Tips and Facts
Before we dive headfirst into the soldering iron and code editor, let’s hit the pause button and drop some hard truths that every newbie needs to know. We’ve seen too many folks burn out because they skipped the basics, so here is your cheat sheet to surviving the Arduino jungle.
- It’s Not Magic, It’s Logic: Arduino won’t think for you. It executes exactly what you tell it to, no more, no less. If your LED blinks when you want it off, you wrote the code that said “blink.”
- The “Hello World” is Real: Every single journey starts with the famous “Blink” sketch. If you can make an LED blink, you’ve officially joined the club. 🎉
- Clones are Okay (But Be Careful): You can buy a knock-off Uno for a fraction of the price. They usually work fine, but sometimes the USB drivers are a nightmare to install. Stick to the official board if you want a headache-free start.
- Voltage is Your Enemy: Connect 9V to a 5V pin? Boom. That’s how you turn a $20 board into a very expensive paperweight. Always check your voltage levels.
- Community is King: Stuck? You are not alone. The Arduino Forum is a goldmine of wisdom. If you can’t find answer there, it probably doesn’t exist.
Pro Tip from Robotic Coding™: If you are feeling overwhelmed, remember our guide on Robotic Coding for Beginners: 10 Essential Tips to Kickstart (2026) 🤖. It breaks down the mental hurdles before you even touch a wire.
🕰️ From Italian Labs to Your Desk: The Arduino History and Origins
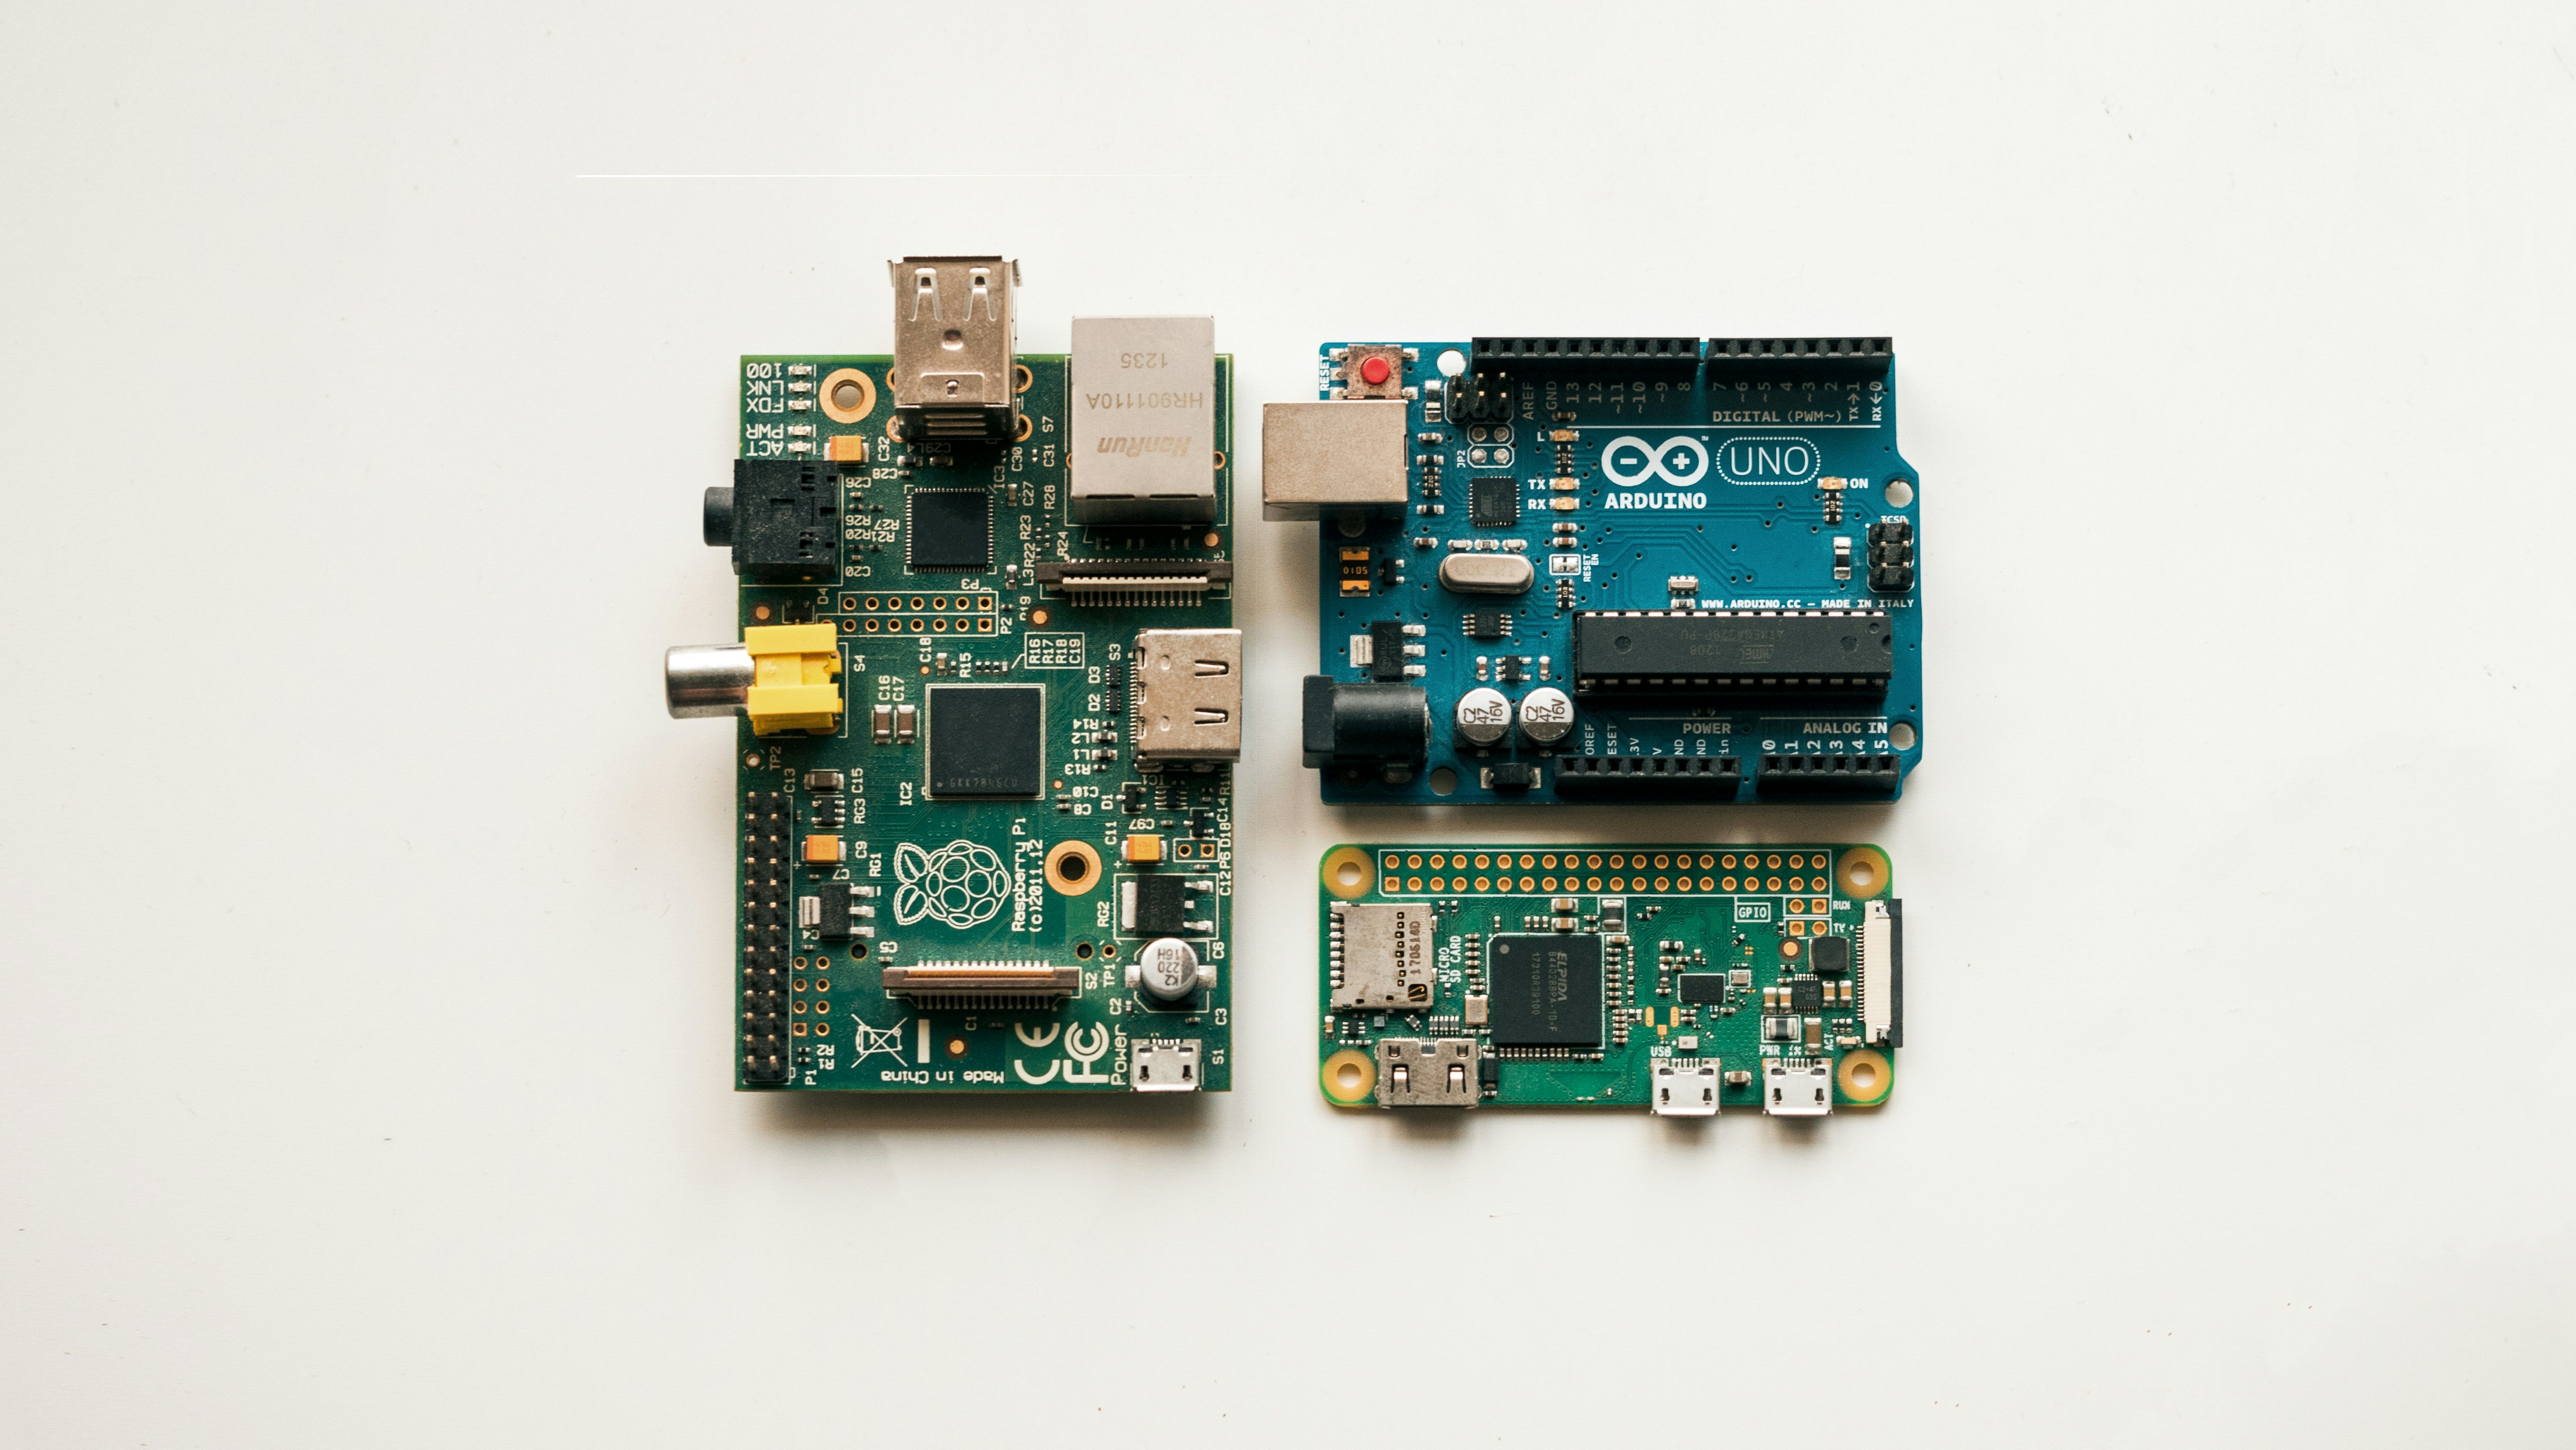
You might think microcontrollers have always been this user-friendly, but the story is actually a tale of rebellion against complexity. Back in the early 20s, if you wanted to control hardware, you needed a degree in electrical engineering and a PhD in C++.
Enter Massimo Banzi and his team at the Interaction Design Institute in Ivrea, Italy. They wanted a tool that students could use to build interactive art and prototypes without needing to be coding wizards. They needed something cheap, open-source, and easy to program.
In 205, they launched Arduino. The name? It was actually the name of a bar in Ivrea where the team hung out (and probably drank a lot of espresso). ☕️
The genius of Arduino wasn’t just the hardware; it was the software. They created a simplified version of C++ and wrapped it in an IDE (Integrated Development Environment) that anyone could use. Suddenly, artists, designers, and hobbyists could talk to hardware.
Today, Arduino has evolved from a simple educational tool into a global phenomenon used in everything from robotics and Artificial Intelligence prototypes to industrial automation. It democratized the maker movement, proving that you don’t need a million-dollar lab to build the future.
🤔 Is Arduino Beginner Friendly? The Honest Verdict
So, the million-dollar question: Is Arduino beginner friendly?
The short answer: Yes, absolutely.
The long answer: It’s the most friendly microcontroller platform out there, but it demands a little bit of patience and a willingness to learn.
At Robotic Coding™, we’ve watched thousands of students go from “What is a resistor?” to building autonomous robots. The barrier to entry is incredibly low, but the ceiling is practically non-existent.
Why It Works for Newbies
- Plug-and-Play: You don’t need to solder anything to start. Just plug it into your USB port, and you’re ready to code.
- The IDE is Forgiving: The Arduino IDE highlights your code, tells you where you made a mistake, and even has a “Verify” button that checks your logic before you upload.
- Instant Gratification: Unlike web development where you might spend hours setting up a server, with Arduino, you upload code and boom—a light blinks. That dopamine hit keeps you going.
The “Gotchas”
- C++ Syntax: While simplified, it’s still C++. You need to understand variables, loops, and functions. It’s not drag-and-drop like Scratch (though you can use those tools later).
- Hardware Debuging: If your code says “turn on LED” and nothing happens, is it the code? The wire? The dead battery? Troubleshooting hardware can be frustrating.
- Documentation Overload: Because there are so many boards and shields, finding the right tutorial for your specific setup can sometimes feel like finding a needle in a haystack.
Verdict: If you are willing to embrace the challenge, Arduino is the perfect launchpad. It’s not magic, but it’s the closest thing we have to it.
🛠️ Top 7 Arduino Boards for Newbies (2024 Comparison)
Choosing your first board is like picking your first car. You don’t need a Ferrari (the Mega) if you’re just learning to drive in the parking lot (the Uno). Here is our breakdown of the top 7 boards, rated by our team based on Ease of Setup, Learning Curve, Community Support, Hardware Versatility, Cost-Effectiveness, Project Variety, and Documentation Quality.
⭐️ Rating Table: Arduino Boards for Beginners
| Board Model | Ease of Setup | Learning Curve | Community Support | Hardware Versatility | Cost-Effectiveness | Project Variety | Documentation | Overall Score |
|---|---|---|---|---|---|---|---|---|
| Arduino Uno R3 | 10/10 | 9/10 | 10/10 | 9/10 | 9/10 | 10/10 | 10/10 | 9.6 |
| Arduino Nano | 8/10 | 8/10 | 9/10 | 7/10 | 10/10 | 8/10 | 8/10 | 8.3 |
| Arduino Mega | 7/10 | 6/10 | 9/10 | 10/10 | 6/10 | 10/10 | 8/10 | 7.7 |
| Arduino Leonardo | 7/10 | 7/10 | 8/10 | 8/10 | 8/10 | 9/10 | 7/10 | 7.7 |
| Arduino Pro Mini | 5/10 | 6/10 | 7/10 | 6/10 | 10/10 | 7/10 | 6/10 | 6.4 |
| Arduino MKR10 | 8/10 | 7/10 | 8/10 | 9/10 | 6/10 | 9/10 | 8/10 | 7.7 |
| Arduino Nano 3 IoT | 8/10 | 7/10 | 8/10 | 9/10 | 7/10 | 9/10 | 8/10 | 7.9 |
Note: Scores are based on the perspective of a complete beginner with zero electronics experience.
1. Arduino Uno R3: The Gold Standard for First-Timers
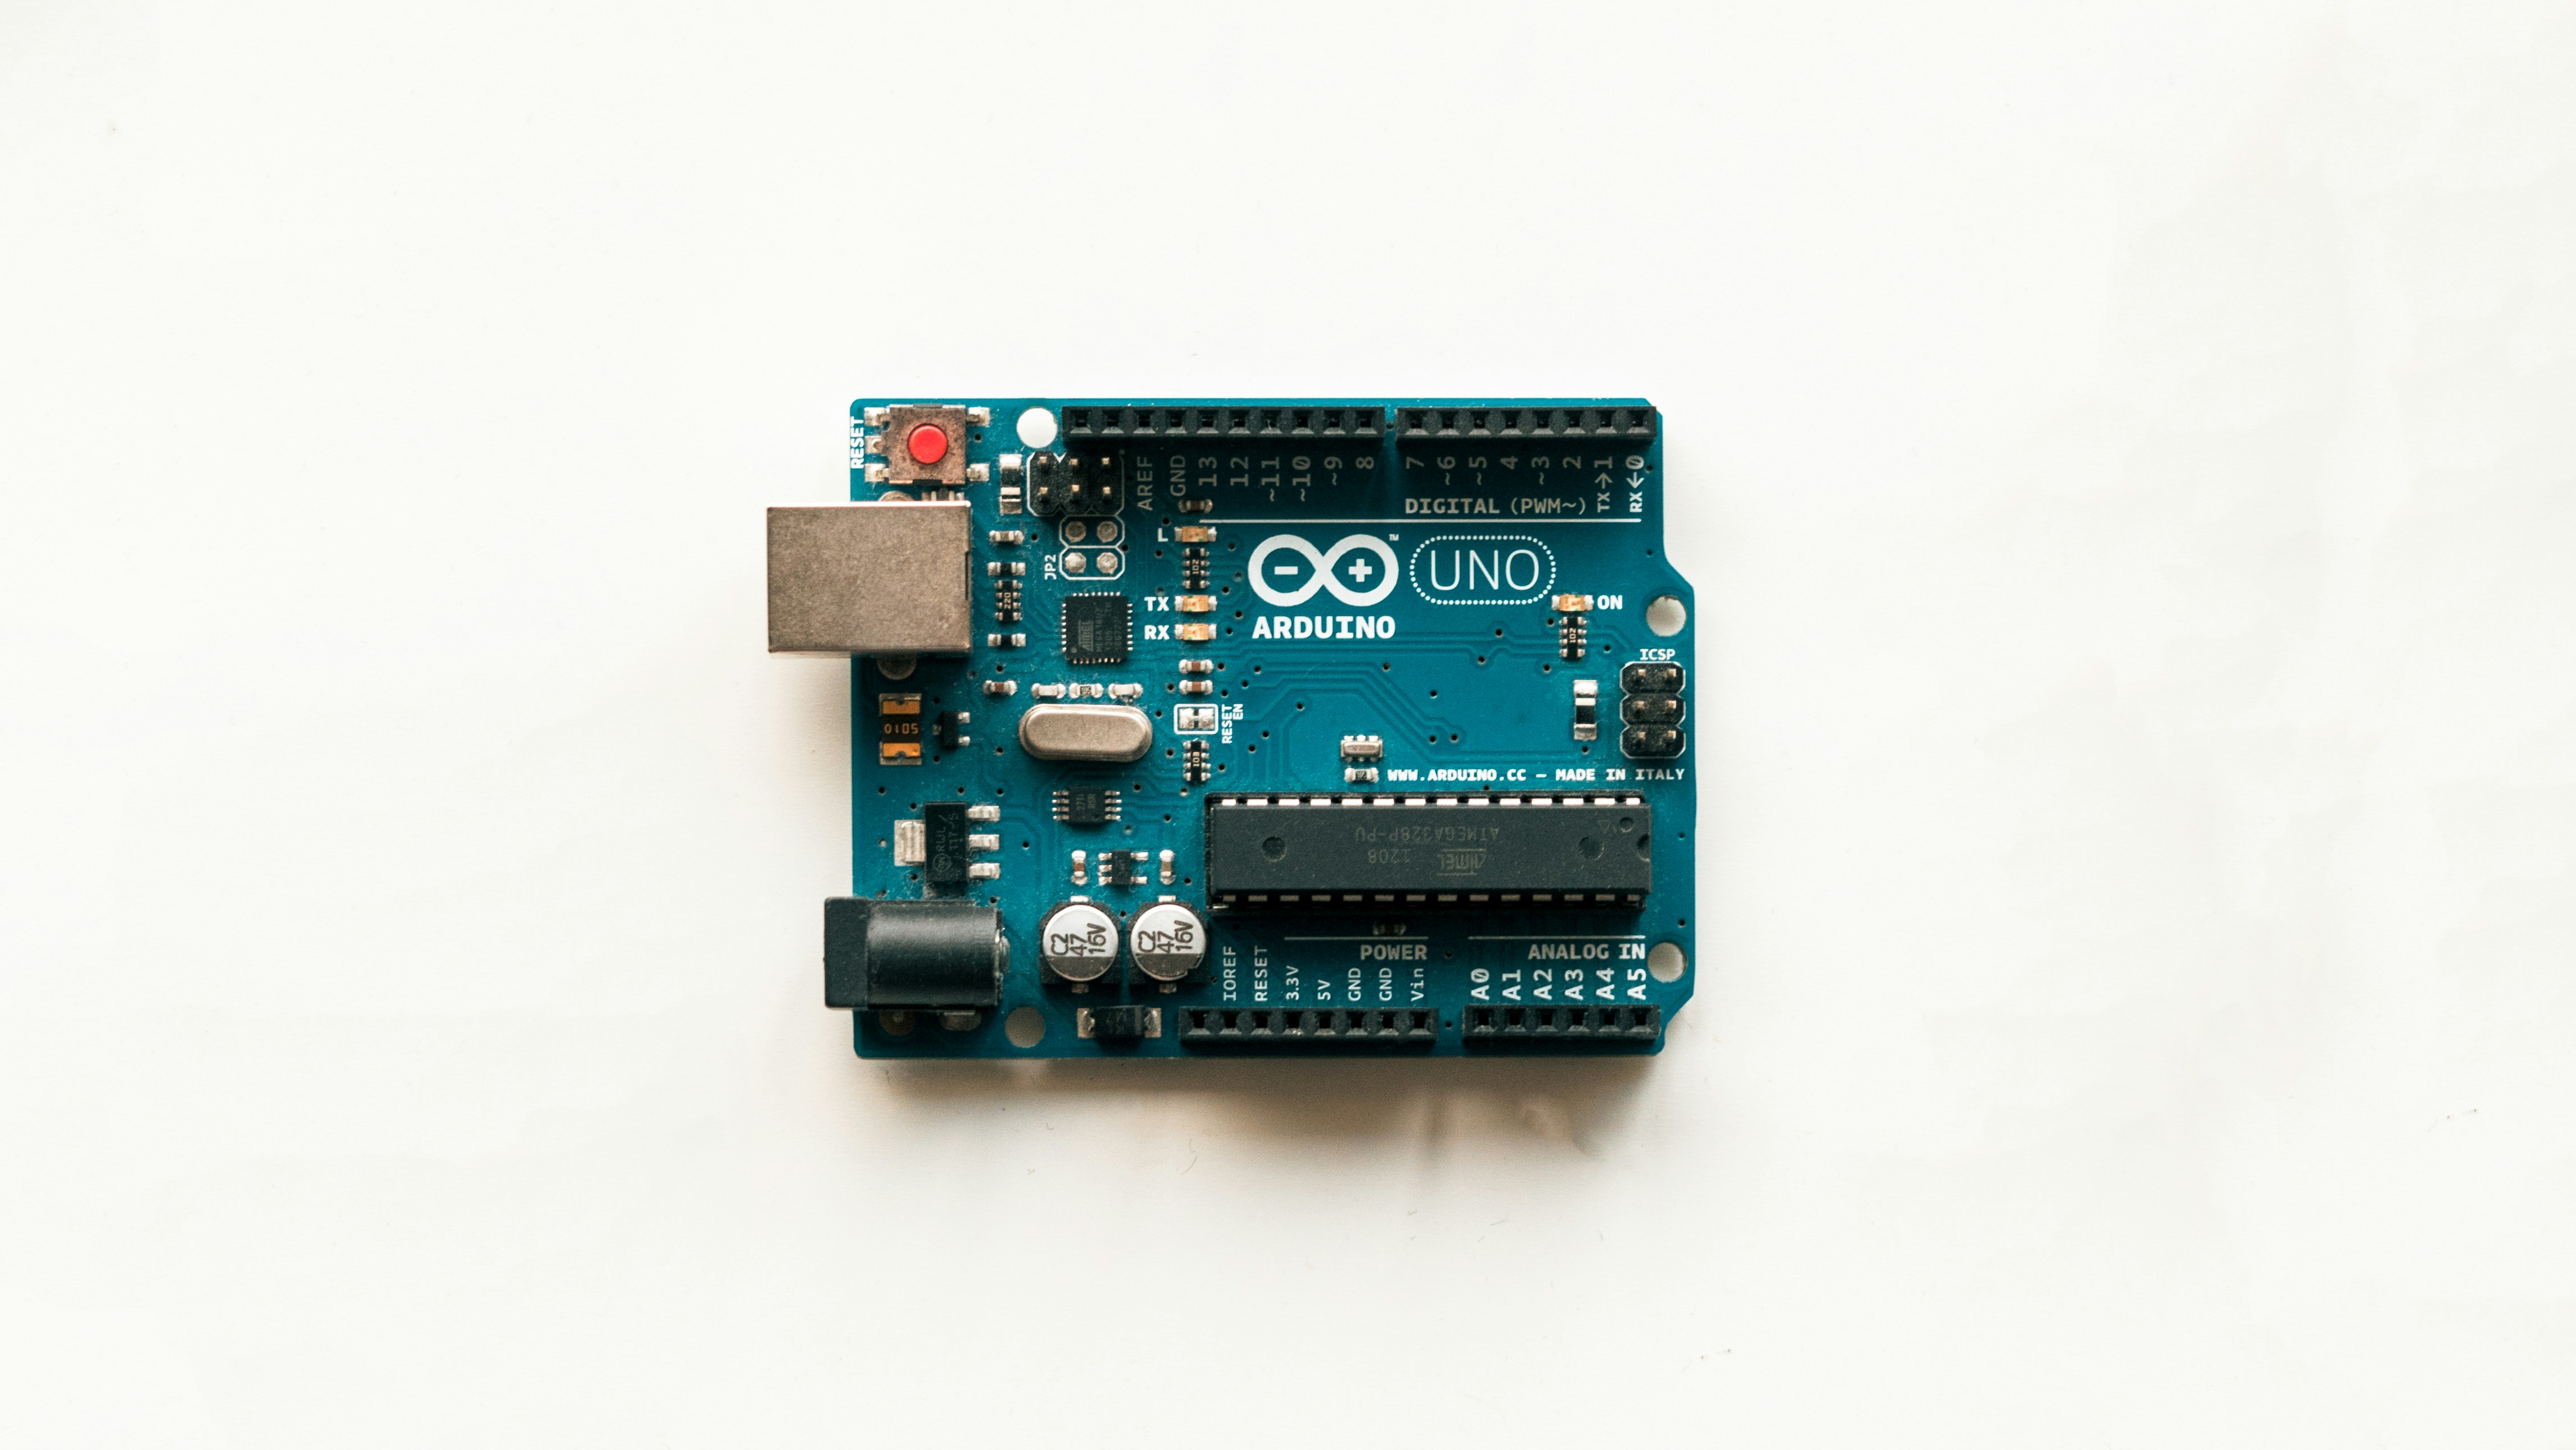
If you ask any expert, “What should I buy first?”, they will 9% of the time say Arduino Uno R3. Why? Because it’s the reference board. Every tutorial, every shield, and every YouTube video is built around the Uno.
- Why it wins: It has a standard USB-B port (the square one), plenty of pins, and it runs on 5V logic which is safe for most sensors.
- The Catch: It’s a bit bulky for final projects, but perfect for learning.
- Best For: Absolute beginners, school projects, and protyping.
👉 CHECK PRICE on:
- Amazon: Arduino Uno R3 Official
- Arduino Store: Arduino Uno R3
2. Arduino Nano: Tiny Power for Small Spaces
The Nano is the Uno’s little brother. It has the same brain but in a tiny package. It uses a mini-USB or micro-USB (depending on the version) and fits on a breadboard without taking up the whole thing.
- Why it wins: Compact size and cheaper clones are everywhere.
- The Catch: The pins are so close together that it’s easy to bridge them with solder or a wire, causing shorts. Also, finding shields that fit the Nano is harder than finding a needle in a haystack.
- Best For: Projects where space matters, like wearables or small robots.
👉 CHECK PRICE on:
- Amazon: Arduino Nano Official
- Arduino Store: Arduino Nano
3. Arduino Mega: When You Need More Pins and Memory
The Mega is the beast. It has 54 digital I/O pins and 256KB of memory (compared to the Uno’s 32KB). It’s great for complex projects like 3D printers or large robot arms.
- Why it wins: You will never run out of pins.
- The Catch: It’s huge, expensive, and overkill for 90% of beginner projects. The sheer number of pins can be intimidating.
- Best For: Advanced beginners who know they need massive I/O capabilities.
👉 CHECK PRICE on:
- Amazon: Arduino Mega 2560
- Arduino Store: Arduino Mega 2560
4. Arduino Leonardo: Built-in USB Magic for Keyboards and Mice
The Leonardo is unique because its microcontroller can act as a USB device. This means you can turn it into a keyboard, mouse, or game controller without extra hardware.
- Why it wins: Native USB HID support. Great for custom controllers.
- The Catch: The pinout is different from the Uno, some shields don’t fit. The code is slightly different for USB communication.
- Best For: Gamers, custom input devices, and intermediate users.
👉 CHECK PRICE on:
- Amazon: Arduino Leonardo
- Arduino Store: Arduino Leonardo
5. Arduino Pro Mini: The Budget-Friendly Workhorse
The Pro Mini is the stripped-down version of the Uno. It has no USB port, no voltage regulator, and no power jack. You need an external programmer to upload code.
- Why it wins: It’s dirt cheap and tiny.
- The Catch: Not for beginners. You need to buy a separate FTDI adapter to program it. If you don’t know what an FTDI adapter is, skip this one.
- Best For: Final projects where cost and size are critical.
👉 CHECK PRICE on:
- Amazon: Arduino Pro Mini
- Arduino Store: Arduino Pro Mini
6. Arduino MKR10: Stepping Up to IoT and Wi-Fi
The MKR series brings modern connectivity. The MKR10 has built-in Wi-Fi, allowing you to connect your projects to the internet without extra shields.
- Why it wins: Built-in Wi-Fi and Bluetooth LE. Modern 3.3V logic.
- The Catch: It uses 3.3V logic, which can be tricky if you mix it with 5V sensors without level shifters. It’s more expensive than the Uno.
- Best For: IoT projects, smart home devices, and data logging.
👉 CHECK PRICE on:
- Amazon: Arduino MKR10
- Arduino Store: Arduino MKR10
7. Arduino Nano 3 IoT: The Smart Home Starter Kit
A newer, more powerful version of the Nano with Wi-Fi and Bluetooth. It’s faster and has more memory than the original Nano.
- Why it wins: Great balance of size, power, and connectivity.
- The Catch: Still requires a bit of care with 3.3V logic.
- Best For: Modern IoT projects where size matters.
👉 CHECK PRICE on:
- Amazon: Arduino Nano 3 IoT
- Arduino Store: Arduino Nano 3 IoT
💻 Coding Without Tears: Mastering the Arduino IDE and C++ Basics
So you have your board. Now what? You need to talk to it. This is where the magic happens (and where the tears sometimes flow).
The Arduino IDE: Your Command Center
The Arduino IDE (Integrated Development Environment) is free, open-source, and runs on Windows, Mac, and Linux. It’s where you write your code, check for errors, and upload it to the board.
- IDE 1.8 vs. IDE 2.0: We highly recommend using Arduino IDE 2.0. It has a modern interface, code completion (like autocomplete on your phone), and a built-in debugger. It makes learning C++ significantly less painful.
The Language: C++ Simplified
Arduino uses a modified version of C++. Don’t panic! You don’t need to be a software engineer. You just need to understand a few core concepts:
- Setup() and Loop(): Every Arduino sketch has these two functions.
void setup(): Runs once when the board turns on. You use this to initialize pins and variables.void loop(): Runs over and over again forever. This is where your main logic lives.
- Variables: Containers for data (e.g.,
int ledPin = 13;). - Functions: Blocks of code that do specific tasks (e.g.,
digitalWrite(),delay()). - Comments: Text ignored by the compiler, used for notes. Use
//for single lines or/* */for blocks.
A Simple Example: Blinking an LED
Let’s look at the classic “Blink” code. This is the “Hello World” of hardware.
void setup() {
 pinMode(13, OUTPUT); // Set pin 13 as an output
}

void loop() {
 digitalWrite(13, HIGH); // Turn the LED on
 delay(10); // Wait for 1 second
 digitalWrite(13, LOW); // Turn the LED off
 delay(10); // Wait for 1 second
}
What’s happening here?
- We tell the board that pin 13 is an output (it sends power).
- We turn it HIGH (5V), wait 10 milliseconds (1 second), turn it LOW (0V), and wait again.
- The loop repeats, creating a blinking effect.
Curiosity Gap: You might think, “That’s it? That’s all there is to coding?” Well, yes and no. You can do that, but what if you want to read a sensor, make a decision based on the data, and then control a motor? That’s where the real fun begins. We’ll get to that in the next section.
For a deeper dive into the syntax, check out our guide on Coding Languages.
🔌 Wiring Woes No More: Essential Sensors, Modules, and Shields
Coding is half the battle. The other half is wiring. If you’ve ever tried to build a house with a hammer and a spoon, you know the frustration of bad tools. In the Arduino world, your tools are sensors, modules, and shields.
The Breadboard: Your Sandbox
Before you solder anything, you need a breadboard. It’s a plastic board with holes that connect internally, allowing you to build circuits without permanent connections.
- Tip: Always check the internal connections with a multimeter or a continuity tester before plugging in expensive components.
Essential Sensors to Know
- Ultrasonic Sensor (HC-SR04): Measures distance. Great for robot cars that need to avoid walls.
- Temperature Sensor (DHT1/DHT2): Reads temperature and humidity. Perfect for weather stations.
- Light Sensor (LDR): Detects light levels. Use it to make lights turn on automatically at night.
- Potentiometer: A variable resistor. Turn a knob to change values (like a volume dial).
Modules vs. Shields
- Modules: Small breakout boards that connect via jumper wires. They are flexible but can get messy.
- Shields: Circuit boards that stack directly on top of your Arduino. They are clean and easy, but can be bulky.
Popular Shields:
- Motor Shield: Controls DC motors and servos.
- Ethernet/Wi-Fi Shield: Adds internet connectivity.
- LCD Shield: Adds a screen to display text.
Warning: Voltage Mismatch! Most Arduino boards run at 5V (Uno) or 3.3V (MKR/Nano 3 IoT). If you plug a 5V sensor into a 3.3V board, you might fry the sensor. If you plug a 3.3V sensor into a 5V board, it might not work. Always check the specs!
For more on integrating these into Robotics projects, see our detailed tutorials.
🚀 Real-World Projects to Build Your Confidence
Theory is great, but building is where the learning sticks. Here are 5 projects that will take you from “I can blink an LED” to “I built a robot!”
Project 1: Blinking LED (The “Hello World” of Hardware)
Goal: Make an LED blink.
Components: Arduino Uno, LED, 20Ω resistor, breadboard, jumper wires.
Steps:
- Connect the long leg (anode) of the LED to pin 13 via the resistor.
- Connect the short leg (cathode) to GND.
- Upload the “Blink” code.
Why it matters: Teaches you pin configuration, delays, and the basic loop structure.
Project 2: Temperature Monitor with LCD Display
Goal: Read temperature and show it on a screen.
Components: DHT1 sensor, 16×2 LCD display, Arduino Uno.
Steps:
- Wire the DHT1 to the analog pins.
- Wire the LCD to digital pins (or use an I2C backpack to save pins).
- Use the
DHT.hlibrary to read data. - Print the data to the LCD.
Why it matters: Introduces libraries, sensors, and output devices.
Project 3: Smart Home Light Switch with Relay
Goal: Control a high-voltage appliance (like a lamp) with Arduino.
Components: Relay module, Arduino, lamp.
Steps:
- Connect the relay to a digital pin.
- Wire the lamp through the relay (be careful with mains voltage!).
- Write code toggle the relay based on a button press.
Why it matters: Teaches you about relays, high voltage safety, and automation.
Project 4: Obstacle Avoiding Robot Car
Goal: Build a car that stops when it sees a wall.
Components: Chassis, 2 DC motors, motor driver, ultrasonic sensor, battery.
Steps:
- Assemble the chassis and motors.
- Connect the motor driver to the Arduino.
- Mount the ultrasonic sensor on the front.
- Write logic: If distance < 20cm, stop and turn.
Why it matters: Combines sensors, motors, logic, and mechanical assembly. This is the gateway to Robotics.
Project 5: Weather Station with Data Logging
Goal: Record temperature and humidity over time.
Components: SD card module, DHT2, RTC (Real Time Clock) module.
Steps:
- Connect the SD card module and RTC.
- Read sensor data every hour.
- Save the data to a CSV file on the SD card.
Why it matters: Introduces file systems, timekeeping, and data logging.
Pro Tip: Don’t just copy-paste code. Type it out yourself. Your brain learns by making mistakes and fixing them.
⚖️ Arduino vs. Raspberry Pi vs. ESP32: Which Microcontroller Should You Choose?
You’ve heard the names, but what’s the difference? It’s like choosing between a bicycle, a car, and a motorcycle.
| Feature | Arduino | Raspberry Pi | ESP32 |
|---|---|---|---|
| Type | Microcontroller | Single Board Computer (SBC) | Microcontroller |
| OS | None (bare metal) | Linux (Raspberry Pi OS) | None (bare metal) |
| Language | C++ (Simplified) | Python, C++, Java, etc. | C++, MicroPython, Arduino |
| Power | Low (5V) | High (5V, needs more current) | Low (3.3V) |
| Speed | Slow (16-84 MHz) | Fast (1.4 GHz+) | Fast (160-240 MHz) |
| Best For | Real-time control, sensors, robotics | Media centers, web servers, AI | IoT, Wi-Fi/Bluetooth projects |
| Difficulty | Easy | Medium/Hard | Medium |
- Choose Arduino if: You need to control motors, read sensors, and react in real-time. It’s the king of robotics and hardware control.
- Choose Raspberry Pi if: You need an operating system, a screen, or to run complex software like a web server or AI model.
- Choose ESP32 if: You need Wi-Fi and Bluetooth built-in, and you want more power than an Arduino but still want the simplicity of a microcontroller.
The Verdict: For a beginner, Arduino is the best starting point. It teaches you the fundamentals of electronics and coding without the complexity of an OS. Once you master Arduino, moving to ESP32 or Raspberry Pi is a breeze.
💸 Cost Breakdown: Is Arduino Expensive for Beginners?
Let’s talk money. Is this hobby going to bankrupt you?
- The Board: An official Arduino Uno R3 costs around $25. A clone can be found for $10-$15.
- The Starter Kit: A good starter kit (like the official one or a reputable third-party one) usually costs between $60 and $10. This includes the board, sensors, wires, breadboard, and a book.
- Additional Components: For specific projects, you might need extra sensors or motors, adding $10-$30 per project.
Comparison:
- Raspberry Pi: The board alone is $35-$75, plus you need a case, SD card, power supply, and keyboard/mouse. Total: $10+.
- ESP32: Very cheap, often under $10.
Conclusion: Arduino is highly cost-effective. You can build amazing projects for under $50. The only “expensive” part is your time and curiosity!
🛡️ Common Pitfalls and How to Avoid Them
Even the best coders make mistakes. Here are the most common traps for beginners and how to dodge them.
- The “It Doesn’t Work” Panic:
Cause: Loose wires, wrong pin, or code error.
Fix: Check the Serial Monitor. Print debug messages to see what the code is actually doing. - Power Issues:
Cause: Trying to power a motor directly from an Arduino pin.
Fix: Use a motor driver or external power source. The Arduino pins can only handle a tiny amount of current. - Library Confusion:
Cause: Installing the wrong library or an outdated version.
Fix: Always check the library manager in the IDE and read the documentation. - Short Circuits:
Cause: Connecting 5V to GND directly.
Fix: Double-check your wiring before plugging in the USB. Use a multimeter to test continuity.
Remember: Every mistake is a lesson. If you haven’t broken something yet, you aren’t trying hard enough!
🎓 Best Learning Resources, Tutorials, and Communities
You don’t have to learn alone. The Arduino community is one of the most helpful in the world.
- Official Arduino Documentation: The bible of Arduino. arduino.cc
- Arduino Project Hub: Thousands of user-submitted projects with step-by-step guides.
- YouTube Channels:
Paul McWhorter: The best teacher for absolute beginners. His “Arduino for Beginners” series is legendary.
Jeremy Blum: Great for intermediate projects and deep dives.
DroneBot Workshop: Excellent for robotics and motor control. - Forums:
Arduino Forum: The official community.
Reddit (r/arduino): Active and friendly. - Books:
Arduino Workshop by John Boxall.
Making Things Talk by Tom Igoe.
For more on Robotic Simulations and how to test your code before building, check out our other articles.
🏁 Conclusion
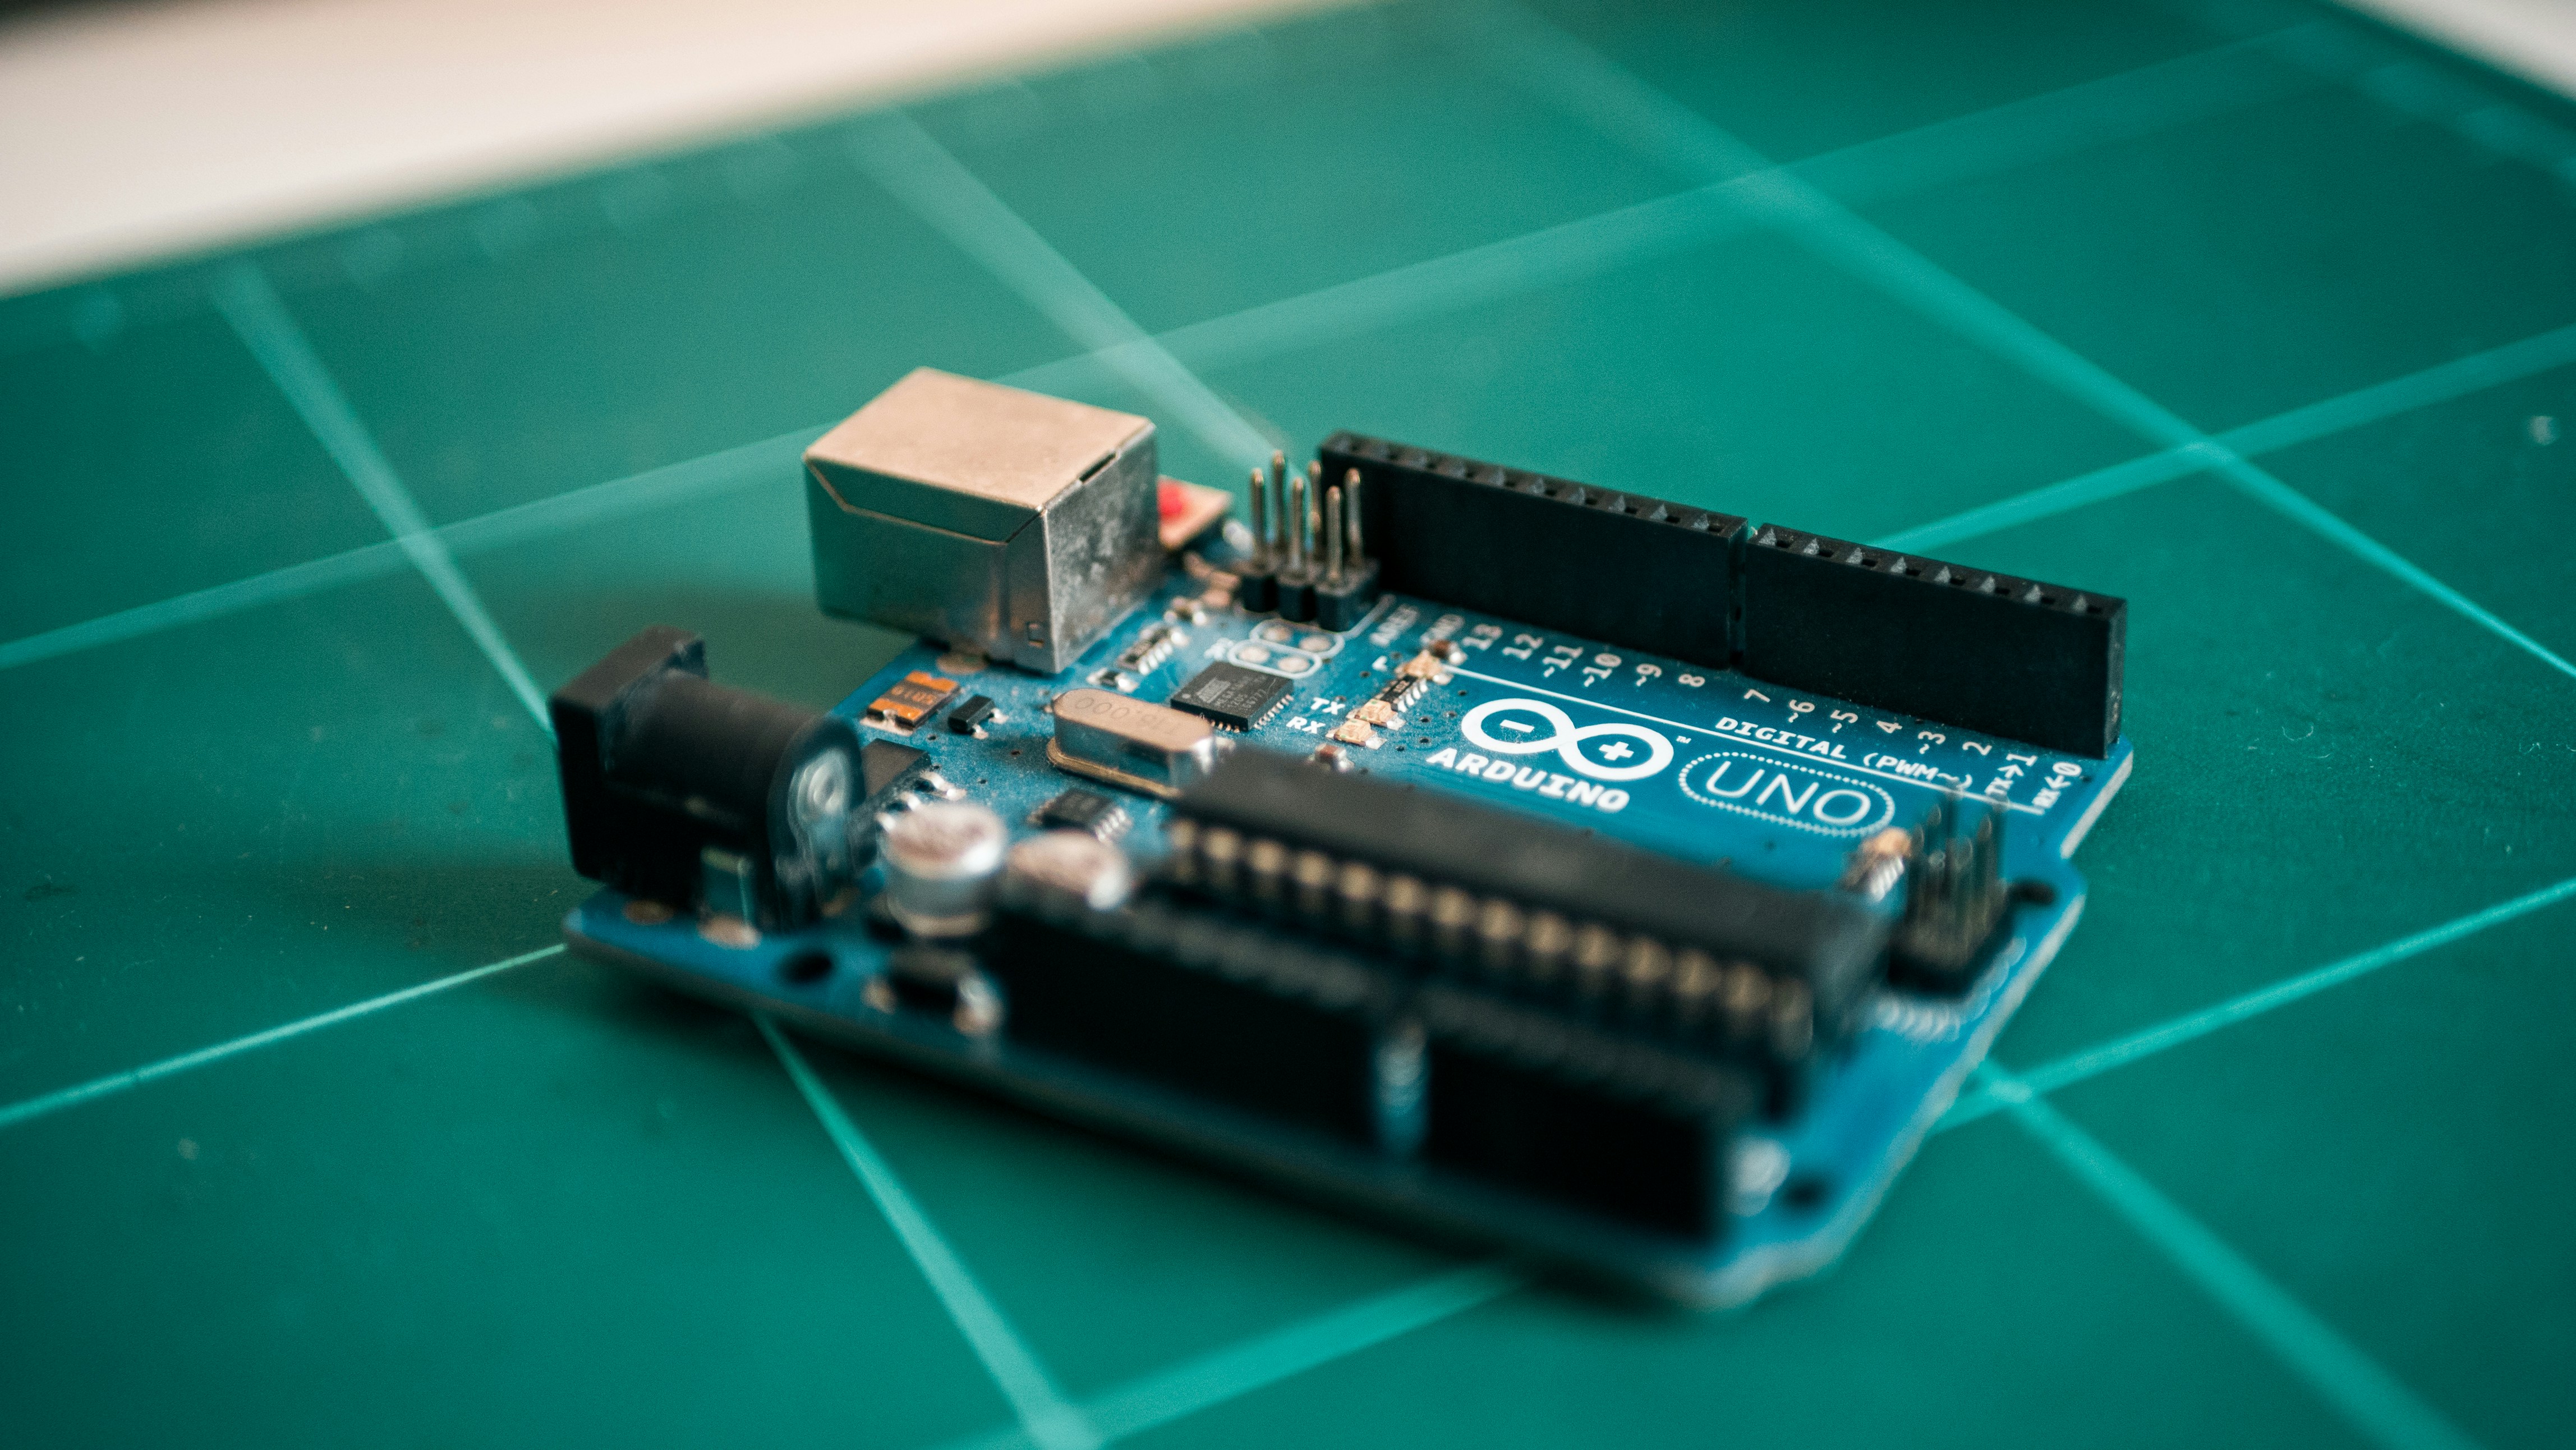
So, is Arduino beginner friendly? Absolutely.
It strikes that rare balance between being simple enough for a 10-year-old to blink an LED and powerful enough for an engineer to build a Mars rover. The learning curve is gentle, the community is massive, and the possibilities are endless.
The Verdict:
- Positives: Easy to start, huge community, affordable, versatile, great for learning electronics and coding.
- Negatives: Requires basic electronics knowledge, debugging can be frustrating, some boards are overkill for simple tasks.
Our Recommendation: Start with the Arduino Uno R3 and a Starter Kit. Don’t worry about the clones yet. Follow the book, watch Paul McWhorter’s videos, and build the projects in order. In a few weeks, you’ll be building robots, weather stations, and smart home devices.
Remember, the journey of a thousand miles begins with a single digitalWrite(). So, what are you waiting for? Grab your board, fire up the IDE, and let’s make something cool!
🔗 Recommended Links
👉 Shop Arduino Boards & Kits:
- Arduino Uno R3 Starter Kit: Amazon | Arduino Store
- Arduino Nano 3 IoT: Amazon | Arduino Store
- Arduino MKR10: Amazon | Arduino Store
Recommended Books:
- Arduino Workshop: A Hands-On Introduction with 65 Projects by John Boxall: Amazon
- Making Things Talk: Creating Intelligent Devices with Arduino by Tom Igoe: Amazon
Online Courses:
- Coursera: Arduino Programming and Electronics
- Udemy: Arduino for Beginners
❓ FAQ: Your Burning Questions Answered
Are there any online resources or tutorials for learning Arduino as a beginner?
Yes! The best resources are the Arduino Project Hub, the official Arduino Documentation, and YouTube channels like Paul McWhorter and Jeremy Blum. These platforms offer step-by-step guides, code examples, and video tutorials that cover everything from basic LED blinking to complex robotics.
Read more about “🤖 7 Best Arduino Boards for Robotic Coding Beginners (2026)”
How long does it take to learn the basics of Arduino programming?
Most beginners can grasp the fundamentals (variables, loops, basic I/O) within a few days to a couple of weeks of consistent practice. Building confidence usually comes after completing 5-10 simple projects. Mastery of advanced topics takes longer, but the basics are very accessible.
Read more about “10 Best Arduino Programming Tutorials to Master Robotics (2026) 🤖”
What are the essential components of an Arduino starter kit?
A good starter kit should include:
- Arduino board (Uno R3 is recommended)
- Breadboard and jumper wires
- LEDs and resistors
- Sensors (temperature, light, ultrasonic)
- Motors and motor driver
- LCD display
- A book or guide with project instructions
Read more about “🤖 15 Best Resources to Learn Arduino for Robotics Coding (2026)”
Can I use Arduino without any prior coding experience?
Yes! While Arduino uses C++, the syntax is simplified, and the IDE provides helpful tools like code completion and error highlighting. Many beginners start with no coding knowledge and learn as they go through tutorials and project-based learning.
Read more about “🏠 35 Epic DIY Home Automation Projects to Transform Your Home (2026)”
What are the best Arduino projects for beginners to start with?
Start with the classics:
- Blinking LED: Teaches basic output.
- Button Control: Teaches input and logic.
- Temperature Monitor: Teaches sensors and displays.
- Obstacle Avoiding Robot: Combines sensors, motors, and logic.
Read more about “🚀 Microcontroller Programming: The Ultimate 2026 Guide to Embedded Mastery”
How difficult is it to learn Arduino for beginners?
It is moderately easy. The hardware is plug-and-play, and the software is user-friendly. The main challenge is understanding basic electronics (voltage, current, resistance) and the C++ syntax, but these are quickly learned with practice.
Read more about “Is Arduino Similar to Raspberry Pi? The 2026 Showdown 🤖”
Is Arduino suitable for robotics beginners?
Absolutely. Arduino is the industry standard for hobbyist robotics. It has the perfect balance of power, simplicity, and community support for building robots, from simple line followers to complex autonomous vehicles.
Read more about “🚀 15 Best Interactive Coding Tutorials to Master Code in 2026”
What is the easiest Arduino board for learning robotics?
The Arduino Uno R3 is the easiest. It has the most tutorials, the largest community, and the most compatible shields. It’s the perfect starting point for any robotics project.
Read more about “🛠️ 10 Steps to Fix Any Arduino Coding Error (2026)”
How long does it take to learn Arduino for robot projects?
You can build a simple robot (like a line follower) within a few weeks of learning the basics. More complex robots (like autonomous navigation) may take months of practice and experimentation.
Read more about “🤖 Master Arduino Motor Control: The Ultimate Guide (2026)”
Can I build a robot with Arduino without coding experience?
You can build a robot using pre-written code from tutorials, but to customize it and make it truly yours, you will need to learn some coding. However, the learning curve is gentle, and you can start with simple modifications.
Read more about “Arduino Nano Uncovered: 12 Pro Fixes & Top Projects (2026) 🚀”
What are the best Arduino robotics kits for beginners?
- Arduino Official Starter Kit: Comprehensive and well-documented.
- ELEGO UNO R3 Smart Robot Car Kit: Great for learning robotics specifically.
- SunFounder Robot Car Kit: Another excellent option with detailed instructions.
Read more about “🤖 6 Best Beginner-Friendly Arduino Robot Kits (2026)”
Do I need prior programming knowledge to use Arduino for robotics?
No, but it helps. You can learn the necessary programming skills (C++) as you build your projects. Many tutorials provide the code, and you can modify it to suit your needs.
Read more about “🐍 Embeding Python in Robotics Systems: The 2026 Hybrid Blueprint”
Is C++ too hard for Arduino robotics beginners?
Not at all. Arduino simplifies C++ significantly. You only need to learn a subset of the language (variables, functions, loops, conditionals). The community provides plenty of examples to help you along the way.
Read more about “Is MicroPython Compatible with CircuitPython? The 2026 Truth 🤖”
📚 Reference Links
- Arduino Official Website: https://www.arduino.cc
- Arduino Forum: https://forum.arduino.cc
- Arduino Project Hub: https://create.arduino.cc/projecthub
- Paul McWhorter’s YouTube Channel: https://www.youtube.com/@paulmcwhorter
- Jeremy Blum’s Tutorials: https://www.jeremyblum.com
- Chip Wired – Best Arduino for Beginners: https://chipwired.com/best-arduino-for-beginners/
- Robotic Coding™ – Robotics Category: https://roboticcoding.com/category/robotics/
- Robotic Coding™ – Coding Languages Category: https://roboticcoding.com/category/coding-languages/