
Arduino is used for everything from professional industrial automation to custom medical devices because it offers a unique blend of real-time control, low cost, and an open-source ecosystem that accelerates protyping. If you are wondering what is Arduino used for and why it is used, the answer isn’t just “for learning”; it’s the backbone of countless commercial products and the fastest path from idea to physical reality.
We once watched a team of engineers at a major automotive firm replace a $2,0 proprietary controller with a $25 Arduino board to test a new sensor array, saving months of development time. This isn’t an isolated incident; millions of Arduino boards are shipped annually, powering everything from smart thermostats to high-end 3D printers.
The secret lies in its ability to handle real-time tasks with deterministic precision, something general-purpose computers often struggle with. Whether you are a student building your first robot or a startup launching a new IoT product, this platform bridges the gap between code and the physical world.
Key Takeaways
- Versatility: Arduino powers 10+ major industries, including robotics, healthcare, and smart home automation, proving it is far more than a classroom toy.
- Speed to Market: Its open-source libraries and shield ecosystem allow developers to prototype complex systems in days rather than months.
- Real-Time Control: Unlike standard computers, Arduino excels at deterministic timing, making it ideal for robotics and industrial safety systems.
- Cost Efficiency: With hardware costs under $30, it offers the most budget-friendly entry point for professional-grade embedded development.
Table of Contents
- ⚡️ Quick Tips and Facts
- 🕰️ From a Classroom Experiment to a Global Phenomenon: The Arduino History
- 🤔 What is Arduino Used For? The Ultimate Application Breakdown
- 🚀 Why is Arduino Used? The Secret Sauce Behind Its Dominance
- 🛠️ The Open-Source Ecosystem Advantage
- 💻 Beginner-Friendly IDE and C++ Simplicity
- 🔌 Massive Shield and Module Compatibility
- 💰 Cost-Effective Protyping vs. Commercial Microcontrollers
- 🌍 Vibrant Community Support and Documentation
- 🛠️ How Do I Use Arduino? A Step-by-Step Journey from Blink to Build
- ⚠️ Critical Notice: Safety, Power, and Common Pitfalls
- 🧠 Arduino vs. Raspberry Pi: Which One Fits Your Project?
- 🔮 Future Trends: Where is Arduino Heading Next?
- 🏁 Conclusion
- 🔗 Recommended Links
- ❓ FAQ: Your Burning Questions Answered
- 📚 Reference Links
⚡️ Quick Tips and Facts
Before we dive into the nitty-gritty of why this little green board has conquered the world, let’s hit the ground running with some hard-hitting truths about Arduino. If you’re wondering if this is just a toy for kids or a serious tool for engineers, the answer is a resounding both.
- It’s Not Just a Board: Arduino is a platform. It’s the hardware (the board), the software (the IDE), and the massive community that holds it all together.
- The “Blink” Phenomenon: Every single Arduino user, from Nobel laureates to 10-year-olds, starts with the same code: making an LED blink. It’s the “Hello World” of the physical world.
- Open Source is King: The hardware designs are Creative Commons licensed. This means anyone can build their own version, which is why you see so many clones (like Elegoo or SparkFun) that work just as well as the official Italian originals.
- Real-World Impact: While often used in classrooms, Arduino chips power commercial products like the Arduino MKR10 in smart thermostats and the Arduino Due in high-end 3D printers.
- The Language: You don’t need to be a C++ wizard. The Arduino language is a simplified version of C/C++ that handles the heavy lifting of memory management for you.
If you’re still on the fence about whether this is the right starting point for your journey, check out our deep dive: Is Arduino Beginner Friendly? The 2026 Verdict & Top 7 Picks 🤖.
🕰️ From a Classroom Experiment to a Global Phenomenon: The Arduino History
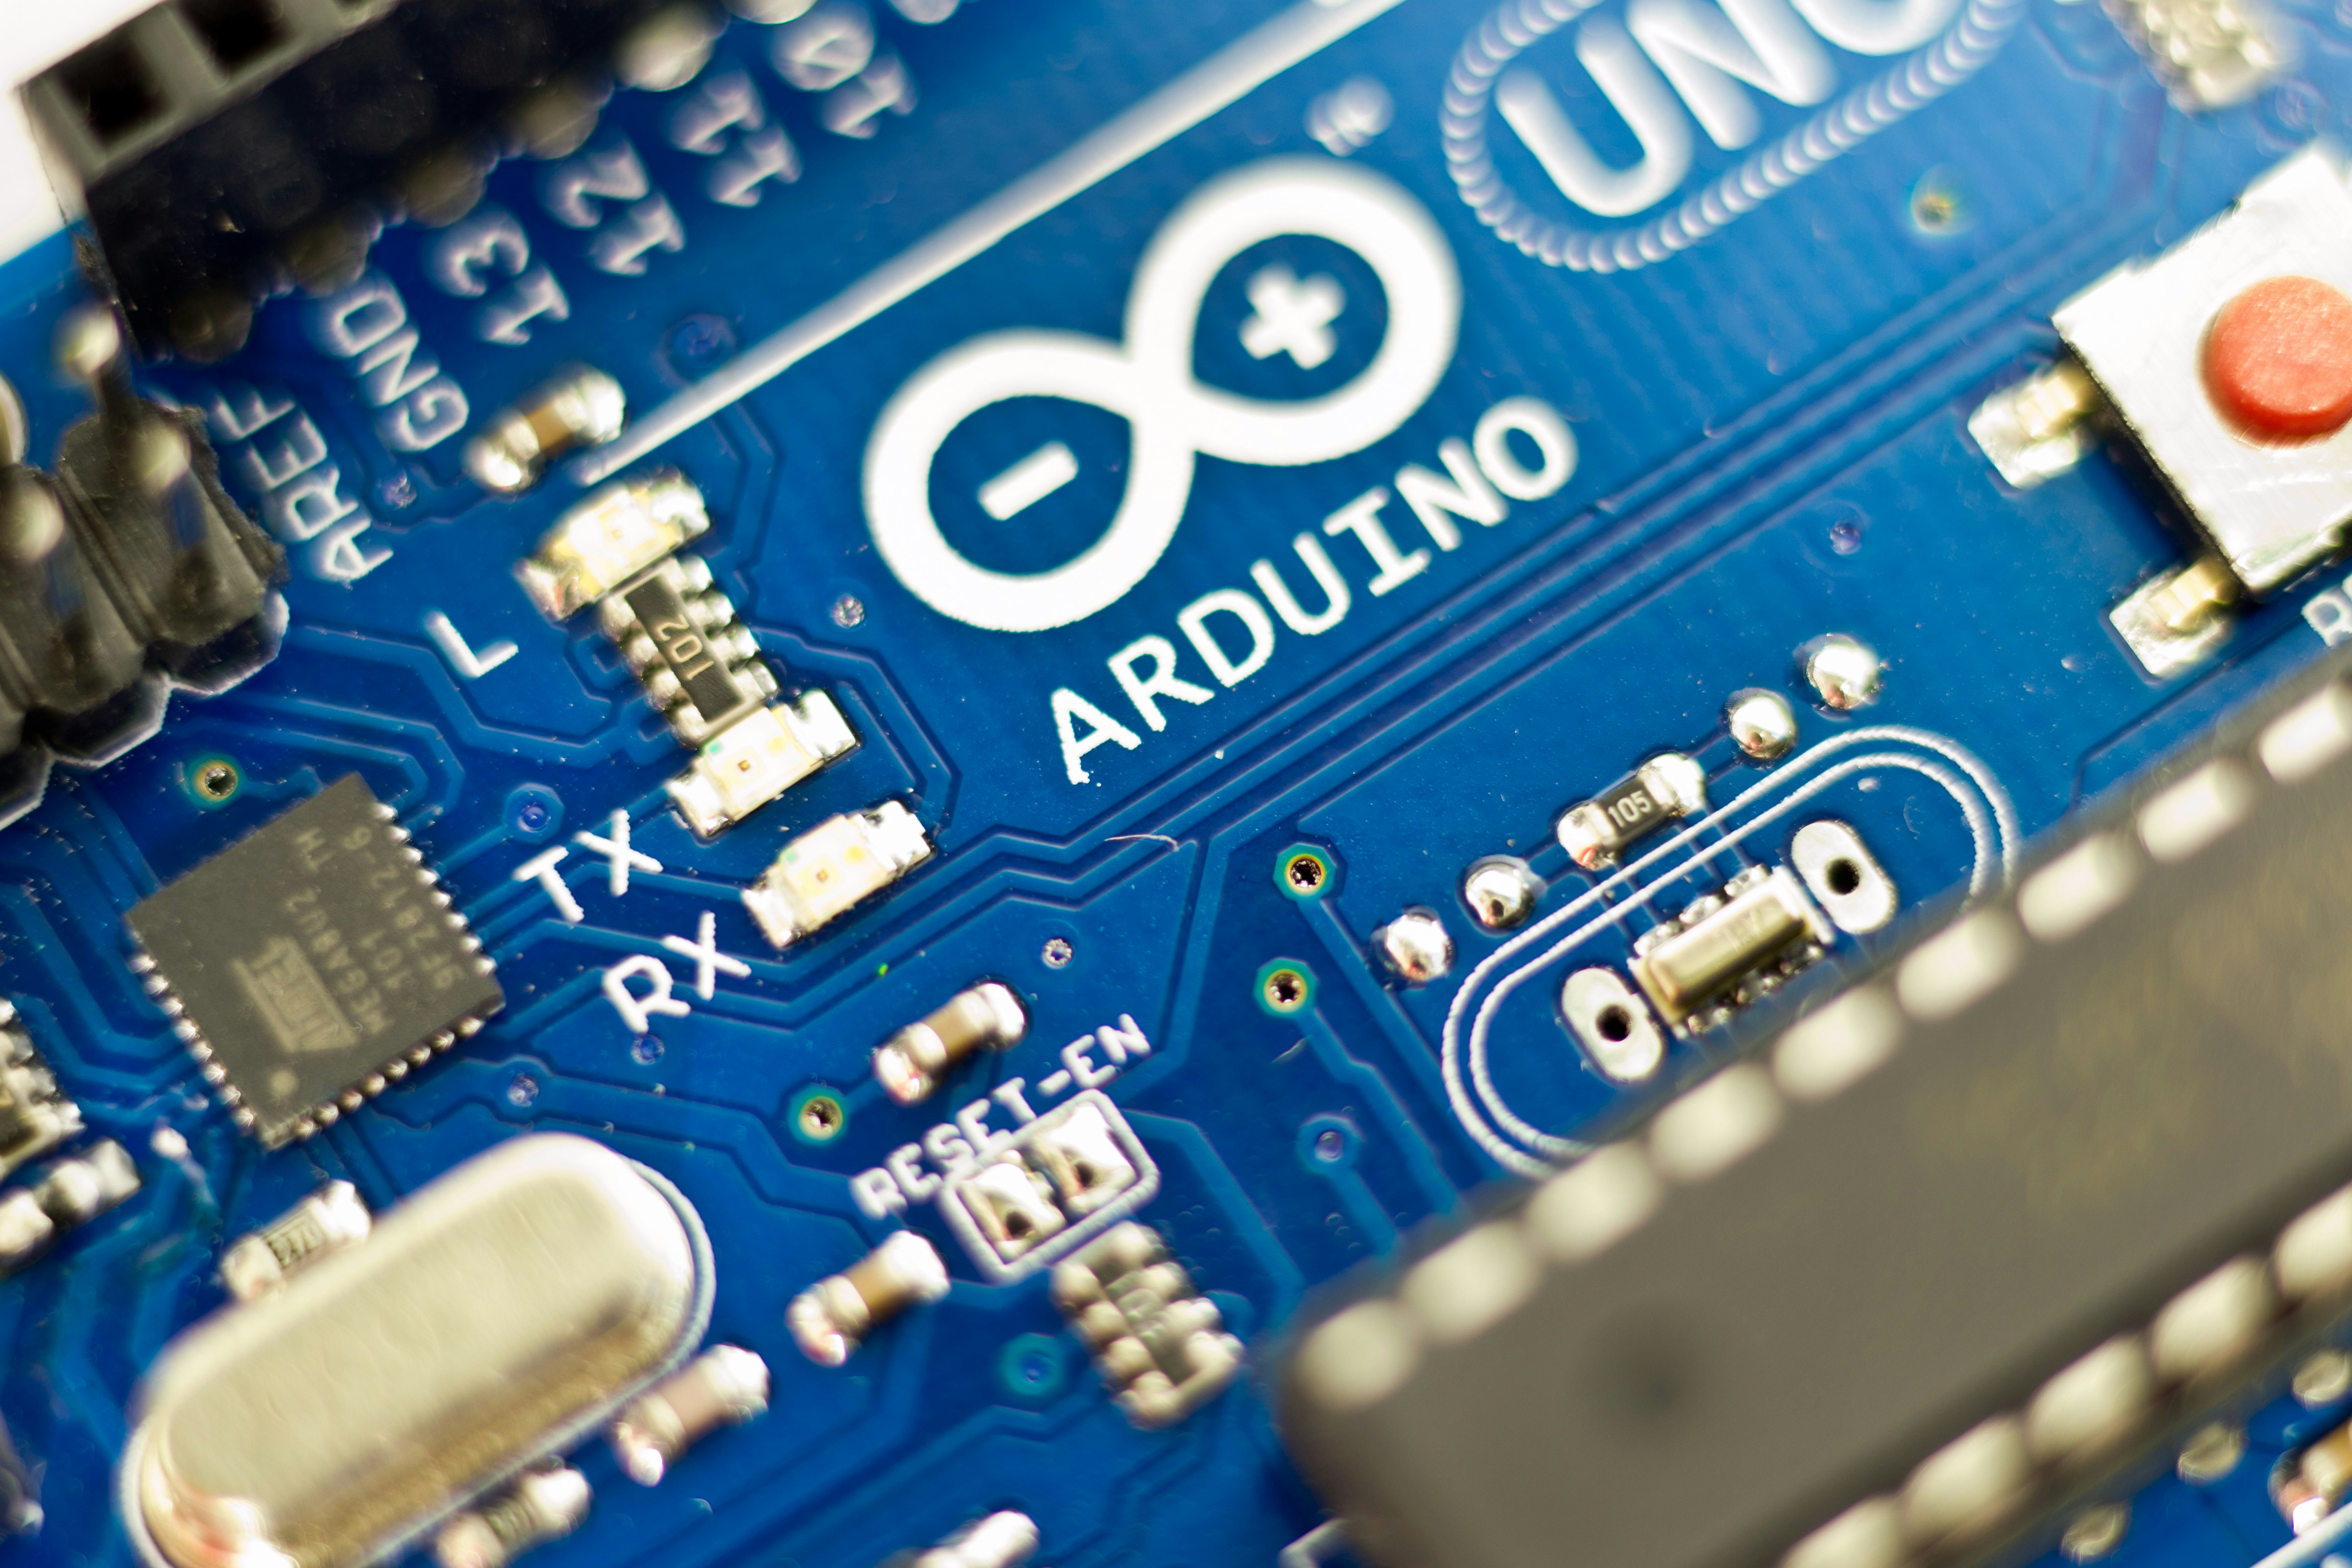
Let’s rewind the clock to 205. We were at the Interaction Design Institute in Ivrea, Italy, watching a group of students struggle to prototype their ideas. They needed a way to control lights, motors, and sensors without spending months learning complex electronics or shelling out hundreds of dollars on proprietary hardware.
Enter Massimo Banzi and David Cuartieles. They didn’t just invent a microcontroller; they invented a movement. They took the Wiring platform (created by Hernando Barragán) and the Processing environment (created by Ben Fry and Casey Reas) and mashed them together into something accessible.
“Arduino is a key tool to learn new things.” — Official Arduino Documentation
The result? A board that cost $30 (back then) and could be programmed in minutes. It wasn’t long before the Maker Movement caught fire. Suddenly, artists were building interactive installations, engineers were protyping industrial machines, and hobbyists were building robots that could navigate a maze.
Why does this history matter to you? Because the DNA of Arduino is accessibility. It was built to fail fast, learn fast, and iterate fast. That’s why, nearly two decades later, it’s still the go-to for rapid protyping.
🤔 What is Arduino Used For? The Ultimate Application Breakdown
So, you’ve heard the name, but what is Arduino actually used for? Is it just for blinking LEDs? Absolutely not. The applications are as vast as your imagination. Let’s break down the top 10 ways we at Robotic Coding™ see this platform being used in the wild.
1. 🏠 Smart Home Automation and IoT Magic
This is the bread and butter of modern Arduino projects. Want your coffee maker to start when your alarm goes off? Or your blinds to close when the sun hits a certain angle? Arduino is the brain behind it.
- The Tech: Using sensors (temperature, light, motion) and Wi-Fi modules (like the ESP826 or ESP32, which are Arduino-compatible), you can connect your home to the internet.
- Real Example: A custom Home Assistant dashboard controlling lights via MQTT protocol.
- Why it works: It’s low power, cheap, and you can code the logic exactly how you want it, unlike those rigid, subscription-based smart home hubs.
2. 🤖 Robotics, Drones, and Autonomous Vehicles
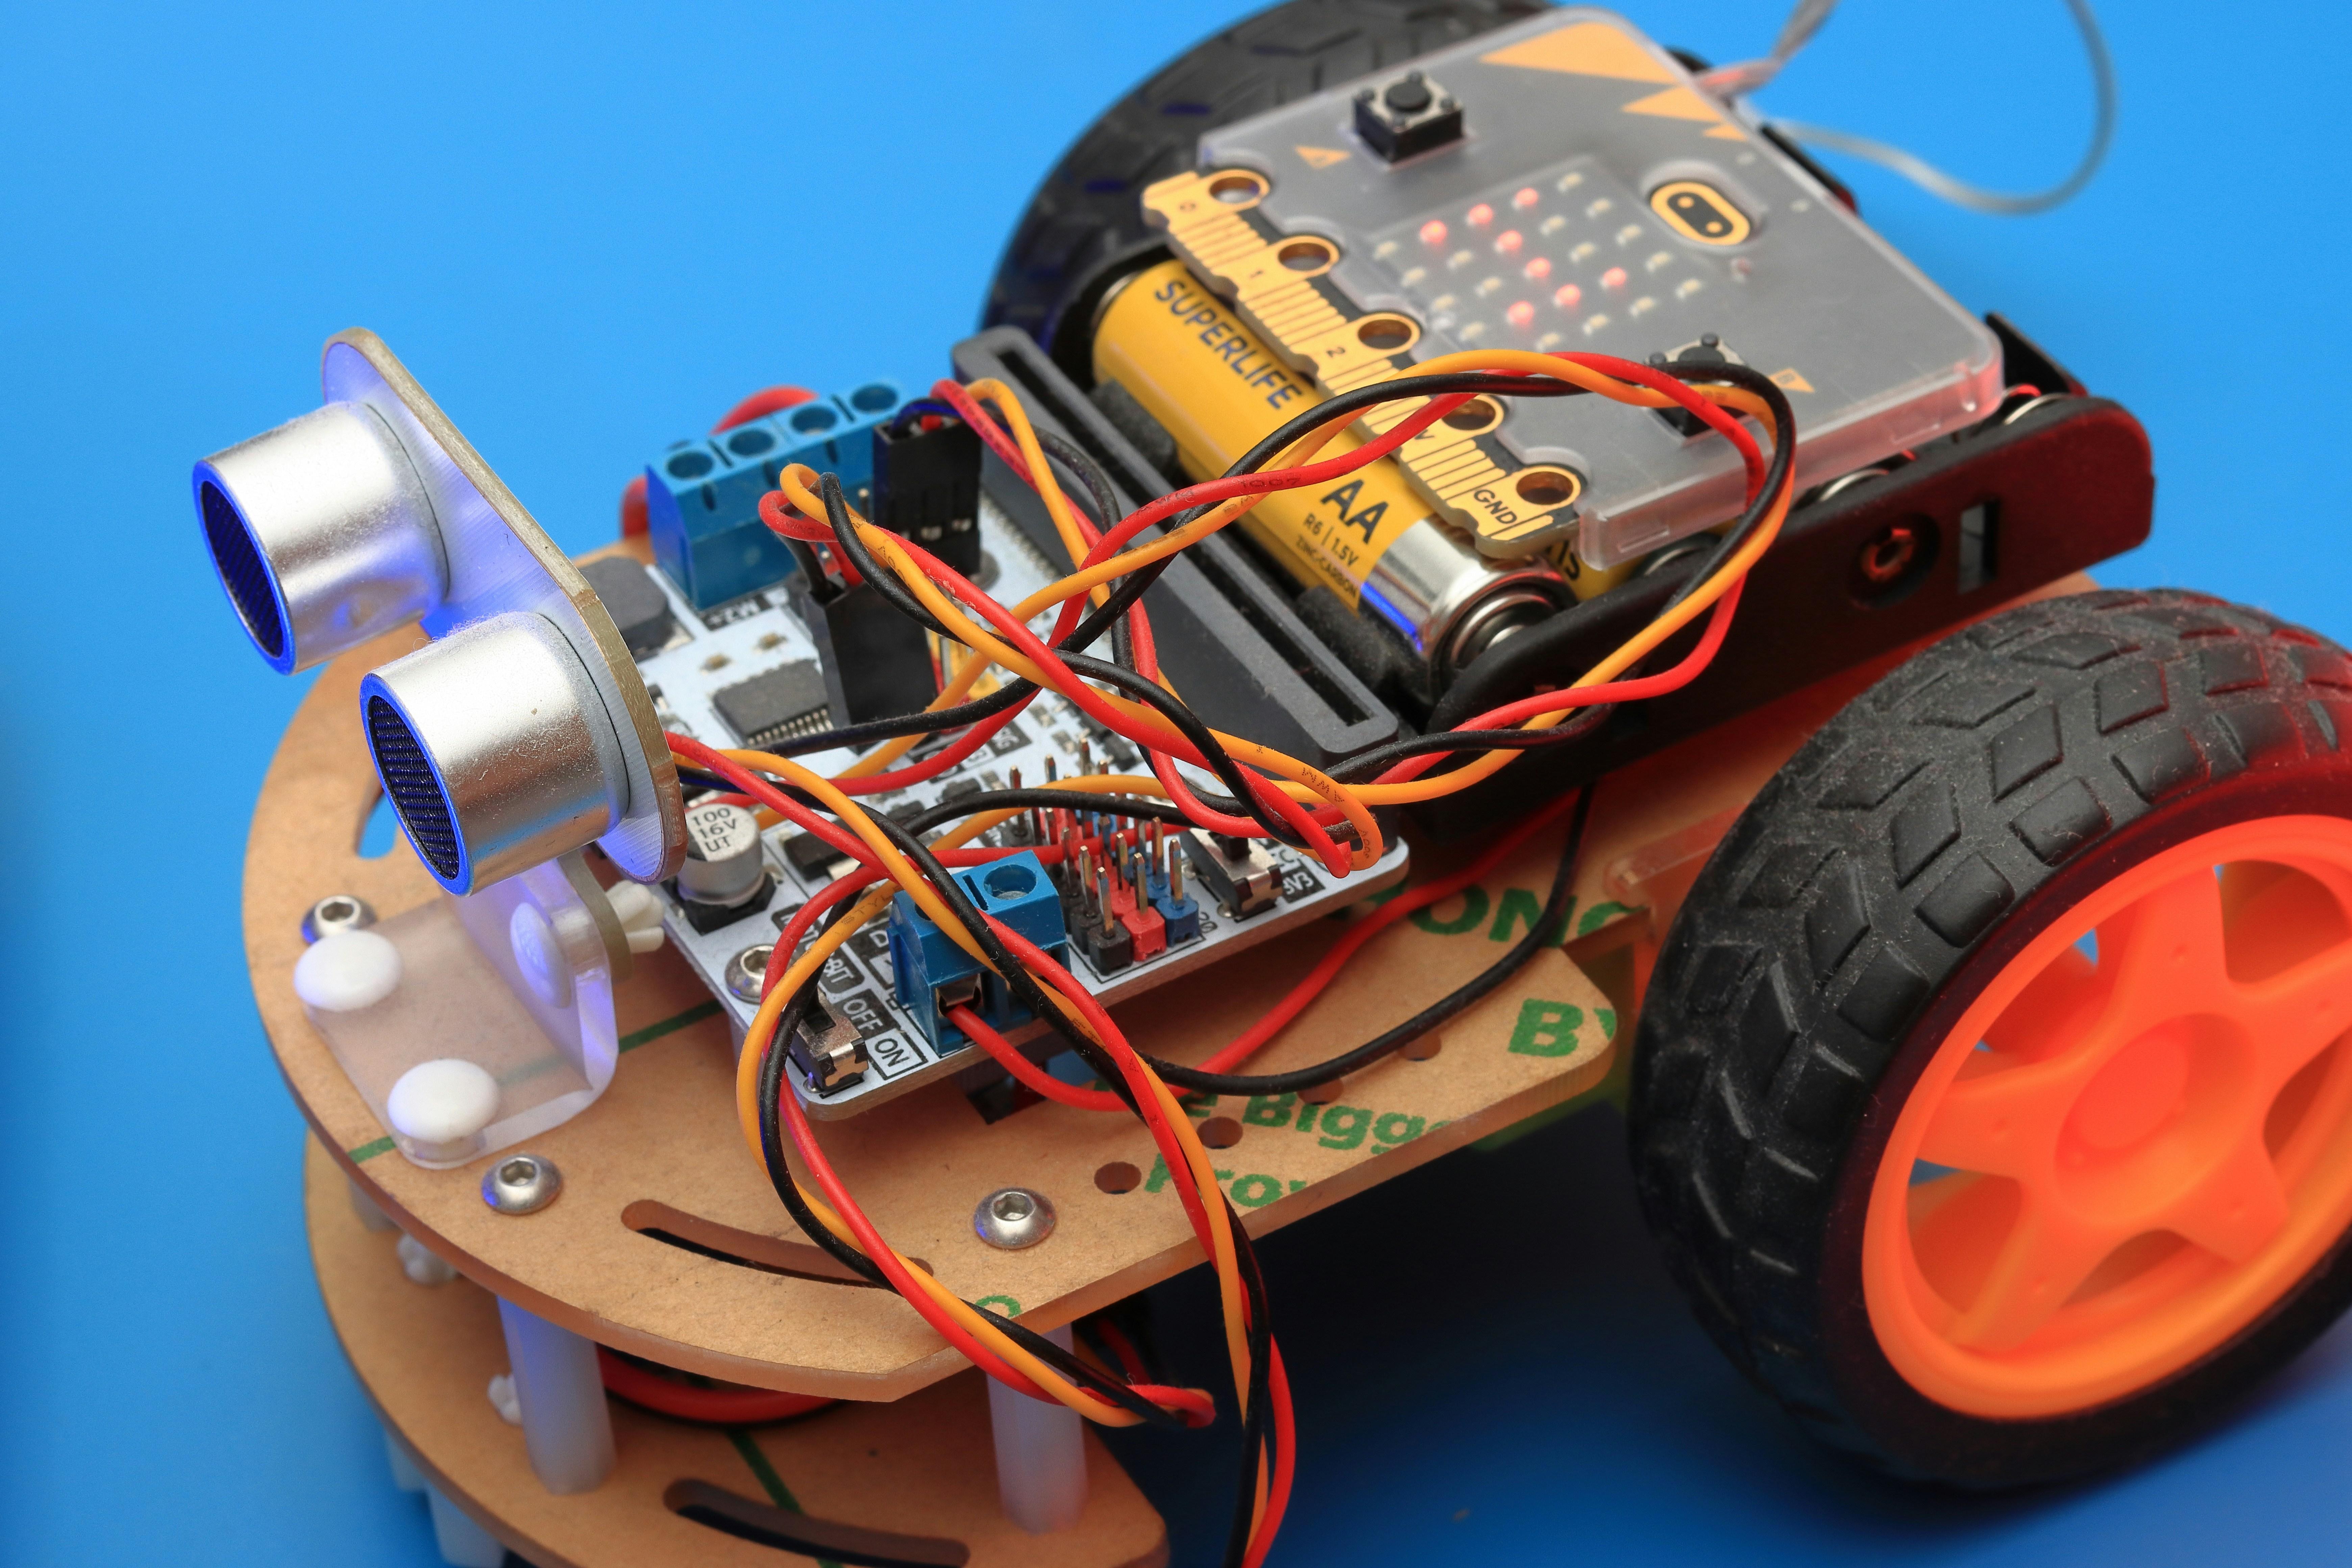
If you’ve ever built a robot, you’ve likely used an Arduino. It’s the standard controller for line-following robots, obstacle-avoiding bots, and even small quadcopters.
- The Tech: Arduino reads data from ultrasonic sensors, gyroscopes, and encoders, then sends commands to motor drivers (like the L298N).
- Pro Tip: For complex navigation, we often use Arduino for the low-level motor control while a Raspberry Pi handles the high-level AI.
- Check out our category on Robotics for more on this.
3. 🎨 Wearable Tech and Interactive Fashion
Forget boring clothes. Arduino has a LilyPad board specifically designed for sewing into fabric.
- The Tech: Flexible circuits, conductive thread, and light sensors.
- Real Example: A jacket that changes color based on the wearer’s heart rate or a backpack that lights up when you turn a corner.
- Why it’s cool: It bridges the gap between fashion and technology, creating interactive experiences.
4. 🎮 Gaming Controllers and Custom Input Devices
Gamers love to tinker. Arduino can mimic a keyboard or mouse, allowing you to create custom macro pads, flight sim yokes, or even fight sticks.
- The Tech: The Arduino Leonardo and Micro have native USB support, meaning they can act as a HID (Human Interface Device) without extra drivers.
- Real Example: A custom controller for a flight simulator that reads throttle position and sends precise inputs to the game.
5. 🌱 Environmental Monitoring and Weather Stations
From backyard weather stations to industrial air quality monitors, Arduino is the silent guardian of our environment.
- The Tech: Sensors for humidity, CO2, particulate matter, and soil moisture.
- Real Example: A network of Arduino-based sensors deployed in a forest to track wildfire risks and send alerts via LoRaWAN.
6. 🏭 Industrial Protyping and Machine Control
While PLCs (Programmable Logic Controllers) rule the factory floor, Arduino is the king of protyping and small-batch automation.
- The Tech: Using Industrial Arduino boards (like the Arduino MKR series) that can handle 24V logic and harsh environments.
- Real Example: A custom conveyor belt sorter for a small e-commerce warehouse that sorts packages by weight.
7. 🎵 Musical Instruments and Audio Synthesis
Musicians are surprisingly tech-savy. Arduino is used to build MIDI controllers, synthesizers, and drum machines.
- The Tech: Reading potentiometers, buttons, and pressure sensors to generate MIDI signals.
- Real Example: A theremin-like instrument that controls pitch and volume based on hand proximity.
8. 🚑 Medical Devices and Health Monitoring
Note: Always consult a professional for medical devices.
Arduino is used in educational medical devices and low-cost diagnostic tools.
- The Tech: Heart rate sensors, pulse oximeters, and ECG sensors.
- Real Example: A portable ECG monitor for students to learn about cardiac rhythms.
9. 🚗 Automotive Projects and Vehicle Diagnostics
Car enthusiasts use Arduino to build OBD-II scanners, boost controllers, and custom dashboards.
- The Tech: Reading CAN bus data from the car’s computer.
- Real Example: A digital dashboard that displays turbo pressure and oil temperature in real-time.
10. 🖼️ Interactive Art Installations and Light Shows
Artists use Arduino to bring static art to life.
- The Tech: Controlling LED strips, servos, and projectors.
- Real Example: A wall of lights that reacts to the sound of the crowd in a museum.
🚀 Why is Arduino Used? The Secret Sauce Behind Its Dominance
Okay, so we know what it does. But why is it used so much? Why not just use a generic microcontroller like an ATmega328P on a breadboard? (Spoiler: You can, but why would you?)
🛠️ The Open-Source Ecosystem Advantage
The biggest reason is community. Because the hardware and software are open source, thousands of developers have created libraries for almost every sensor you can imagine.
- The Benefit: Need to read a temperature sensor? You don’t write the driver from scratch. You just
#include <DHT.h>and you’re done. - The Result: What used to take weeks now takes minutes.
💻 Beginner-Friendly IDE and C++ Simplicity
The Arduino IDE is a masterpiece of simplicity. It hides the complex setup of the compiler and the linker.
- The Structure: Every sketch has two functions:
setup()(runs once) andloop()(runs forever). - The Language: It’s C++, but with a friendly face. You don’t need to worry about setting up registers or memory addresses unless you really want to.
🔌 Massive Shield and Module Compatibility
Shields are add-on boards that stack on top of your Arduino.
- Examples: Motor Shield, Ethernet Shield, GPS Shield.
- Why it matters: You can turn a basic board into a full-blown robot controller in seconds. No soldering required.
💰 Cost-Effective Protyping vs. Commercial Microcontrollers
Designing a custom PCB for a microcontroller is expensive and time-consuming.
- The Math: A custom board might cost $5 in parts but $50 in engineering time. An Arduino board costs ~$25 and is ready to go.
- The Verdict: For protyping and low-volume production, Arduino is unbeatable.
🌍 Vibrant Community Support and Documentation
Stuck on a bug? Go to the Arduino Forum or Stack Overflow. Someone has likely solved your exact problem.
- Resources: The Arduino Project Hub is a goldmine of tutorials.
- The Vibe: It’s a supportive, “maker” culture where sharing is encouraged.
🛠️ How Do I Use Arduino? A Step-by-Step Journey from Blink to Build
Ready to get your hands dirty? Here is our Robotic Coding™ roadmap to your first project.
Step 1: Get the Hardware
You need three things:
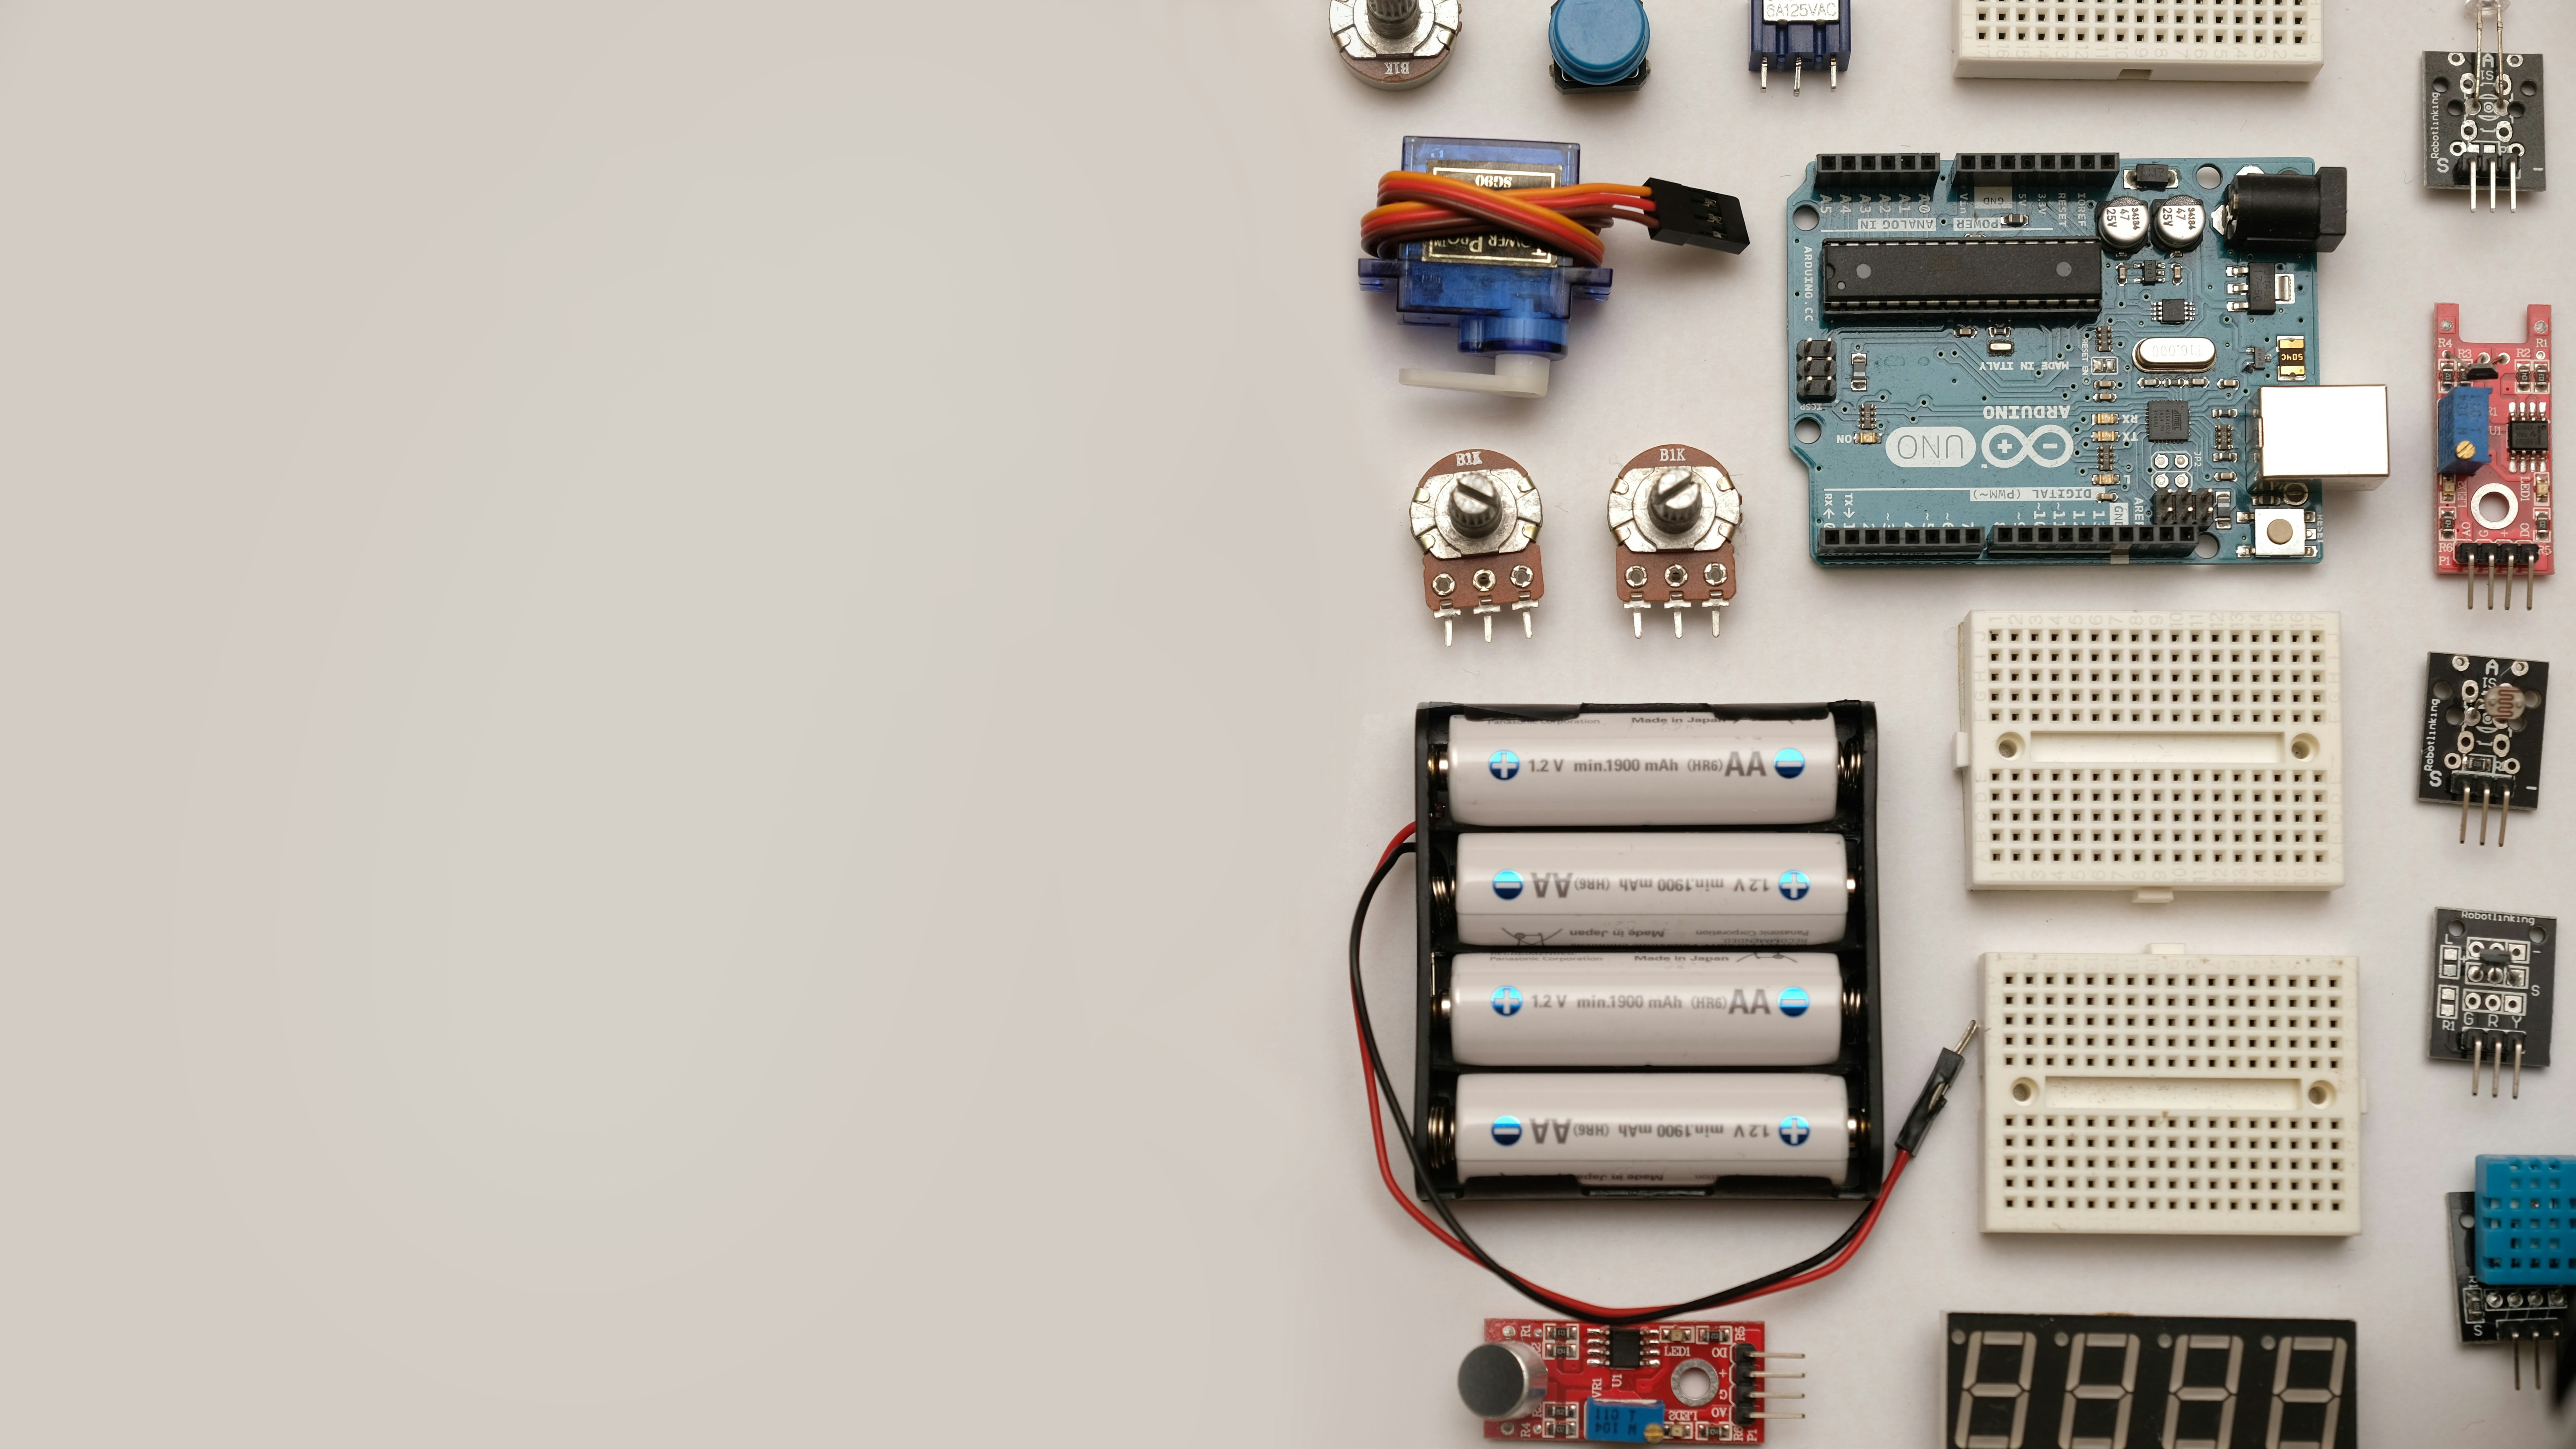
- An Arduino Board: Start with the Arduino Uno R3. It’s the gold standard.
- A USB Cable: Type-B for the Uno, Micro-USB for the Nano.
- A Breadboard and Jumper Wires: For protyping without soldering.
Step 2: Install the Software
Download the Arduino IDE from the official site. It’s free and works on Windows, Mac, and Linux.
- Pro Tip: If you’re on a Mac, you might need to install a driver for the CH340 chip if you’re using a clone.
Step 3: The “Blink” Test
This is the rite of passage.
- Open the IDE.
- Go to
File > Examples > 01.Basics > Blink. - Select your board (
Tools > Board > Arduino Uno). - Select your port (
Tools > Port). - Click the Upload button (the right arrow).
- Watch the LED on the board blink. Success!
Step 4: Build a Real Project
Let’s build a temperature monitor.
- Connect a DHT1 sensor to the board.
- Install the DHT library (
Sketch > Include Library > Manage Libraries > Search "DHT"). - Write code to read the temperature and print it to the Serial Monitor.
- Upload and watch the numbers change!
Step 5: Iterate and Expand
Add an LCD screen to display the temperature. Add a fan to turn on when it gets too hot. This is the iterative process that makes Arduino so powerful.
⚠️ Critical Notice: Safety, Power, and Common Pitfalls
Before you go burning down your house (we’ve seen it happen), let’s talk safety.
- Power Matters: The Arduino Uno can handle 5V on its logic pins. Plugging in 12V directly to a pin will fry the board. Always check your sensor’s voltage requirements.
- Current Limits: Each pin can only supply about 40mA. If you try to power a motor directly from a pin, you’ll blow the microcontroller. Use a transistor or motor driver.
- Short Circuits: A loose wire touching the wrong pin can cause a short. Always double-check your wiring before powering up.
- Heat: Some sensors and motors get hot. Don’t leave them unattended for long periods.
Common Pitfalls:
- Forgetting
delay(): If you usedelay()in your loop, your board freezes. It can’t read sensors or respond to buttons. Learn non-blocking code usingmillis(). - Wrong Pin Mode: Forgetting to set a pin as
INPUTorOUTPUTinsetup()can lead to unpredictable behavior. - Floating Pins: If an input pin isn’t connected to anything, it reads random values. Use pull-up or pull-down resistors.
🧠 Arduino vs. Raspberry Pi: Which One Fits Your Project?
This is the eternal debate. Arduino or Raspberry Pi? It depends on what you need.
| Feature | Arduino (Uno/Nano) | Raspberry Pi (4/Zero) |
|---|---|---|
| Type | Microcontroller (MCU) | Single Board Computer (SBC) |
| OS | None (Firmware) | Linux (Raspberry Pi OS) |
| Processing Power | Low (16 MHz) | High (1.5 GHz+) |
| Programming | C++ (Arduino IDE) | Python, C++, Java, etc. |
| Real-Time | Yes (Deterministic) | No (Non-deterministic) |
| Power Consumption | Very Low (mW) | Higher (W) |
| Best For | Sensors, Motors, Real-time control | Video, Web Servers, AI, Complex UI |
| Cost | ~$25 | ~$35 – $75 |
The Verdict:
- Use Arduino if you need to read a sensor and turn on a motor instantly and reliably.
- Use Raspberry Pi if you need to run a web server, process video, or connect to a database.
- Pro Move: Use both! Let the Pi handle the heavy lifting and the Arduino handle the real-time control.
🔮 Future Trends: Where is Arduino Heading Next?
The world of electronics is evolving, and Arduino is right there with it.
- IoT Integration: New boards like the Arduino MKR and Nano 3 IoT are designed specifically for the Internet of Things, with built-in Wi-Fi and Bluetooth.
- AI at the Edge: With the Arduino Nano 3 BLE Sense, you can run TinyML (Machine Learning on microcontrollers). Imagine a robot that can recognize voice commands without an internet connection!
- Sustainability: There’s a push for biodegradable electronics and low-power designs to reduce e-waste.
- Education 2.0: Arduino is moving deeper into schools, not just for coding, but for STEM integration across all subjects.
We at Robotic Coding™ believe the future is hybrid. The line between microcontrollers and computers is blurring, but the simplicity of Arduino will always have a place in the engineer’s toolkit.
🏁 Conclusion
So, what is Arduino used for and why is it used? It’s used for everything from blinking an LED to controlling industrial machines. It’s used because it’s cheap, easy, open-source, and powerful.
We started this article wondering if Arduino was just a learning tool. The answer is clear: it’s a professional-grade platform that happens to be accessible to beginners. Whether you’re a student, a hobbyist, or a seasoned engineer, Arduino offers a unique blend of flexibility and simplicity that few other platforms can match.
Our Recommendation:
If you are just starting, grab an Arduino Starter Kit (like the one from Arduino Official or Elegoo). It has everything you need to learn the basics. If you’re an expert, look into the Arduino MKR series for your next IoT project.
Don’t let the fear of electronics stop you. The community is there to help, the code is simple, and the possibilities are endless. Start building today.
🔗 Recommended Links
Ready to dive in? Here are the best places to get started:
- 👉 CHECK PRICE on: Arduino Starter Kit Official | Arduino Starter Kit Elegoo | Arduino Official Store
- 👉 CHECK PRICE on: Arduino Uno R3 | Arduino Nano | Arduino Mega
- Books: Arduino Cookbook | Making Things Talk
❓ FAQ: Your Burning Questions Answered
What are some potential career paths and industries that utilize Arduino and robotic coding skills, and how can I get started in this field?
Arduino skills are highly transferable. You can find roles in Robotics Engineering, Embedded Systems Development, IoT Solutions Architecture, and Product Design. Industries like automotive, healthcare, agriculture, and consumer electronics all use these skills. To get started, build a portfolio of projects on GitHub and contribute to open-source Arduino libraries. Check out our Robotics and Artificial Intelligence categories for career insights.
What programming languages are used to code Arduino, and what are the requirements for getting started with Arduino development?
Arduino uses a simplified version of C++. You don’t need to know C++ perfectly to start; the Arduino IDE provides a lot of help. The only requirements are a computer, the Arduino IDE, and an Arduino board. No special licenses or expensive software are needed.
How does Arduino compare to other microcontroller platforms, such as Raspberry Pi, in terms of functionality and ease of use?
As detailed in our comparison table, Arduino is a microcontroller (real-time, low power, simple code), while Raspberry Pi is a computer (OS, high power, complex code). Arduino is easier for hardware control; Raspberry Pi is easier for complex tasks like web servers.
Can Arduino be used for professional and industrial automation, or is it primarily for hobbyists and DIY enthusiasts?
While it started as a hobbyist tool, Industrial Arduino boards (like the MKR series) are used in professional settings for protyping, small-batch automation, and educational tools. For mass production, companies often design custom PCBs based on the same microcontrollers, but the development process often starts with Arduino.
What type of projects can be built using Arduino, and what are some examples of successful applications?
From smart home devices and robots to wearable tech and environmental monitors. Successful applications include the Arduino-based weather stations used in agriculture and the custom controllers used in the gaming industry.
How does Arduino simplify the process of building interactive electronic devices?
It provides a standardized hardware interface (pins), a simplified programming language, and a massive library ecosystem. You don’t need to design circuits from scratch; you just connect components and write code.
What are the benefits of using Arduino in robotics and automation projects?
Real-time control, low cost, modularity (shields), and community support. It allows for rapid protyping, which is crucial in robotics where you need to test and iterate quickly.
Read more about “Is Arduino Similar to Raspberry Pi? The 2026 Showdown 🤖”
What are the best Arduino projects for beginners in robotics?
Start with a line-following robot or an obstacle-avoiding robot. These teach you about sensors, motors, and basic logic without overwhelming complexity.
Read more about “Is Arduino Beginner Friendly? The 2026 Verdict & Top 7 Picks 🤖”
How does Arduino compare to Raspberry Pi for robot control?
Use Arduino for the low-level motor control and sensor reading (real-time). Use Raspberry Pi for high-level decision making, vision processing, and navigation. Many advanced robots use both.
Read more about “Is MicroPython Compatible with CircuitPython? The 2026 Truth 🤖”
Can Arduino be used for autonomous robot navigation?
Yes, but it’s limited by processing power. For simple navigation (line following, obstacle avoidance), Arduino is perfect. For complex SLAM (Simultaneous Localization and Mapping), you’ll likely need a Raspberry Pi or a more powerful computer.
Read more about “10 Best Arduino Programming Tutorials to Master Robotics (2026) 🤖”
What sensors work best with Arduino for robotic applications?
Ultrasonic sensors (HC-SR04) for distance, IR sensors for line following, IMUs (MPU6050) for balance, and encoders for wheel speed.
Read more about “🤖 MicroPython vs Python: The Ultimate 2026 Showdown for Robotics”
Is Arduino suitable for industrial robotics or just hobbyist projects?
It’s suitable for protyping and small-scale industrial automation. For heavy-duty, safety-critical industrial robotics, dedicated PLCs or industrial controllers are preferred, but Arduino is often used in the R&D phase.
Read more about “🚀 Microcontroller Programming: The Ultimate 2026 Guide to Embedded Mastery”
How do I program Arduino for real-time robotic movements?
Use non-blocking code with millis() instead of delay(). This ensures your robot can react to sensors while moving. Libraries like AccelStepper help with precise motor control.
Read more about “🤖 15+ Best Arduino Sensors for Robots (2026 Guide)”
What are the limitations of using Arduino in complex robotic systems?
Limited processing power (can’t run complex AI), limited memory (can’t store large maps), and no OS (harder to manage complex tasks). For these, consider a hybrid approach with a Raspberry Pi.
Read more about “🐍 Embeding Python in Robotics Systems: The 2026 Hybrid Blueprint”