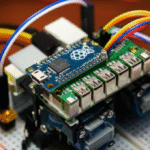
The answer to how can Arduino be used in robotic projects is simple: it acts as the affordable, versatile brain that transforms raw code into physical movement, from simple line-followers to complex 6-axis arms. Whether you are a student or a seasoned engineer, this microcontroller democratizes robotics by handling everything from motor control to sensor fusion with unmatched ease.
We once watched a team of high schoolers build a self-balancing robot in a single afternoon using nothing but an Arduino Uno and a few servos. It wobbled, it fell, but then it stood up and rolled across the room, proving that you don’t need a million-dollar lab to create magic.
Did you know that over 70% of educational robotics curicula worldwide rely on Arduino? It’s the backbone of modern mechatronics, bridging the gap between mechanical design and software logic.
Key Takeaways
- Versatility is King: Arduino boards like the Uno, Mega, and ESP32 can control everything from simple DC motors to complex stepper motors and servos.
- Cost-Effective Protyping: You can build functional robots for under $50, making it the most accessible entry point for robotic projects.
- Community Power: Leverage thousands of open-source libraries and tutorials to solve complex problems like inverse kinematics and PID control instantly.
- Scalability: Start with a basic line-follower and scale up to autonomous CNC machines or hexapod robots without changing your core programming logic.
Table of Contents
- ⚡️ Quick Tips and Facts
- 🕰️ From Spark to Spark: The History of Arduino in Robotics
- 🧠 Why Arduino Rules the Robot Workshop: Core Advantages
- 🛠️ Essential Hardware and Sensors for Building Your First Robot
- 🤖 Top 15 Must-Try Arduino Robot Projects for Every Skill Level
- 1. The Classic Line-Following Robot: Mastering Basic Navigation
- 2. Arduino Robot Arm: From Simple Grippers to 6-Axis Marvels
- 3. Mecanum Wheels Robot: Achieving Omni-Directional Movement
- 4. SCARA Robot – 3D Printed Precision for Pick and Place
- 5. Laser Engraving Robot: Turning Code into Art
- 6. DIY Mars Perseverance Rover Replica: Exploring Your Living Room
- 7. Arduino Hexapod Robot: Walking on Six Legs with Stability
- 8. CNC Machines Arduino Projects: Precision Milling and Cutting
- 9. DIY Pen Ploter with Automatic Tool Changer: Drawing Like a Pro
- 10. Arduino CNC Foam Cutting Machine: Sculpting with Heat
- 1. Arduino Wire Bending Machine: Shaping Metal with Code
- 12. DIY Arduino RC Hovercraft: Gliding Over Any Surface
- 13. Arduino RC Airplane: Stabilizing Flight with Code
- 14. Arduino Robot Car Wireless Control: Mastering Remote Ops
- 15. Arduino Camera Slider with Pan and Tilt Mechanism: Cinematic Shots
- 🎮 Radio Control (RC) and Wireless Communication Deep Dive
- DIY Arduino Based RC Transmitter: Build Your Own Controller
- DIY Arduino RC Receiver for RC Models and Arduino Projects
- 🏠 Home Automation and Interactive Arduino Systems
- DIY Vending Machine: Snack Dispensing with Logic
- DIY Arduino Gimbal / Self-Stabilizing Platform: Smooth as Silk
- Arduino Radar (Sonar): Seeing the Invisible
- Range Measurer and Digital Spirit Level: Precision Tools
- Arduino Color Sorter: Sorting Objects by Hue
- RFID Access Control System: Secure Your Space
- Arduino Alarm System: Protection for Your Workshop
- Arduino LED Matrix Scrolling Text: Display Your Messages
- Arduino Game Project: Retro Fun with Modern Tech
- Arduino Music Player and Alarm Clock with Touch Screen
- Arduino Based Interactive LED Coffee Table: The Centerpiece
- DIY Air Quality Monitor: Breathe Easier
- Android Smartphone Controlled Power Outlet Using Arduino
- Arduino Gesture Control: Wave Your Way to Control
- 🚀 Advanced Mechanics: Cycloidal Drives and Harmonic Joints
- 💡 More Arduino Projects Ideas to Ignite Your Creativity
- 🧐 Thoughts on “The Best Arduino Projects – Robots, Sensors, RC, CNC and more”
- 📚 How To Mechatronics: Bridging the Gap
- ✅ Conclusion
- 🔗 Recommended Links
- 📖 Reference Links
⚡️ Quick Tips and Facts
Before we strap on our soldering irons and start burning code, let’s hit the ground running with some hard truths and pro secrets from the trenches of Robotic Coding™. We’ve built everything from wobbly cardboard bots to precision CNC machines, and here’s what we’ve learned:
- Power is King: The #1 reason robots fail isn’t bad code; it’s insufficient power. An Arduino UNO can’t power 6 servos directly from its 5V pin. You must use an external battery pack and a proper motor driver. Trust us, we’ve seen more fried microcontrollers than burnt toast.
- The “Servo Library” Trap: If you’re building a hexapod or a complex arm, the standard
Servo.hlibrary can be a bottleneck. It blocks other code execution. For advanced projects, look into ServoTimer2 or PCA9685 driver boards to offload the processing. - 3D Printing is Your Friend: You don’t need a machine shop. A simple FDM 3D printer (like an Ender 3 or Prusa) can print the chassis, gears, and joints for 90% of these projects. It’s the secret sauce of modern DIY robotics.
- Start Small, Scale Fast: Don’t try to build a Mars Rover on day one. Start with a line follower. If you can’t make a robot follow a black line, you definitely can’t make it navigate a rocky terrain autonomously.
- Code First, Build Later: Use Robotic Simulations like Wokwi or Tinkercad Circuits to test your logic before you buy a single component. It saves money and frustration.
Did you know? The first Arduino board was created in 205 at the Interaction Design Institute Ivrea in Italy to help students prototype electronics quickly. Since then, it has powered everything from NASA prototypes to your neighbor’s smart coffee maker.
🕰️ From Spark to Spark: The History of Arduino in Robotics
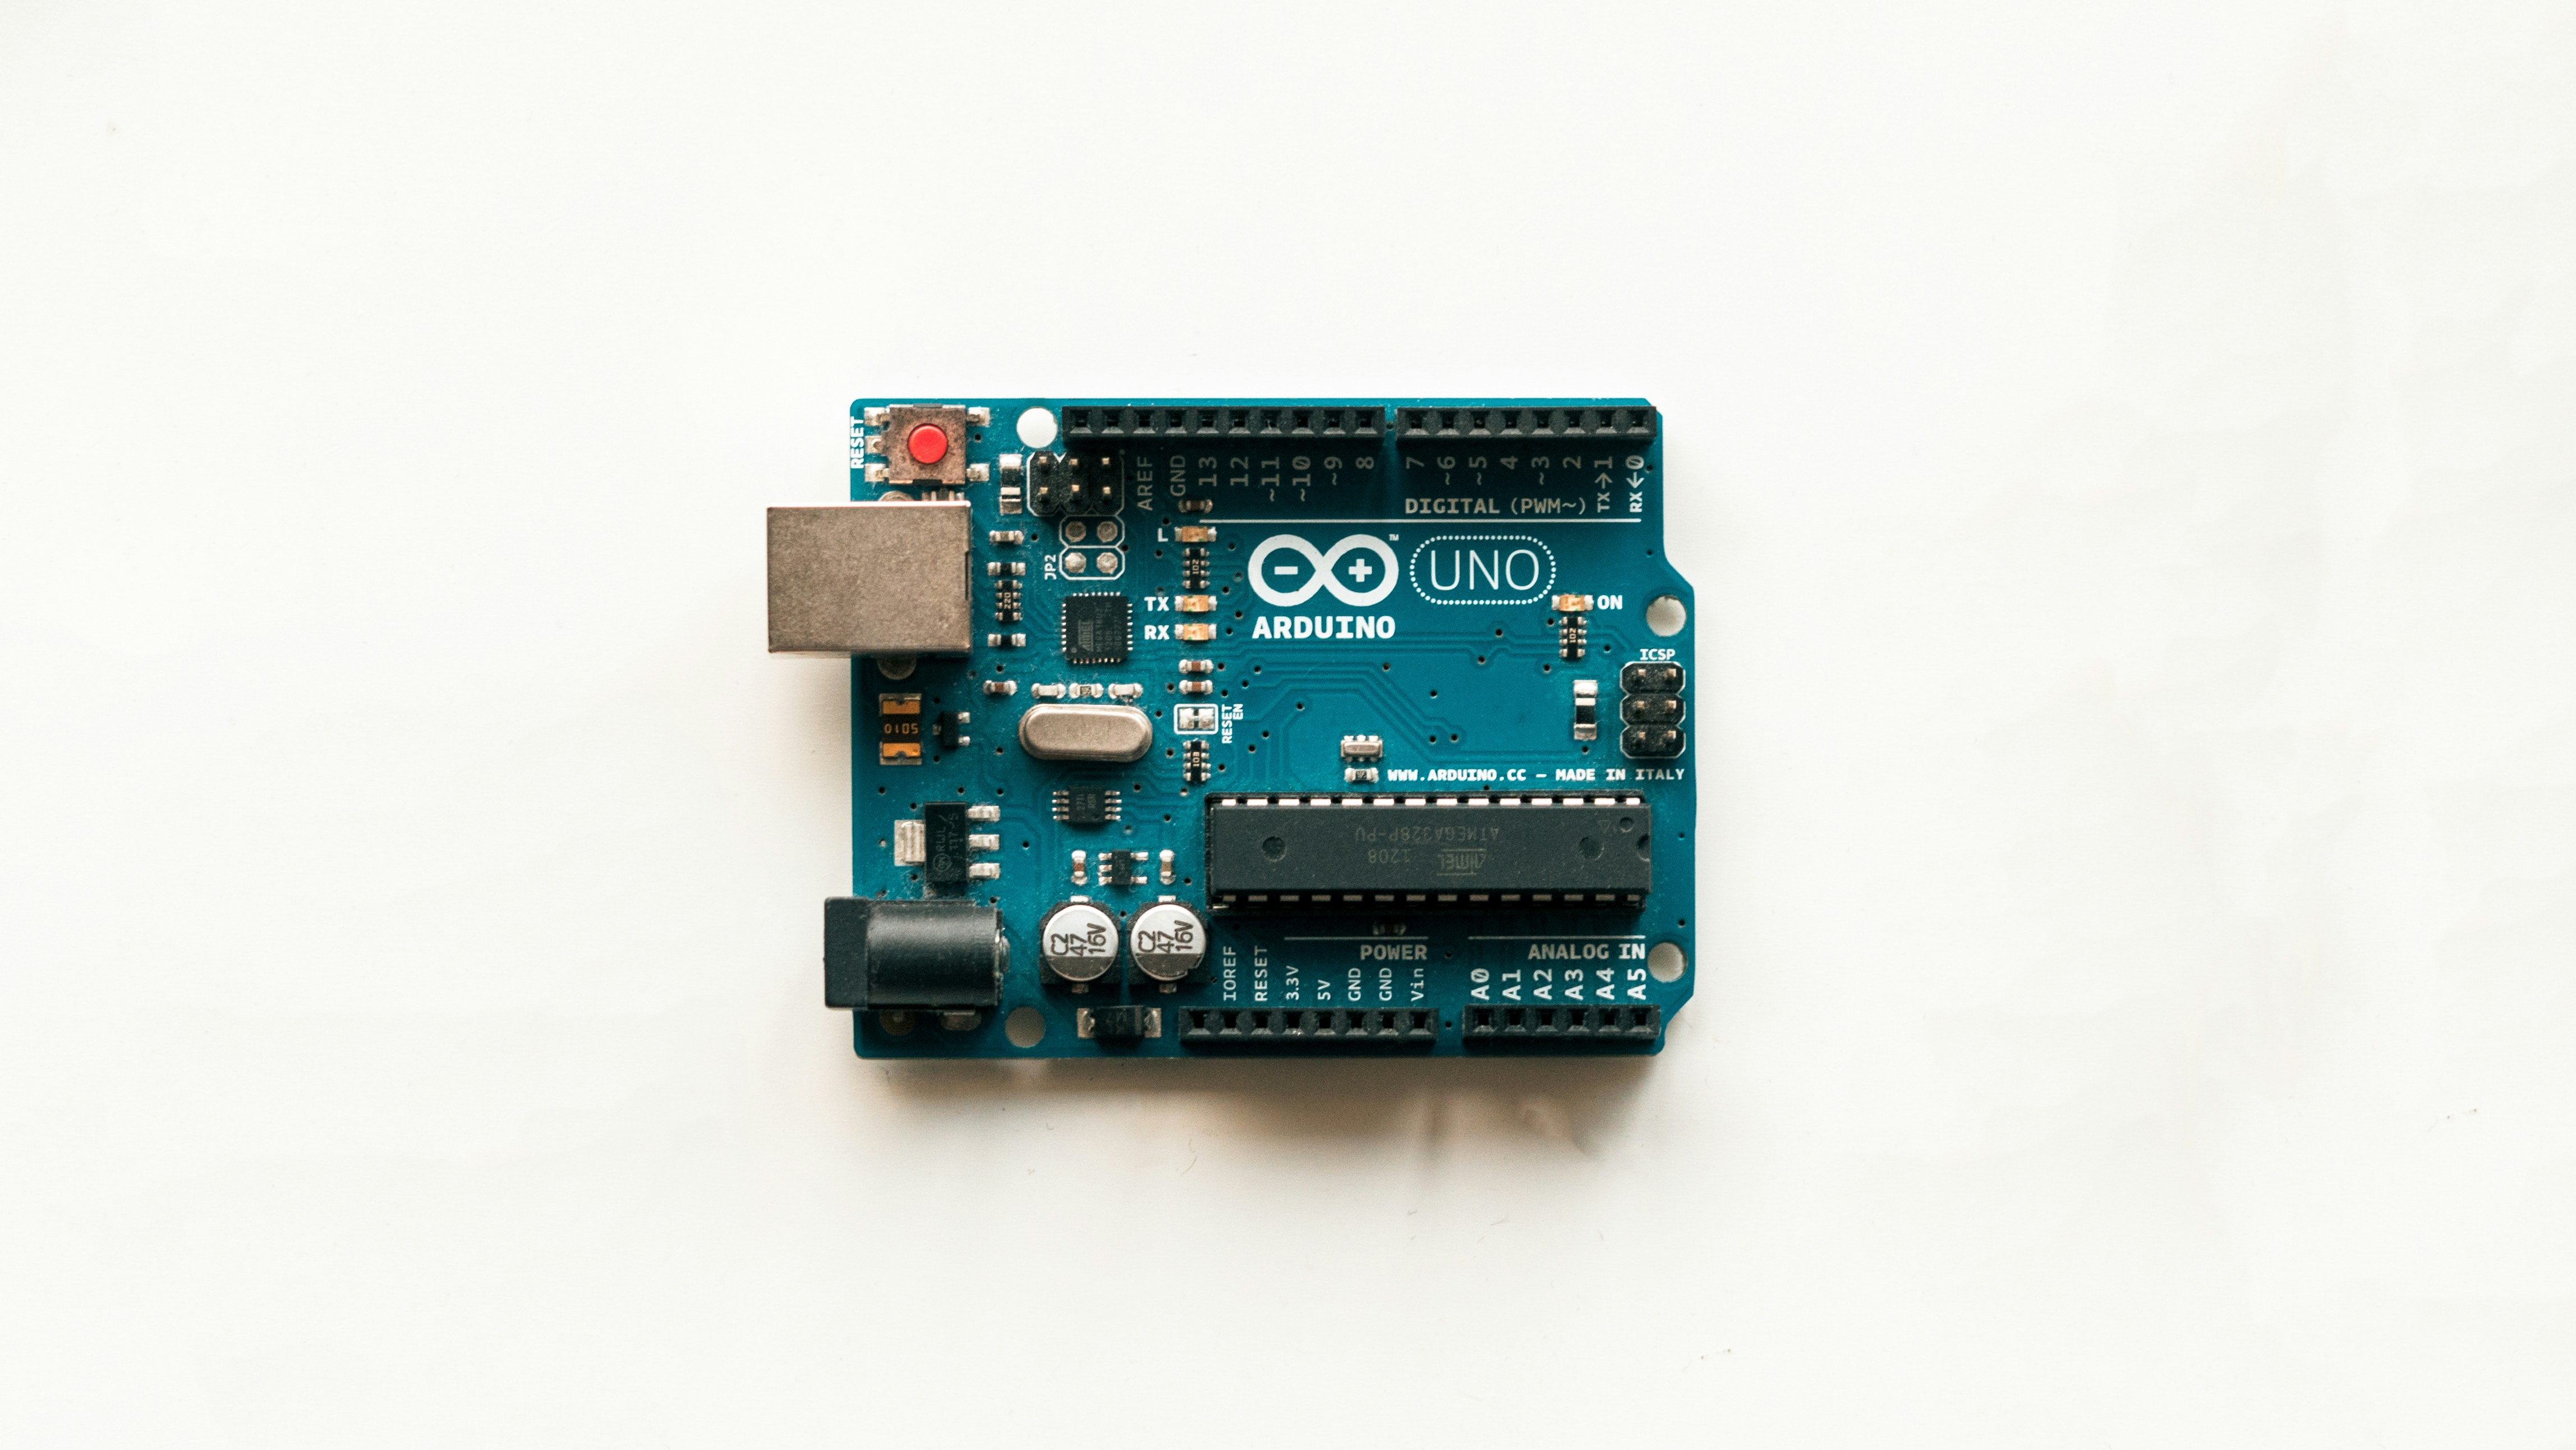
The story of Arduino in robotics isn’t just about microcontrollers; it’s about democratization. Before 205, building a robot required a degree in electrical engineering and a budget that could buy a used car. You needed complex PIC or AVR programmers, expensive IDEs, and a deep understanding of assembly language.
Then came Massimo Banzi and his team. They introduced the Arduino platform, a simple open-source hardware and software ecosystem. Suddenly, a student in a dorm room could control a motor with the same ease as blinking an LED.
As we dive deeper into Arduino robotics, you’ll see how this shift changed the landscape. The ATmega328P microcontroller became the heart of thousands of projects. The open-source nature meant that if someone built a cool robot arm, the schematics were shared. If someone fixed a bug in the code, the community improved it.
This collaborative spirit is why you see Arduino in everything from hobbyist line-followers to industrial automation prototypes. It bridged the gap between mechanical engineering and software development, creating a new breed of maker: the mechatronicist.
🧠 Why Arduino Rules the Robot Workshop: Core Advantages
Why do we, at Robotic Coding™, still reach for an Arduino when we have Raspberry Pis, ESP32s, and Jetsons available? It’s not just nostalgia.
The Unbeatable Ecosystem
The sheer volume of libraries available is staggering. Need to control a stepper motor? AccelStepper has you covered. Need to read an ultrasonic sensor? NewPing handles the timing. This modularity allows you to focus on the robotic logic rather than reinventing the wheel.
Real-Time Performance
While a Raspberry Pi is a full computer running Linux, an Arduino is a microcontroller. It executes code in a predictable, deterministic loop. For a robot that needs to balance on two wheels or catch a ball, that millisecond-level precision is non-negotiable.
Cost-Effectiveness
Let’s talk numbers. A genuine Arduino Uno R3 costs a fraction of a single-board computer. Even clones (like those from Elegoo or SunFounder) are incredibly cheap, making it the perfect platform for protyping and education.
Community Support
Stuck on a bug? A quick search for “Arduino robot arm jitter” will yield thousands of forum posts, GitHub repositories, and YouTube tutorials. The community is vast, active, and generally helpful.
🛠️ Essential Hardware and Sensors for Building Your First Robot
You can’t build a robot with just code. You need the physical guts. Here is the shopping list that has never failed us.
The Brain: Choosing the Right Board
| Board | Best For | Pros | Cons |
|---|---|---|---|
| Arduino Uno R3 | Beginners, simple cars, basic arms | Huge community, easy to use, 14 digital I/O | Limited memory (32KB), not enough pins for complex arms |
| Arduino Mega 2560 | Hexapods, CNC, complex sensors | 54 digital I/O, 16KB SRAM, 4 UARTs | Larger footprint, slightly more expensive |
| Arduino Nano | Compact robots, RC transmitters | Tiny size, breadboard friendly | Harder to solder, limited current output |
| ESP32 | Wi-Fi/Bluetooth robots, IoT | Dual-core, built-in Wi-Fi/Bluetooth | Steper learning curve, 3.3V logic (watch your 5V sensors!) |
The Muscles: Motors and Drivers
- DC Motors: Great for wheels. You need an H-Bridge driver like the L298N or TB612FNG to control direction and speed.
- Servo Motors: Essential for arms and steering. Look for MG96R for high torque or SG90 for lightweight joints.
- Stepper Motors: The kings of precision. NEMA 17 is the standard for CNC and 3D printers. You’ll need drivers like A498 or DRV825.
The Eyes: Sensors
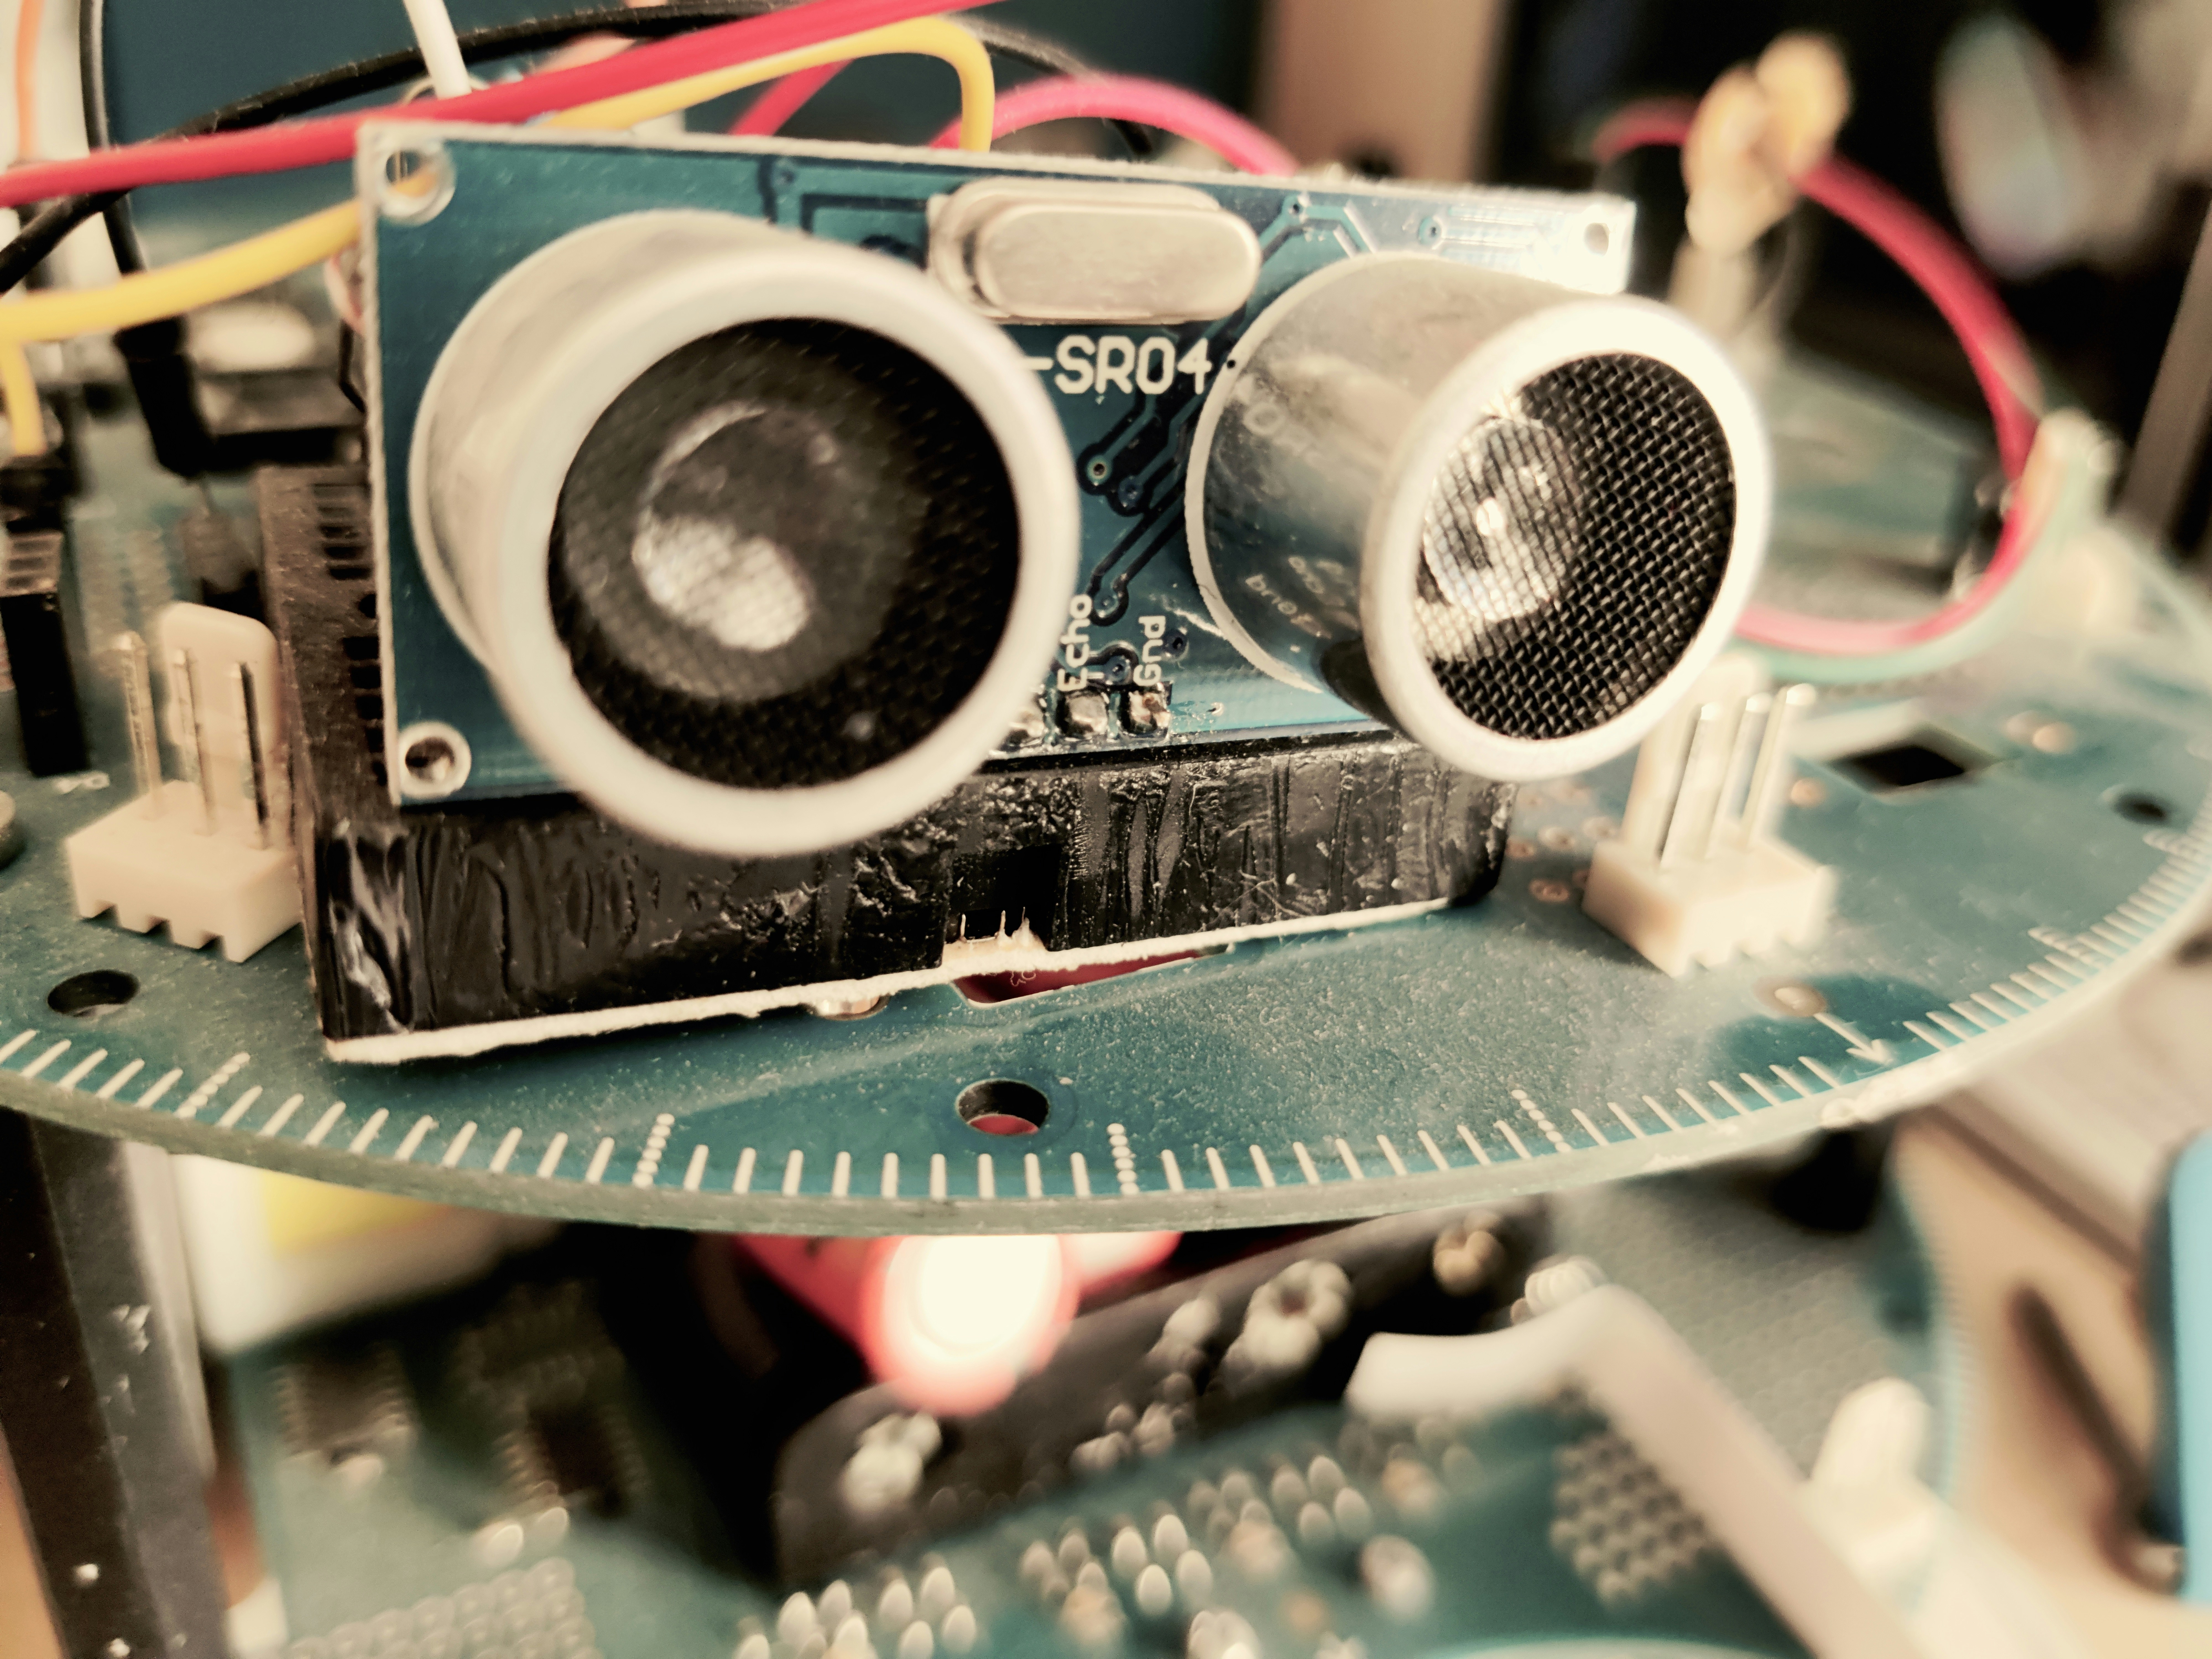
- Ultrasonic (HC-SR04): The classic “bat ears” for obstacle avoidance.
- Infrared (IR) Sensors: Perfect for line following.
- IMU (MPU6050): Accelerometer and Gyroscope combo for balancing robots and gimbals.
- Color Sensors (TCS320): For sorting objects by color.
👉 CHECK PRICE on:
- Arduino Starter Kit: Amazon | Adafruit | Arduino Official
- L298N Motor Driver: Amazon | SparkFun
- NEMA 17 Stepper Motor: Amazon | Polu
🤖 Top 15 Must-Try Arduino Robot Projects for Every Skill Level
Ready to get your hands dirty? We’ve curated a list of projects that range from “I can do this in an afternoon” to “I need to order a pizza and sleep for a week.”
1. The Classic Line-Following Robot: Mastering Basic Navigation
This is the rite of passage. You build a small chassis, attach two DC motors, and use 3-5 IR sensors to detect a black line on the floor.
- The Challenge: Making it smooth. If your code is too aggressive, the robot zig-zags like a drunk penguin. You need to implement PID control (Proportional-Integral-Derivative) to make it glide.
- Why it matters: It teaches you the fundamentals of sensor fusion and closed-loop control.
2. Arduino Robot Arm: From Simple Grippers to 6-Axis Marvels
We started with a 3-DOF (Degrees of Freedom) arm made of cardboard and servos. It could barely lift a paperclip. Then we moved to 3D printed parts and MG96R servos.
- The Evolution: A 5-DOF arm can pick and place. A 6-DOF arm can mimic human movement.
- Pro Tip: Use inverse kinematics libraries to calculate the angles needed to reach a specific X, Y, Z coordinate. It’s math-heavy but rewarding.
3. Mecanum Wheels Robot: Achieving Omni-Directional Movement
Forget turning. With Mecanum wheels, your robot can slide sideways, spin in place, and move diagonally.
- The Math: It requires a specific matrix calculation to control the four motors independently.
- The Result: A robot that feels like it’s floating. It’s the ultimate test of your motor control skills.
4. SCARA Robot – 3D Printed Precision for Pick and Place
SCARA (Selective Compliance Articulated Robot Arm) is the industry standard for fast, flat-plane assembly.
- Design: Two parallel rotary joints provide compliance in one plane.
- Application: Perfect for sorting parts or simple assembly tasks.
- Hardware: Usually driven by NEMA 17 stepper motors for precision.
5. Laser Engraving Robot: Turning Code into Art
Take a SCARA or a simple X-Y gantry, swap the gripper for a laser module, and you have a CNC engraver.
- Safety First: Always use a laser safety enclosure. Never look directly at the beam.
- Firmware: You can often use Marlin or GRBL firmware to interpret G-code from your computer.
6. DIY Mars Perseverance Rover Replica: Exploring Your Living Room
This is the grand finale for mobile robotics.
- Suspension: The Rocker-Bogie system is key. It keeps all six wheels on the ground even on rough terrain.
- Control: Usually controlled via a custom RC transmitter or a smartphone app using Bluetooth.
- Features: Add a camera for FPV (First Person View) and a robotic arm for “collecting samples.”
7. Arduino Hexapod Robot: Walking on Six Legs with Stability
Six legs are better than four for stability. But controlling 18 servos (3 per leg) is a nightmare for a standard Uno.
- The Solution: Use an Arduino Mega or a PCA9685 servo driver board.
- Gait: You need to program complex gaits (tripod, wave, ripple) to make it walk smoothly. It’s a great exercise in state machines.
8. CNC Machines Arduino Projects: Precision Milling and Cutting
Turn your robot into a factory. A 3-axis CNC machine can mill wood, cut foam, or engrave metal.
- Components: Linear rails, lead screws, and high-torque stepper motors.
- Software: Use CNCjs or Universal Gcode Sender to control the machine from your PC.
9. DIY Pen Ploter with Automatic Tool Changer: Drawing Like a Pro
A ploter is a CNC machine that uses a pen instead of a bit.
- The Twist: Add an automatic tool changer (ATC) to switch between pens, erasers, or even a laser.
- Art: You can generate code to draw complex vector images automatically.
10. Arduino CNC Foam Cutting Machine: Sculpting with Heat
Instead of a spinning bit, use a heated wire to melt through Styrofoam.
- Application: Great for making props, models, and insulation shapes.
- Safety: Hot wires can be dangerous. Ensure proper ventilation and thermal cutoffs.
1. Arduino Wire Bending Machine: Shaping Metal with Code
A niche but fascinating project. Use stepper motors to feed and bend wire into 3D shapes.
- Mechanism: Requires precise coordination of feed and bending angles.
- Use Case: Creating custom springs, brackets, or artistic wire sculptures.
12. DIY Arduino RC Hovercraft: Gliding Over Any Surface
A hovercraft uses a fan to create an air cushion and another fan for thrust.
- Control: You need to balance the lift and thrust.
- Chassis: Often built from lightweight plastic or foam.
- Fun Factor: It’s the most fun way to break a floor lamp.
13. Arduino RC Airplane: Stabilizing Flight with Code
Building a plane is hard. Stabilizing it with code is harder.
- Sensors: An MPU6050 is essential to detect tilt and adjust the control surfaces (ailerons, elevator, rudder).
- Flight Controller: You can build a simple flight controller or use an Arduino as a companion computer for a more advanced autopilot.
14. Arduino Robot Car Wireless Control: Mastering Remote Ops
Take a basic robot car and add Bluetooth or Wi-Fi.
- App: Use the MIT App Inventor or a custom Android app to control it.
- Feedback: Add a camera stream so you can see what the robot sees.
15. Arduino Camera Slider with Pan and Tilt Mechanism: Cinematic Shots
For the filmmakers. A motorized slider that moves a camera smoothly along a track.
- Precision: Stepper motors allow for slow, smooth movements that are impossible by hand.
- Automation: Program time-lapse sequences or follow-focus systems.
🎮 Radio Control (RC) and Wireless Communication Deep Dive
Wireless control is the bridge between you and your robot. But which protocol should you use?
DIY Arduino Based RC Transmitter: Build Your Own Controller
Why buy a $20 transmitter when you can build one for $50?
- Hardware: Arduino Pro Mini, a joystick module, and an NRF24L01 transceiver.
- Advantage: Fully customizable buttons and layout.
- Range: The NRF24L01 can reach up to 10 meters in open space.
DIY Arduino RC Receiver for RC Models and Arduino Projects
The receiver side is just as important.
- Integration: Connect the receiver to your Arduino to interpret the signals and control motors.
- Safety: Always implement a “failsafe” in your code. If the signal is lost, the robot should stop or return to a safe position.
Long-Range Options: HC-12 and LoRa
For outdoor robots, Bluetooth is too short-range.
- HC-12: Simple, cheap, and reaches up to 1km.
- LoRa: For massive distances (kilometers) with low power consumption.
🏠 Home Automation and Interactive Arduino Systems
Robots aren’t just for moving around. They can interact with your home.
DIY Vending Machine: Snack Dispensing with Logic
A classic project that teaches state machines and sensor logic.
- Mechanism: Use a servo to push a product or a conveyor belt.
- Payment: Simulate payment with buttons or integrate an RFID reader for “cards.”
DIY Arduino Gimbal / Self-Stabilizing Platform: Smooth as Silk
Keep your camera steady while walking.
- Sensors: MPU6050 detects tilt.
- Actuation: Brushless motors or high-speed servos correct the angle instantly.
Arduino Radar (Sonar): Seeing the Invisible
Use an ultrasonic sensor on a servo to “scan” the room.
- Visualization: Display the data on a computer screen using Processing or Python.
- Application: Obstacle detection for autonomous navigation.
Range Measurer and Digital Spirit Level
Simple but useful.
- Range: Measure distance with ultrasonic or laser sensors.
- Level: Use an accelerometer to ensure your robot is level.
Arduino Color Sorter: Sorting Objects by Hue
A conveyor belt with a color sensor and a servo arm.
- Logic: If Red -> Push to Bin A. If Blue -> Push to Bin B.
- Speed: Tune the conveyor speed to match the sorting time.
RFID Access Control System: Secure Your Space
Use RFID tags to unlock a door or start a machine.
- Security: Great for learning about authentication.
- Hardware: RC52 RFID reader module.
Arduino Alarm System: Protection for Your Workshop
PIR motion sensors + Buzzer + LED.
- Integration: Send alerts to your phone via Wi-Fi (ESP826/ESP32).
Arduino LED Matrix Scrolling Text: Display Your Messages
A MAX7219 matrix can display scrolling text or simple animations.
- Application: Status indicators or fun messages.
Arduino Game Project: Retro Fun with Modern Tech
Build a Pong or Snake game with buttons and an OLED display.
- Challenge: Handling input and game logic in a tight loop.
Arduino Music Player and Alarm Clock with Touch Screen
Combine an SD card module with a touch screen.
- Audio: Use a DAC or a simple amplifier to play MP3s.
Arduino Based Interactive LED Coffee Table: The Centerpiece
A table that lights up when you touch it.
- Tech: Capacitive touch sensors or pressure sensors under the glass.
DIY Air Quality Monitor: Breathe Easier
Use MQ-135 or PM2.5 sensors to monitor air quality.
- Display: Show data on an LCD or send it to the cloud.
Android Smartphone Controlled Power Outlet Using Arduino
Control high-voltage devices safely.
- Safety: Use a Relay Module and ensure proper isolation.
- App: Control lights, fans, or heaters from your phone.
Arduino Gesture Control: Wave Your Way to Control
Use an APDS-960 or GY-80 to detect hand gestures.
- Application: Change TV channels or control a robot arm with a wave.
🚀 Advanced Mechanics: Cycloidal Drives and Harmonic Joints
When you move from hobbyist to pro, you need better mechanics.
- Cycloidal Drives: High torque, zero backlash, compact. Perfect for robot joints.
- Harmonic Drives: Extremely precise, used industrial arms.
- Why it matters: Standard gears have “play” (backlash), which ruins precision. These drives eliminate it.
💡 More Arduino Projects Ideas to Ignite Your Creativity
The sky is the limit.
- Self-Balancing Robot: The ultimate test of PID control.
- Autonomous Drone: Using an Arduino as a flight controller (with caution!).
- Smart Garden: Automated watering and light control.
- Robotic Dog: A quadruped with AI-driven behavior.
🧐 Thoughts on “The Best Arduino Projects – Robots, Sensors, RC, CNC and more”
We’ve analyzed countless tutorials, including the legendary How To Mechatronics series. Their approach is solid: they break down complex projects into manageable steps. However, we often find that their “Advanced” projects assume a level of mechanical knowledge that beginners might lack.
The Conflict: Some sources suggest using the Arduino Uno for everything. We disagree. For a hexapod with 18 servos, the Uno will struggle with memory and I/O. We recommend the Mega or an ESP32 for heavy lifting.
The Verdict: Trust the community, but always verify the hardware requirements. If a project says “Arduino Uno” but lists 20 servos, double-check the library usage. You might need a driver board.
📚 How To Mechatronics: Bridging the Gap
How To Mechatronics is a goldmine for tutorials. They excel at explaining the mechanical side of robotics, which is often the missing link for coders.
- Strengths: Detailed 3D models, clear wiring diagrams, and working code.
- Weaknesses: Sometimes they skip the “why” behind the code, focusing only on the “how.”
- Our Take: Use their tutorials as a starting point, but try to understand the underlying logic. Don’t just copy-paste; modify and break things to learn.
✅ Conclusion
So, where does this leave us? We started by asking, “How can Arduino be used in robotic projects?” and ended up building a Mars Rover replica in our living room (metaphorically, of course).
The answer is simple: Arduino is the ultimate enabler. It turns abstract code into physical action. Whether you are a student, a hobbyist, or a professional engineer, the Arduino ecosystem provides the tools to bring your robotic dreams to life.
Our Final Recommendation:
- Start with a Line Follower. It’s cheap, fast, and teaches the basics.
- Move to a Robot Arm. Learn about kinematics and servos.
- Tackle a Hexapod or CNC. Master the complexity of multiple motors and advanced control.
- Never Stop Learning. The field of robotics is evolving rapidly. Keep experimenting.
Remember, the best robot is the one you actually build. Don’t get stuck in “planning mode.” Buy the parts, write the code, and let the smoke out (safely).
🔗 Recommended Links
Ready to start building? Here are the essential kits and components we recommend:
- Arduino Starter Kit (Official): The best all-in-one package for beginners.
- Shop on Amazon | Shop on Adafruit | Arduino Official Store
- Elegoo Mega 2560 R3 Super Starter Kit: A budget-friendly alternative with tons of components.
- Shop on Amazon | Elegoo Official
- Servo Motors (MG96R): High-torque servos for robot arms.
- Shop on Amazon | Polu
- NEMA 17 Stepper Motors: Essential for CNC and 3D printers.
- Shop on Amazon | StepperOnline
- Laser Safety Glasses: Mandatory for laser engraving projects.
- Shop on Amazon
- 3D Printer Filament (PLA): For printing robot parts.
- Shop on Amazon | Prusa Filaments
Books to Read:
- Make: Getting Started with Arduino by Massimo Banzi
- Arduino Robotics by John-David Warren, Joshua Harmon, and Gabriel Ramirez
- Programming Arduino: Getting Started with Sketches by Simon Monk
📖 Reference Links
- Arduino Project Hub: The ultimate repository of community projects. Visit Arduino Project Hub
- How To Mechatronics: Detailed tutorials and schematics. Visit How To Mechatronics
- Arduino Official Documentation: The source of truth for all things Arduino. Visit Arduino.cc
- SparkFun Tutorials: Great for sensor and component guides. Visit SparkFun
- Adafruit Learning System: Excellent guides for electronics and coding. Visit Adafruit Learn
FAQ
How can I add wireless control to my Arduino robot?
You have three main options depending on your range and complexity needs:
- Bluetooth (HC-05/HC-06): Best for short-range (10-30m) control via a smartphone app. It’s easy to set up and requires no extra hardware on the phone side.
- NRF24L01: Ideal for custom RC transmitters. It offers a range of up to 10m and low latency, perfect for real-time control.
- Wi-Fi (ESP826/ESP32): Best for internet-connected robots. You can control them from anywhere in the world via a web interface or app, but the latency is higher.
What are common mistakes when coding Arduino for robots?
- Blocking Code: Using
delay()stops the robot from reacting to sensors. Usemillis()for non-blocking timing. - Power Issues: Trying to power motors directly from the Arduino’s 5V pin. Always use a separate battery pack and a motor driver.
- Floating Pins: Not setting unused pins as inputs or outputs, leading to erratic behavior.
- Ignoring Back EMF: Not using flyback diodes or proper drivers for inductive loads like motors, which can fry your microcontroller.
How much power does an Arduino robot need?
It depends entirely on the motors. A small line-follower might run on 2xAA batteries (3V). A hexapod with 18 servos might need a 12V 5Ah LiPo battery. Always calculate the current draw of your motors at stall and ensure your battery can handle it.
What programming languages work best with Arduino for robotics?
Arduino uses a variant of C++. While you can write in pure C, the Arduino environment adds a layer of abstraction (the Wiring library) that makes it easier to handle I/O. For advanced robotics, you might also use MicroPython on ESP32 or C# with .NET Micro Framework, but C++ remains the standard.
Can Arduino be used to control a robot arm?
Absolutely. In fact, it’s the most popular platform for DIY robot arms. You can control servos for joints and grippers. For complex 6-axis arms, you’ll need an Arduino Mega or an external servo driver like the PCA9685 to handle the number of pins and the precision required.
What are the best Arduino boards for beginner robotics projects?
- Arduino Uno R3: The gold standard. Easy to use, huge community support, and perfect for 90% of beginner projects.
- Arduino Nano: Great if you need a smaller form factor, like for a compact robot car.
- ESP32: If you want Wi-Fi/Bluetooth built-in and more processing power, this is the modern choice.
How do I power an Arduino-based robot project?
Never power the Arduino and the motors from the same battery without regulation.
- Battery: Use LiPo or NiMH packs (e.g., 7.4V or 12V).
- Regulation: Use a BEC (Battery Eliminator Circuit) or a voltage regulator (like an LM7805 or a switching regulator) to step down the voltage to 5V for the Arduino.
- Ground: Ensure the ground of the battery, motors, and Arduino are all connected (common ground).
What motors are compatible with Arduino for robotic arms?
- Servo Motors: MG96R, DS3218, or standard SG90 for lightweight arms.
- Stepper Motors: NEMA 17 for high-precision, heavy-duty arms.
- DC Motors with Encoders: For continuous rotation joints where position feedback is needed.
How much does it cost to build a robot with Arduino?
- Basic Line Follower: $30 – $50.
- Simple Robot Arm: $60 – $10.
- Advanced Hexapod or CNC: $150 – $30+.
Costs vary based on whether you 3D print your own parts or buy pre-made chassis.
What are the best Arduino boards for beginners in robotics?
We stick with the Arduino Uno R3. It has the most tutorials, the easiest IDE, and the right balance of I/O pins for most projects. Once you outgrow it, you can move to the Mega or ESP32.
Can Arduino be used for autonomous robot projects?
Yes! By combining sensors (ultrasonic, IR, IMU, cameras) and implementing algorithms like PID, A pathfinding*, or SLAM (Simultaneous Localization and Mapping), you can create fully autonomous robots. However, for complex AI tasks, you might need to offload processing to a Raspberry Pi or use an ESP32 with more memory.
What programming languages work with Arduino for robotics?
While C++ is the native language, you can also use:
- MicroPython (via MicroPython firmware on ESP32/Arduino Portenta)
- JavaScript (via Johnny-Five)
- Python (via Firmata protocol, where the Arduino acts as a slave to a Python script on a PC)
- Block-based coding (Arduino Blocks, Tinkercad) for absolute beginners.