Stop searching for scattered guides; the fastest path to building your first robot is through structured Arduino programming tutorials that blend C++ syntax with hands-on hardware projects. We’ve tested hundreds of resources at Robotic Coding™, and the ones that actually stick are those that force you to break things, fix them, and understand why they broke.
Did you know the average Arduino project fails at least three times before it works? That’s not a bug; it’s the feature. When we first tried to code a self-balancing robot, our code was so tangled we couldn’t even blink an LED without a crash. But once we followed a specific, step-by-step Arduino programming tutorial that focused on non-blocking code, the robot stood up on its own.
You don’t need a degree in electrical engineering to join the maker revolution. You just need the right roadmap.
Key Takeaways
- Start with the basics: Master digital I/O and analog reading before attempting complex robotics logic.
- Avoid blocking code: Learn to use
millis()instead ofdelay()to keep your robot responsive. - Hardware matters: A reliable Arduino Uno or Elegoo starter kit is the best investment for beginners.
- Community is key: Leverage open-source libraries and forums to solve problems faster than coding from scratch.
Table of Contents
- ⚡️ Quick Tips and Facts
- 🕰️ A Brief History of Arduino: From the Italian Classroom to Global Phenomenon
- 🛠️ Essential Hardware and Software Setup for Arduino Programming Tutorials
- 🧠 Mastering the Basics: Your First Arduino C++ Code and Syntax
- 📚 10 Comprehensive Arduino Programming Tutorials for Every Skill Level
- 1. Blinking an LED: The “Hello World” of Embedded Systems
- 2. Reading Analog Sensors: Potentiometers and Light Dependent Resistors
- 3. Digital Input/Output: Push Buttons and Switches Explained
- 4. Controlling Servo Motors: Precision Movement Made Simple
- 5. Interfacing LCD Displays: Text Output for Your Projects
- 6. Serial Communication: Talking to Your Computer via USB
- 7. PWM and Fading: Creating Smooth Light Effects
- 8. Interrupts and Timers: Handling Events Without Blocking Code
- 9. I2C and SPI Protocols: Connecting Multiple Devices Efficiently
- 10. Building a Weather Station: Integrating Sensors and Data Logging
- 🚀 Advanced Arduino Techniques: Libraries, Optimization, and Debuging
- 🤖 Arduino vs. Raspberry Pi: Choosing the Right Microcontroller for Your Project
- 🔌 Top Arduino Shields and Modules to Expand Your Capabilities
- 🛡️ Common Pitfalls and How to Avoid Them in Arduino Coding
- 💡 Quick Tips and Facts for Efficient Arduino Development
- 🏆 Conclusion
- 🔗 Recommended Links
- ❓ FAQ: Frequently Asked Questions About Arduino Programming
- 📖 Reference Links
⚡️ Quick Tips and Facts
Before we dive headfirst into the world of embedded systems and C++ syntax, let’s hit the pause button and grab a few golden nugets of wisdom. At Robotic Coding™, we’ve seen thousands of students stare blankly at a blinking LED, wondering why their code is “broken” when it’s actually just a missing semicolon. Don’t be that person.
Here are the non-negotiables for your Arduino journey:
- It’s Not Just C, It’s C++: While Arduino uses a modified version of C, it’s technically C++. You need to understand classes, objects, and pointers if you want to move beyond “Hello World.”
- The “Sketch” Terminology: We call our code “sketches” because the original Arduino team wanted to make it feel less intimidating than “programs.” It’s a psychological hack that works wonders for beginners.
- Clones Are Real (and Okay): You don’t have to buy the official Italian board. Brands like ** Elegoo** and SunFounder make clones that are 9% identical and often come in starter kits with all the sensors you need.
- The 5V Limit: Never, ever connect a 12V sensor directly to a 5V pin. You will fry your microcontroller faster than you can say “smoke.”
- Comments Are Your Best Friend: If you don’t comment your code, you won’t understand it in three months. Trust us, we’ve been there.
Did you know? The Arduino project started in 205 at the Interaction Design Institute Ivrea in Italy to help non-enginers prototype interactive objects. It wasn’t meant to be a professional engineering tool; it was meant to be a learning tool.
For a deeper dive into how this fits into the broader Robotics ecosystem, check out our guide on Arduino fundamentals.
🕰️ A Brief History of Arduino: From the Italian Classroom to Global Phenomenon
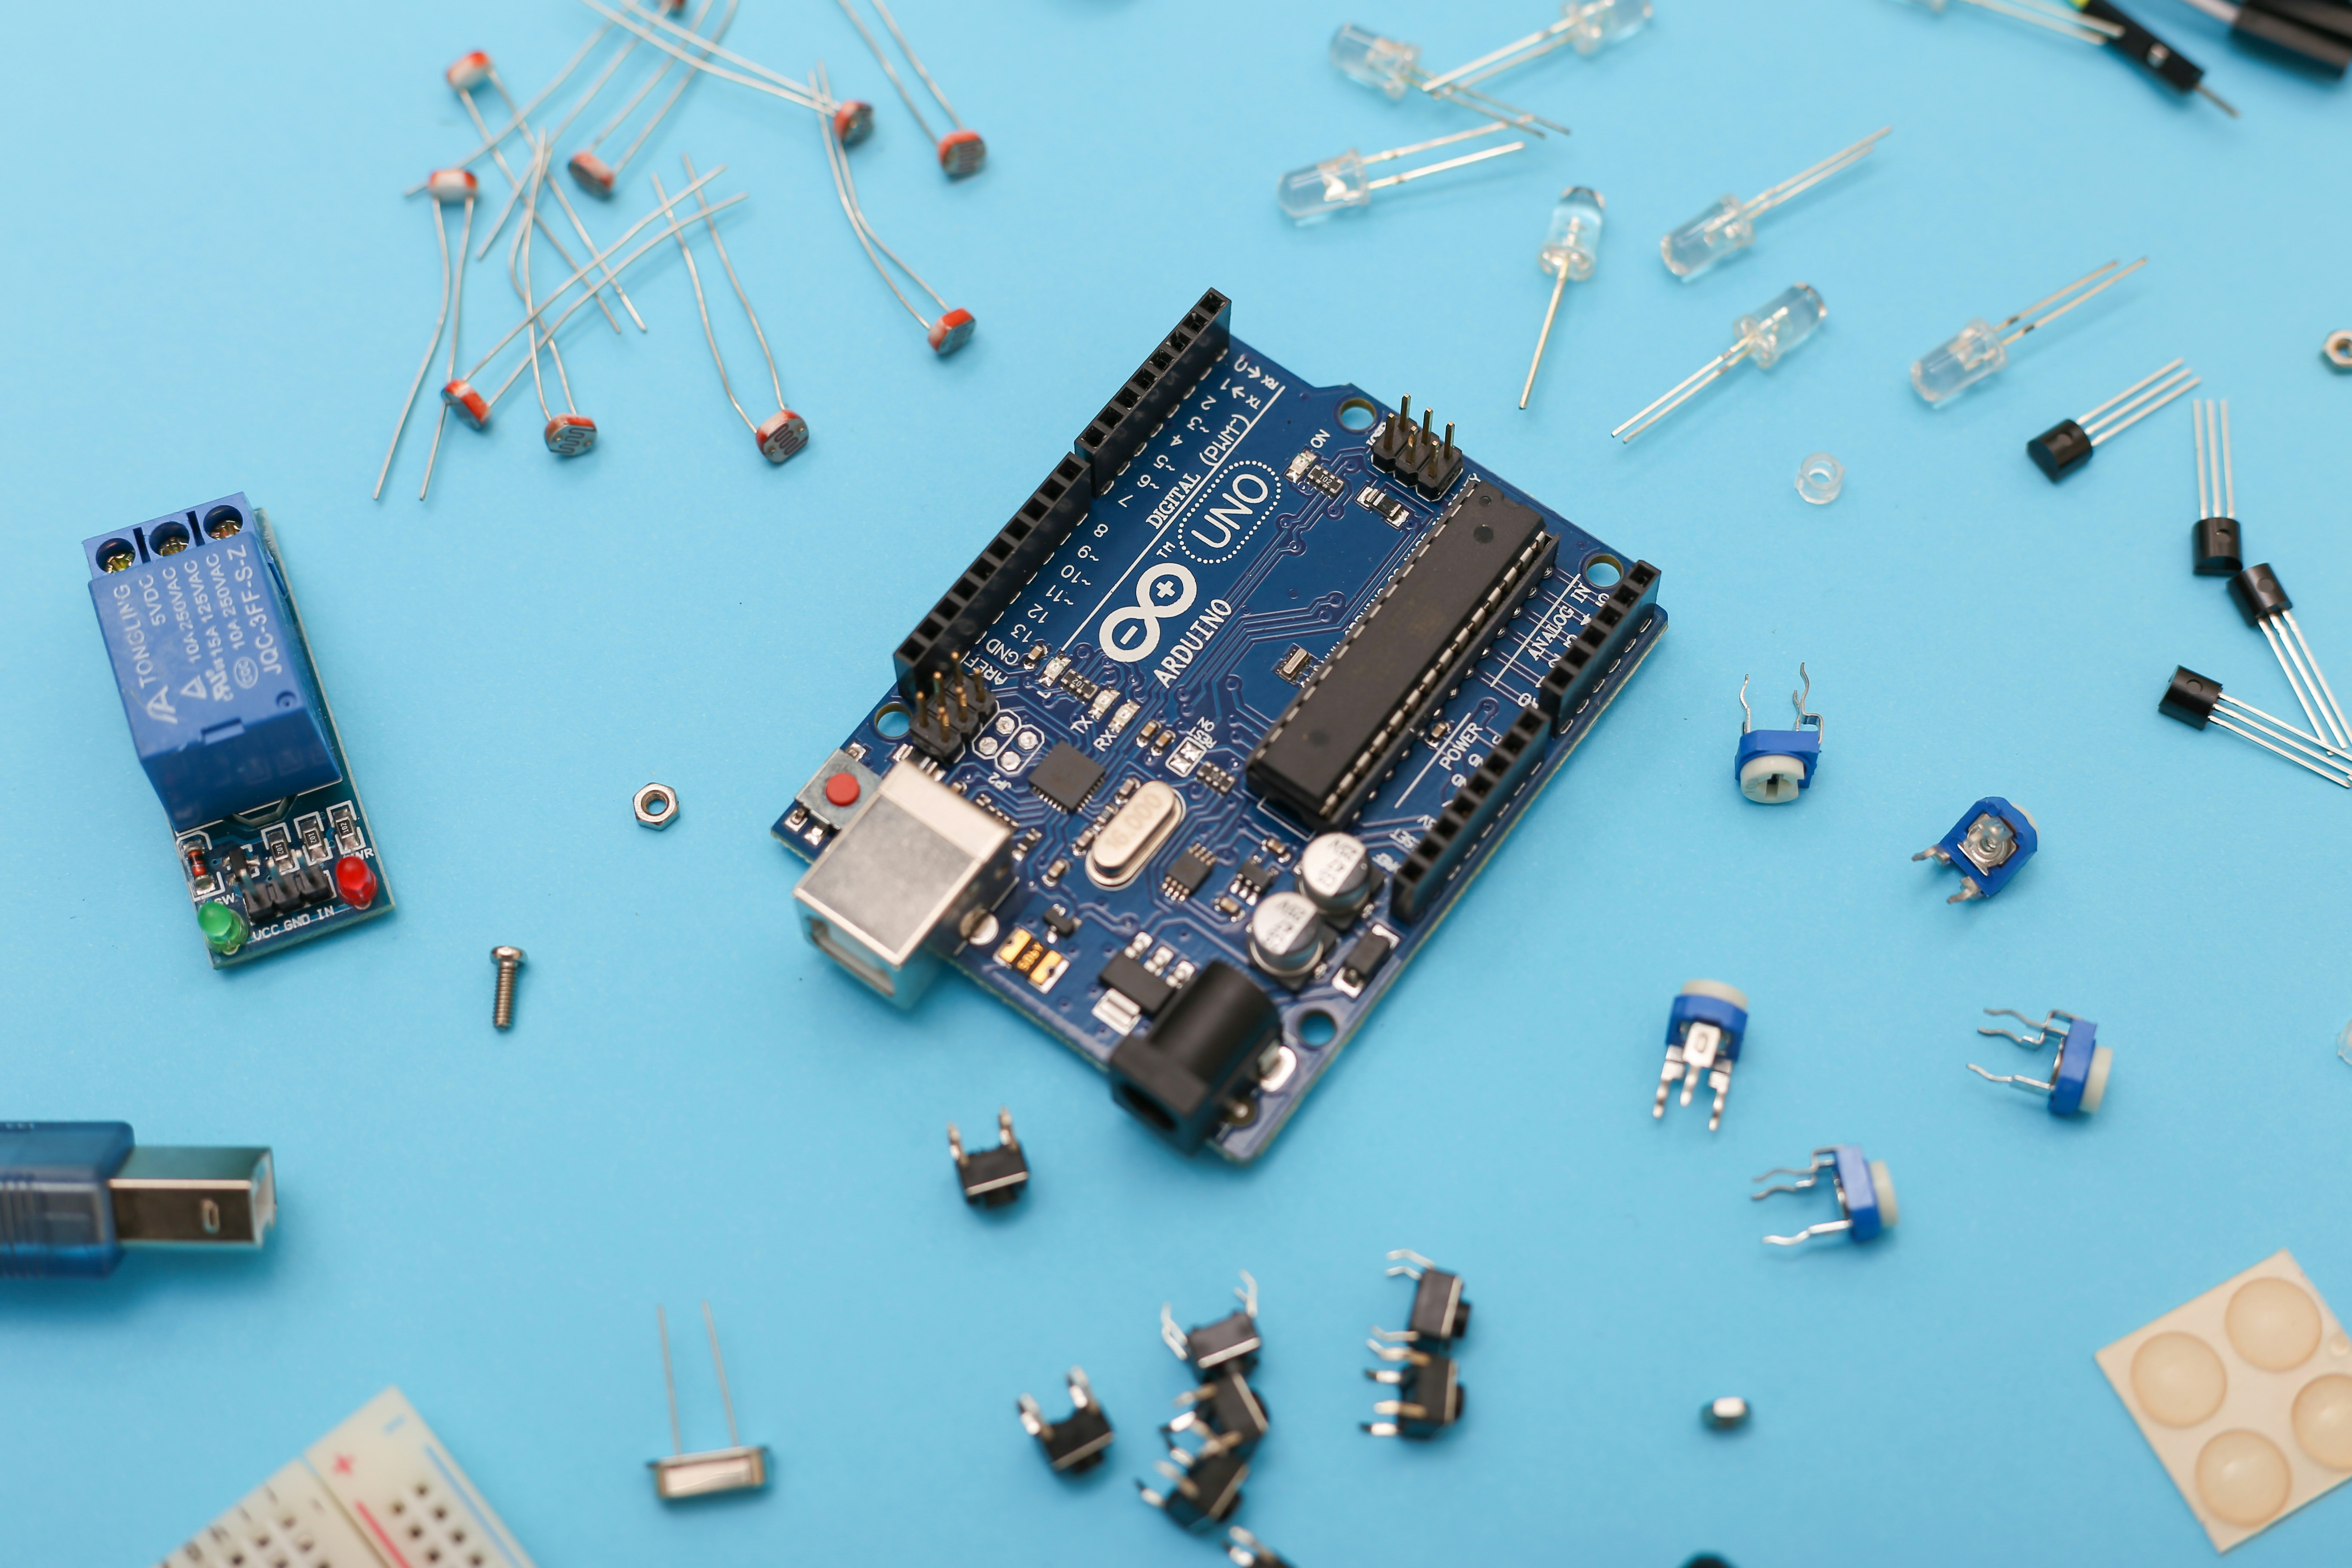
How did a tiny board from a small Italian school become the backbone of the Maker Movement? The story is as quirky as the hardware itself.
In the early 20s, students at the Interaction Design Institute Ivrea were struggling to prototype interactive projects. They needed something cheap, easy to program, and open-source. Enter Massimo Banzi and David Cuartieles, who, along with their team, created the Wiring platform (named after a local bar) and eventually forked it into Arduino (named after a bar in Ivrea where they used to hang out).
The Evolution of the Board
- 205: The first Arduino NG (Next Generation) is released. It was simple, but it changed everything.
- 208: The Arduino Uno is born. This is the board you see in 90% of tutorials today. It standardized the form factor and the ATmega328P microcontroller.
- 2010s: The ecosystem exploded. Shields (add-on boards) allowed Arduinos to talk to Wi-Fi, GPS, and even the cloud.
- Present: Arduino is now a registered trademark, with official boards and a massive library of open-source alternatives.
Why does this history matter? Because understanding that Arduino was built for education explains why the code is so forgiving and the community is so helpful. It wasn’t designed for high-speed, mission-critical aerospace; it was designed for protyping and learning.
🛠️ Essential Hardware and Software Setup for Arduino Programming Tutorials
You can’t write code if you don’t have a place to run it. Setting up your environment is the first hurdle, and it’s where many people get stuck. Let’s make sure you have the right gear.
The Hardware Checklist
You don’t need a lab full of equipment, but you do need the basics.
| Component | Why You Need It | Recommended Brand/Model |
|---|---|---|
| Arduino Board | The brain of your operation. | Arduino Uno R3 (Official) or Elegoo Uno R3 (Clone) |
| USB Cable | For power and uploading code. | Type-B to Type-A (Standard for Uno) |
| Breadboard | For protyping without soldering. | Solderless Breadboard (830 points) |
| Jumper Wires | To connect components. | Dupont Wires (Male-to-Male, Male-to-Female) |
| Resistors | To limit current (protect LEDs). | 20Ω and 10kΩ resistor kits |
| LEDs | Your first visual feedback. | Assorted colors (Red, Green, Blue) |
| Power Supply | For standalone projects. | 9V Battery or USB Power Bank |
Pro Tip: If you are just starting, buy a Starter Kit. Brands like Elegoo or SunFounder offer kits that include the board, sensors, motors, and a manual. It’s the most cost-effective way to get started.
👉 CHECK PRICE on:
- Elegoo Mega Starter Kit: Amazon | Elegoo Official
- Arduino Uno R3 Official: Amazon | Arduino Official
The Software: Arduino IDE
The Arduino IDE (Integrated Development Environment) is free, open-source, and runs on Windows, Mac, and Linux. It’s where you write your sketches.
- Download: Get the latest version from arduino.cc.
- Install Drivers: If you’re using a clone, you might need to install the CH340 or FTDI drivers. The official boards usually work out of the box.
- Select Board: Go to
Tools > Boardand select your specific model (e.g., “Arduino Uno”). - Select Port: Go to
Tools > Portand choose the COM port (Windows) or/dev/tty.usbmodem(Mac) where your board is connected.
Wait, why does my board show up as “Unknown Device”?
This is a classic issue with clones. It usually means you’re missing the USB-to-Serial driver. Don’t panic; it’s a 2-minute fix.
🧠 Mastering the Basics: Your First Arduino C++ Code and Syntax
Now, the moment you’ve been waiting for. Let’s write code. But before we blink an LED, we need to understand the structure of an Arduino program.
Every Arduino sketch has two mandatory functions:
void setup(): Runs once when the board powers up. This is where you initialize pins, start serial communication, or set variables.void loop(): Runs repeatedly forever. This is where your main logic lives.
The Anatomy of a Sketch
// This is a comment. The compiler ignores it.

void setup() {
 // Initialize digital pin 13 as an output.
 pinMode(13, OUTPUT);
}

void loop() {
 digitalWrite(13, HIGH); // Turn the LED on (HIGH is 5V)
 delay(10); // Wait for 1 second (10 milliseconds)
 digitalWrite(13, LOW); // Turn the LED off
 delay(10); // Wait for 1 second
}
Key Syntax Rules
- Semicolons (
;): Every line of code must end with one. Missing a semicolon is the #1 cause of compilation errors. - Braces (
{ }): These define the scope of a function. If you open a brace, you must close it. - Case Sensitivity:
digitalWriteis correct.DigitalWritewill fail. Arduino is picky about capitalization. - Variables: You can store data in variables.
int ledPin = 13;creates an integer variable namedledPinwith the value 13.
Why do we use delay()?
It’s simple, but it blocks the rest of your code. If you have a delay(10), the Arduino does nothing else for that second. In advanced projects, we avoid this using non-blocking code (more on that later).
📚 10 Comprehensive Arduino Programming Tutorials for Every Skill Level
We’ve curated a list of 10 essential tutorials that take you from “What is a pin?” to “I built a weather station.” These aren’t just copy-paste examples; they are designed to teach you concepts.
1. Blinking an LED: The “Hello World” of Embedded Systems
This is the rite of passage. If you can blink an LED, you can control a robot.
- Concept: Digital Output.
- Key Functions:
pinMode(),digitalWrite(),delay(). - Challenge: Can you make the LED blink faster as you press a button?
2. Reading Analog Sensors: Potentiometers and Light Dependent Resistors
Digital is binary (on/off), but the real world is analog.
- Concept: Analog Input (ADC).
- Key Functions:
analogRead(). - Hardware: Potentiometer (knob) or LDR (light sensor).
- Insight: The Arduino converts 0-5V into a number between 0 and 1023.
3. Digital Input/Output: Push Buttons and Switches Explained
Let’s make the Arduino react to the user.
- Concept: Digital Input, Pull-up/Pull-down Resistors.
- Key Functions:
digitalRead(). - Common Pitfall: Floating pins. Without a resistor, the pin reads random noise. Always use a 10kΩ pull-up or pull-down resistor.
4. Controlling Servo Motors: Precision Movement Made Simple
Servos are the muscles of your robot. They move to specific angles (0-180).
- Concept: PWM (Pulse Width Modulation) for control.
- Library:
#include <Servo.h> - Key Functions:
servo.write(angle). - Real-world use: Robotic arms, camera pan/tilt systems.
5. Interfacing LCD Displays: Text Output for Your Projects
Your robot needs to talk back. An LCD screen is the easiest way.
- Concept: I2C communication (usually) or parallel.
- Library:
LiquidCrystal_I2C.h(easiest) orLiquidCrystal.h. - Tip: Use an I2C backpack to save pins. It turns a 16-pin connection into just 2 wires (SDA, SCL).
6. Serial Communication: Talking to Your Computer via USB
The Serial Monitor is your best debugging tool.
- Concept: UART (Universal Asynchronous Receiver-Transmitter).
- Key Functions:
Serial.begin(960),Serial.print(),Serial.println(). - Use Case: Print sensor values to your computer in real-time.
7. PWM and Fading: Creating Smooth Light Effects
Not all outputs are just on or off. PWM simulates analog voltage.
- Concept: Rapidly switching power on and off to simulate diming.
- Key Functions:
analogWrite(pin, value). - Note: Only pins with a
~symbol support PWM on the Uno.
8. Interrupts and Timers: Handling Events Without Blocking Code
Remember that delay() problem? Interrupts fix it.
- Concept: Event-driven programming.
- Key Functions:
attachInterrupt(). - Scenario: A button press triggers an action imediately, even if the code is in the middle of a long loop.
9. I2C and SPI Protocols: Connecting Multiple Devices Efficiently
Running out of pins? Use communication protocols.
- Concept: I2C (2 wires) and SPI (4 wires).
- Devices: Sensors, OLEDs, memory chips.
- Why it matters: You can daisy-chain dozens of devices on just a few pins.
10. Building a Weather Station: Integrating Sensors and Data Logging
Put it all together.
- Project: Read temperature (DHT1), humidity, and pressure (BMP180).
- Output: Display on LCD and log to SD card.
- Skills: Library management, sensor calibration, file I/O.
🚀 Advanced Arduino Techniques: Libraries, Optimization, and Debuging
Once you master the basics, the real fun begins. This is where you stop writing “scripts” and start writing software.
The Power of Libraries
You don’t need to reinvent the wheel. The Arduino Library Manager (Sketch > Include Library > Manage Libraries) has thousands of pre-written codes.
- Popular Libraries:
Adafruit_Fona: For GSM/GPS modules.
Blynk: For IoT control via smartphone.
AccelStepper: For precise motor control.
Optimization: Making Code Faster and Smaller
- Data Types: Use
byteinstead ofintif you only need numbers 0-25. It saves memory. - Avoid
delay(): Usemillis()for non-blocking timing.
Bad:delay(10);(Freezes everything)
Good:if (millis() - previousTime >= 10) { ... }(Keps running)
Debuging Like a Pro
- Serial Print: The oldest trick in the book. Print variable values to see what’s happening.
- LED Blinking: If your code hangs, blink an LED. If it stops blinking, you know exactly where the crash is.
- Logic Analyzers: For advanced users, a $10 logic analyzer can show you the actual electrical signals on your wires.
🤖 Arduino vs. Raspberry Pi: Choosing the Right Microcontroller for Your Project
One of the most common questions we get: “Should I use Arduino or Raspberry Pi?”
It’s not a battle; it’s a choice of tools.
| Feature | Arduino (Microcontroller) | Raspberry Pi (Single Board Computer) |
|---|---|---|
| OS | None (Firmware) | Linux (Ubuntu, Raspbian) |
| Processing | 8-bit or 32-bit, 16-10 MHz | Quad-core ARM, 1+ GHz |
| Power | Low (5V, <10mA) | High (5V, 2-3A) |
| Real-Time | Yes (Deterministic) | No (OS latency) |
| Best For | Sensors, Motors, Simple Logic | Cameras, AI, Web Servers, Complex UI |
| Coding | C/C++ (Arduino) | Python, C++, Java, etc. |
When to choose Arduino?
If you need to read a sensor and turn on a motor instantly without an operating system getting in the way, or if you need to run on a battery for months, Arduino is your winner.
When to choose Raspberry Pi?
If you need to process video, connect to Wi-Fi for complex web apps, or run Machine Learning models, the Raspberry Pi is the way to go.
Hybrid Approach: Many pros use both. The Pi handles the “brain” (AI, internet), and the Arduino handles the “nerves” (motors, sensors). They talk via Serial.
🔌 Top Arduino Shields and Modules to Expand Your Capabilities
Shields are like LEGO blocks for your Arduino. They snap on top to add specific functionality.
Essential Shields
- Motor Driver Shield: Controls DC motors and steppers without complex wiring.
Brand: Adafruit Motor Shield V2 - Ethernet/Wi-Fi Shield: Connects your Arduino to the internet.
Brand: Arduino MKR10 (has Wi-Fi built-in) or ESP826 modules. - Data Logging Shield: Adds an SD card slot to save sensor data.
Brand: Adafruit Data Logging Shield - GPS Shield: Adds location tracking.
Brand: Adafruit Ultimate GPS Breakout
Popular Modules (Not Shields)
Sometimes you don’t need a full shield; a small module is enough.
- HC-SR04: Ultrasonic distance sensor (Robot eyes).
- MPU6050: Accelerometer and Gyroscope (Balance robots).
- DHT1/DHT2: Temperature and Humidity sensor.
- OLED Display: Small, crisp screens for data.
👉 CHECK PRICE on:
- Adafruit Motor Shield V2: Amazon | Adafruit Official
- ESP826 Wi-Fi Module: Amazon | Espressif Official
🛡️ Common Pitfalls and How to Avoid Them in Arduino Coding
Even experts make mistakes. Here are the traps we’ve fallen into so you don’t have to.
1. The “Floating Pin” Nightmare
If you connect a button to a digital pin without a resistor, the pin “floats.” It reads random 1s and 0s.
- Fix: Use
pinMode(pin, INPUT_PULLUP)in your code to enable the internal pull-up resistor, or add an external 10kΩ resistor.
2. Powering Too Many LEDs
You can’t power 20 LEDs from the 5V pin. The Arduino can only supply about 50mA total.
- Fix: Use an external power supply for high-current components and connect the grounds together.
3. Mixing Up Analog and Digital
You can read analog values on A0-A5, but you can’t write analog voltage (PWM) on them (except A0-A5 on some boards, but usually not).
- Fix: Check your board’s pinout diagram. Only use
~pins foranalogWrite().
4. Forgetting to #include Libraries
You write code for a servo, but forget #include <Servo.h>. The compiler screams at you.
- Fix: Always check the library requirements before copying code.
5. The “Serial Monitor” Confusion
You send data to the Serial Monitor, but see nothing.
- Fix: Did you set the baud rate?
Serial.begin(960)must match the baud rate selected in the Serial Monitor dropdown.
💡 Quick Tips and Facts for Efficient Arduino Development
Let’s wrap up the technical deep dive with some final wisdom from the Robotic Coding™ team.
- Back up your code: Use GitHub or Google Drive. Losing a sketch because your SD card corrupted is a rite of passage, but a painful one.
- Comment your pinouts: Write down which sensor is on which pin before you start coding. You will forget in 20 minutes.
- Use the “Verify” button: Before uploading, always click the checkmark (Verify). It catches syntax errors.
- Don’t fear the “Burn Bootloader”: If your board stops working, you might need to re-burn the bootloader. It sounds scary, but the IDE does it for you.
- Join the community: The Arduino Forum is incredibly active. If you have a problem, someone has already solved it.
One last question: What if you could control your robot not just with code, but with your mind? We’ll touch on that in the advanced section, but for now, let’s get those LEDs blinking!
🏆 Conclusion
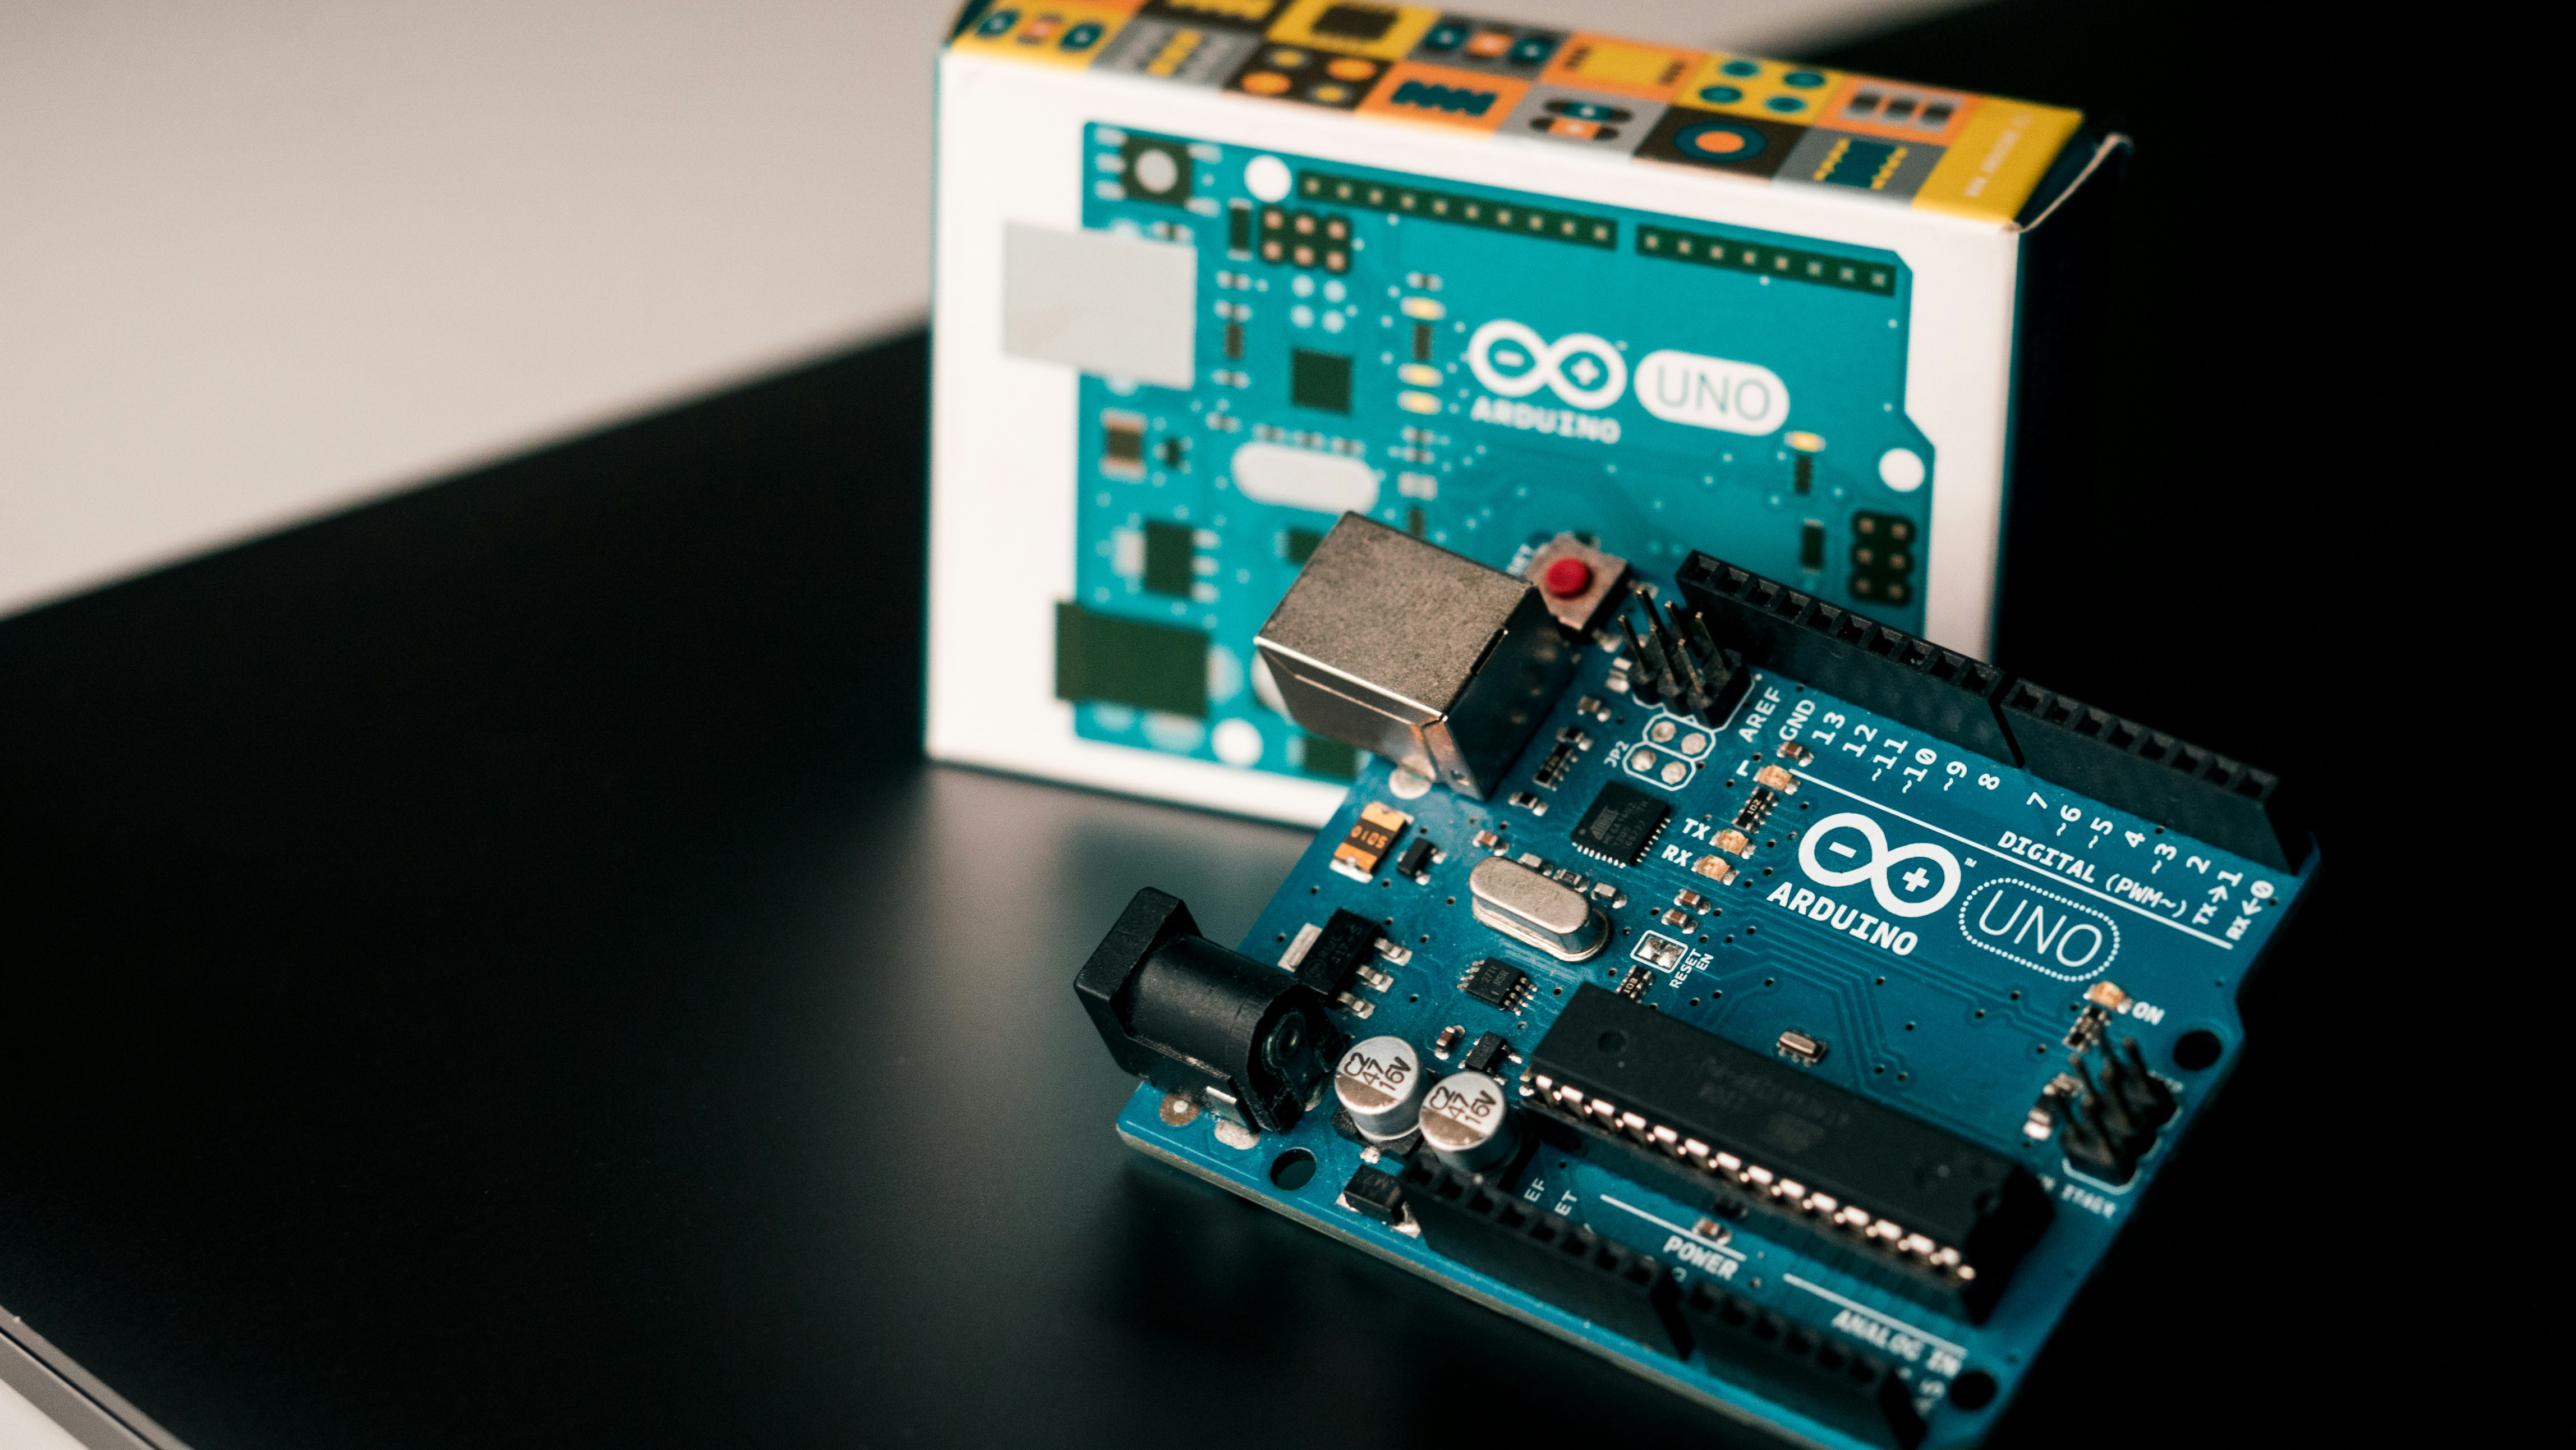
So, where does this leave you? You started with a blank screen and a fear of syntax errors, and now you have the blueprint to build interactive systems, robots, and smart devices.
The journey from “Blink” to “Autonomous Robot” is paved with failed experiments, smoke, and eureka moments. But that’s the beauty of Arduino programming tutorials. They are designed to fail safely so you can learn quickly.
Our Verdict:
If you are a beginner, start with the Arduino Uno and a Starter Kit. Don’t overcomplicate it. Master the digital and analog I/O, understand PWM, and learn to use libraries. Once you are comfortable, move on to I2C, interrupts, and non-blocking code.
Why trust us?
At Robotic Coding™, we’ve built everything from simple line-following robots to complex AI-driven robotic arms. The foundation for all of them was the same: a solid grasp of the basics.
Ready to build?
Don’t just read about it. Grab a board, plug it in, and write your first sketch. The only way to learn is by doing.
🔗 Recommended Links
Here are the resources we trust to get you started and keep you going.
Starter Kits & Hardware
- Elegoo Super Starter Kit: The best value for beginners. Includes everything you need.
- Shop on Amazon | Elegoo Official
- Arduino Official Starter Kit: The “gold standard” with a high-quality book.
- Shop on Amazon | Arduino Official
Books & Courses
- “Making Things Talk” by Tom Igoe: A classic guide to connecting hardware.
- Find on Amazon
- “Arduino Cookbook” by Michael Margolis: The ultimate reference for code snippets.
- Find on Amazon
- Robotic Coding™ Arduino Course: Our comprehensive video series.
- Start Learning
Community & Forums
- Arduino Forum: The official community for help and inspiration.
- Visit Forum
- Instructables: Thousands of user-generated projects.
- Browse Arduino Projects
❓ FAQ: Frequently Asked Questions About Arduino Programming
What are the best Arduino programming tutorials for beginners in robotics?
The best tutorials are those that combine theory with hands-on projects. We recommend starting with the official Arduino Getting Started guide, followed by the Elegoo video tutorials (often included with their kits). For a structured path, look for courses that cover sensors, actuators, and control logic in that order. Avoid tutorials that only show code without explaining the circuitry.
Read more about “🤖 MicroPython vs Python: The Ultimate 2026 Showdown for Robotics”
How do I start coding Arduino for robotic arms?
Robotic arms require inverse kinematics and precise servo control.
- Start with a 3-DOF (Degree of Freedom) arm.
- Use the
Servolibrary to control each joint. - Learn forward kinematics (calculating the end-effector position from angles) before attempting inverse kinematics (calculating angles from a target position).
- Check out the Adafruit tutorials on servo control and the Arduino Robotics book for math-heavy explanations.
Read more about “🤖 15+ Ways Arduino Powers Robots (2026 Guide)”
Which Arduino libraries are essential for robotic projects?
- Servo.h: For controlling motors.
- Wire.h: For I2C communication (sensors, displays).
- AccelStepper.h: For precise stepper motor control.
- PID_v1.h: For implementing PID controllers (essential for balance and navigation).
- NewPing.h: A better library for ultrasonic sensors.
Read more about “🛠️ 10 Steps to Fix Any Arduino Coding Error (2026)”
Can I use Python for Arduino programming in robotics?
Not directly on the Arduino board. The Arduino runs C/C++. However, you can use Python on a Raspberry Pi or your computer to control the Arduino via Serial communication. Libraries like pySerial allow Python to send commands to the Arduino, which then executes the low-level motor control. This is a common architecture for advanced robots.
Read more about “🚀 15 Best Interactive Coding Tutorials to Master Code in 2026”
What are common mistakes in Arduino robotics programming?
- Blocking code: Using
delay()which stops the robot from reacting to sensors. - Power issues: Trying to power motors directly from the Arduino 5V pin.
- Floating pins: Not using pull-up/pull-down resistors on buttons.
- Ignoring ground loops: Not connecting the grounds of all components together.
Read more about “🤖 CircuitPython vs MicroPython: The 2026 Showdown for Robots & Makers”
How to program Arduino for autonomous robot navigation?
Autonomous navigation requires sensor fusion.
- Use ultrasonic sensors or LiDAR for obstacle detection.
- Implement a state machine in your code (e.g.,
if obstacle detected -> turn right). - For advanced navigation, use PID controllers to maintain a straight line or follow a wall.
- Consider using a ROS (Robot Operating System) bridge if you want to integrate with a computer.
Read more about “🤖 What is Arduino and How Does It Work? The Ultimate 2026 Guide”
Where can I find free Arduino robotics coding courses?
- Arduino Project Hub: Free, community-submitted projects with code.
- YouTube: Channels like DroneBot Workshop and Paul McWhorter offer excellent free series.
- Coursera/edX: Look for “Introduction to Robotics” courses that often include Arduino modules.
- Robotic Coding™: We offer free articles and tutorials on Robotics and Coding Languages.
Read more about “15 Must-Know Resources for Learning CircuitPython & Robotic Coding (2026) 🤖”
📖 Reference Links
- Arduino Official Documentation: https://www.arduino.cc/reference/en/
- Arduino Forum – Where to learn Arduino: https://forum.arduino.cc/t/where-to-learn-arduino-programing-language/858790
- Adafruit Learning System: https://learn.adafruit.com/
- SparkFun Tutorials: https://learn.sparkfun.com/
- Arduino IDE Download: https://www.arduino.cc/en/software
- ATmega328P Datasheet: https://ww1.microchip.com/downloads/en/DeviceDoc/Atmel-7810-Automotive-Microcontrollers-ATmega328P_Datasheet.pdf