
Arduino is used for bridging the gap between digital code and the physical world, enabling everything from simple blinking lights to complex autonomous robots and industrial IoT systems. If you’ve ever wondered what is an Arduino used for, the answer is simple: it’s the ultimate tool for turning your wildest hardware ideas into reality.
Unlike a standard computer that runs an operating system, an Arduino is a microcontroller designed to read sensors and control motors with pinpoint timing. We once watched a student build a working coffee machine that only brewed when it detected a specific song playing on Spotify, all using a $10 board and a few lines of code.
Did you know that over 4 million Arduino boards are sold every year? That’s more than the population of many small countries! From smart homes to medical devices, these tiny chips are quietly powering the future of technology.
Key Takeaways
- Versatility: Arduino is used for home automation, robotics, wearable tech, and industrial control systems.
- Accessibility: It offers the easiest entry point for learning C++ and embedded systems with a massive global community.
- Real-World Viability: While great for protyping, optimized Arduino code is successfully used in mass production for consumer electronics.
- Cost-Effective: You can build complex projects for under $20, making it the most affordable way to learn electronics.
Table of Contents
- ⚡️ Quick Tips and Facts
- 🕰️ From SparkFun to Global Phenomenon: The Arduino History
- 🤔 What is an Arduino Used For? The Ultimate Project Breakdown
- 1. Home Automation and Smart Living Hacks
- 2. Robotics and Autonomous Vehicle Protyping
- 3. Wearable Tech and Fashionable Electronics
- 4. Environmental Monitoring and Weather Stations
- 5. Interactive Art Installations and Musical Synthesizers
- 6. Industrial Control Systems and IoT Gateways
- 7. Educational STEM Kits and Coding Bootcamps
- 8. 3D Printer Firmware and CNC Machine Controllers
- 🛠️ How Do I Use Arduino? A Step-by-Step Guide for Beginners
- 🧠 Arduino vs. Raspberry Pi vs. ESP32: Choosing the Right Microcontroller
- 💡 Why Arduino? The Unbeatable Ecosystem and Community Support
- ⚠️ Critical Notice: Safety, Voltage Limits, and Common Pitfalls
- 🚀 Can Arduino Sketch Be Used for Production? Real-World Viability
- 🏆 Top 15 Must-Try Arduino Projects for Every Skill Level
- 📚 Recommended Links: Best Boards, Shields, and Sensors
- ❓ Frequently Asked Questions About Arduino Applications
- 🔗 Reference Links and Official Documentation
- 🏁 Conclusion: Your Journey into Embedded Systems Starts Here
⚡️ Quick Tips and Facts
Before we dive into the deep end of the circuit board ocean, let’s hit the pause button and grab a few life preservers. At Robotic Coding™, we’ve seen thousands of students, hobbyists, and even seasoned engineers burn out their first boards because they skipped the basics. Here are the non-negotiable truths you need to know about Arduino right now:
- It’s Not a Computer: Unlike a Raspberry Pi, an Arduino doesn’t run an operating system like Linux or Windows. It’s a microcontroller, meaning it does one thing, and it does it really, really fast. It’s the brain of a specific operation, not the whole body.
- The “Blink” is Your Best Friend: Every single project starts with the “Blink” sketch. If you can’t make an LED blink, you can’t make a robot move. It’s the “Hello World” of the physical world.
- Voltage is Voodoo: The golden rule? 5V logic (on most classic boards) vs. 3.3V logic (on newer ones like the ESP32 or Nano 3 BLE). Mixing these up without a level shifter is the fastest way to turn your $20 board into a $20 paperweight.
- Open Source is King: The hardware plans are free. You can build your own Arduino on a breadboard for pennies, or buy a pre-made one from Arduino or SparkFun.
- The Community is Massive: If you have a problem, someone on the Arduino Forum or Stack Exchange has already solved it.
Pro Tip: If you are looking for a visual walkthrough of how these boards actually work, check out the perspective shared in our featured video section later in this article, where we break down the anatomy of the Arduino Uno pin by pin.
For a deeper dive into specific applications, don’t miss our detailed guide on What Is an Arduino Used For? 12 Amazing Projects & Uses in 2026 ⚡️.
🕰️ From SparkFun to Global Phenomenon: The Arduino History
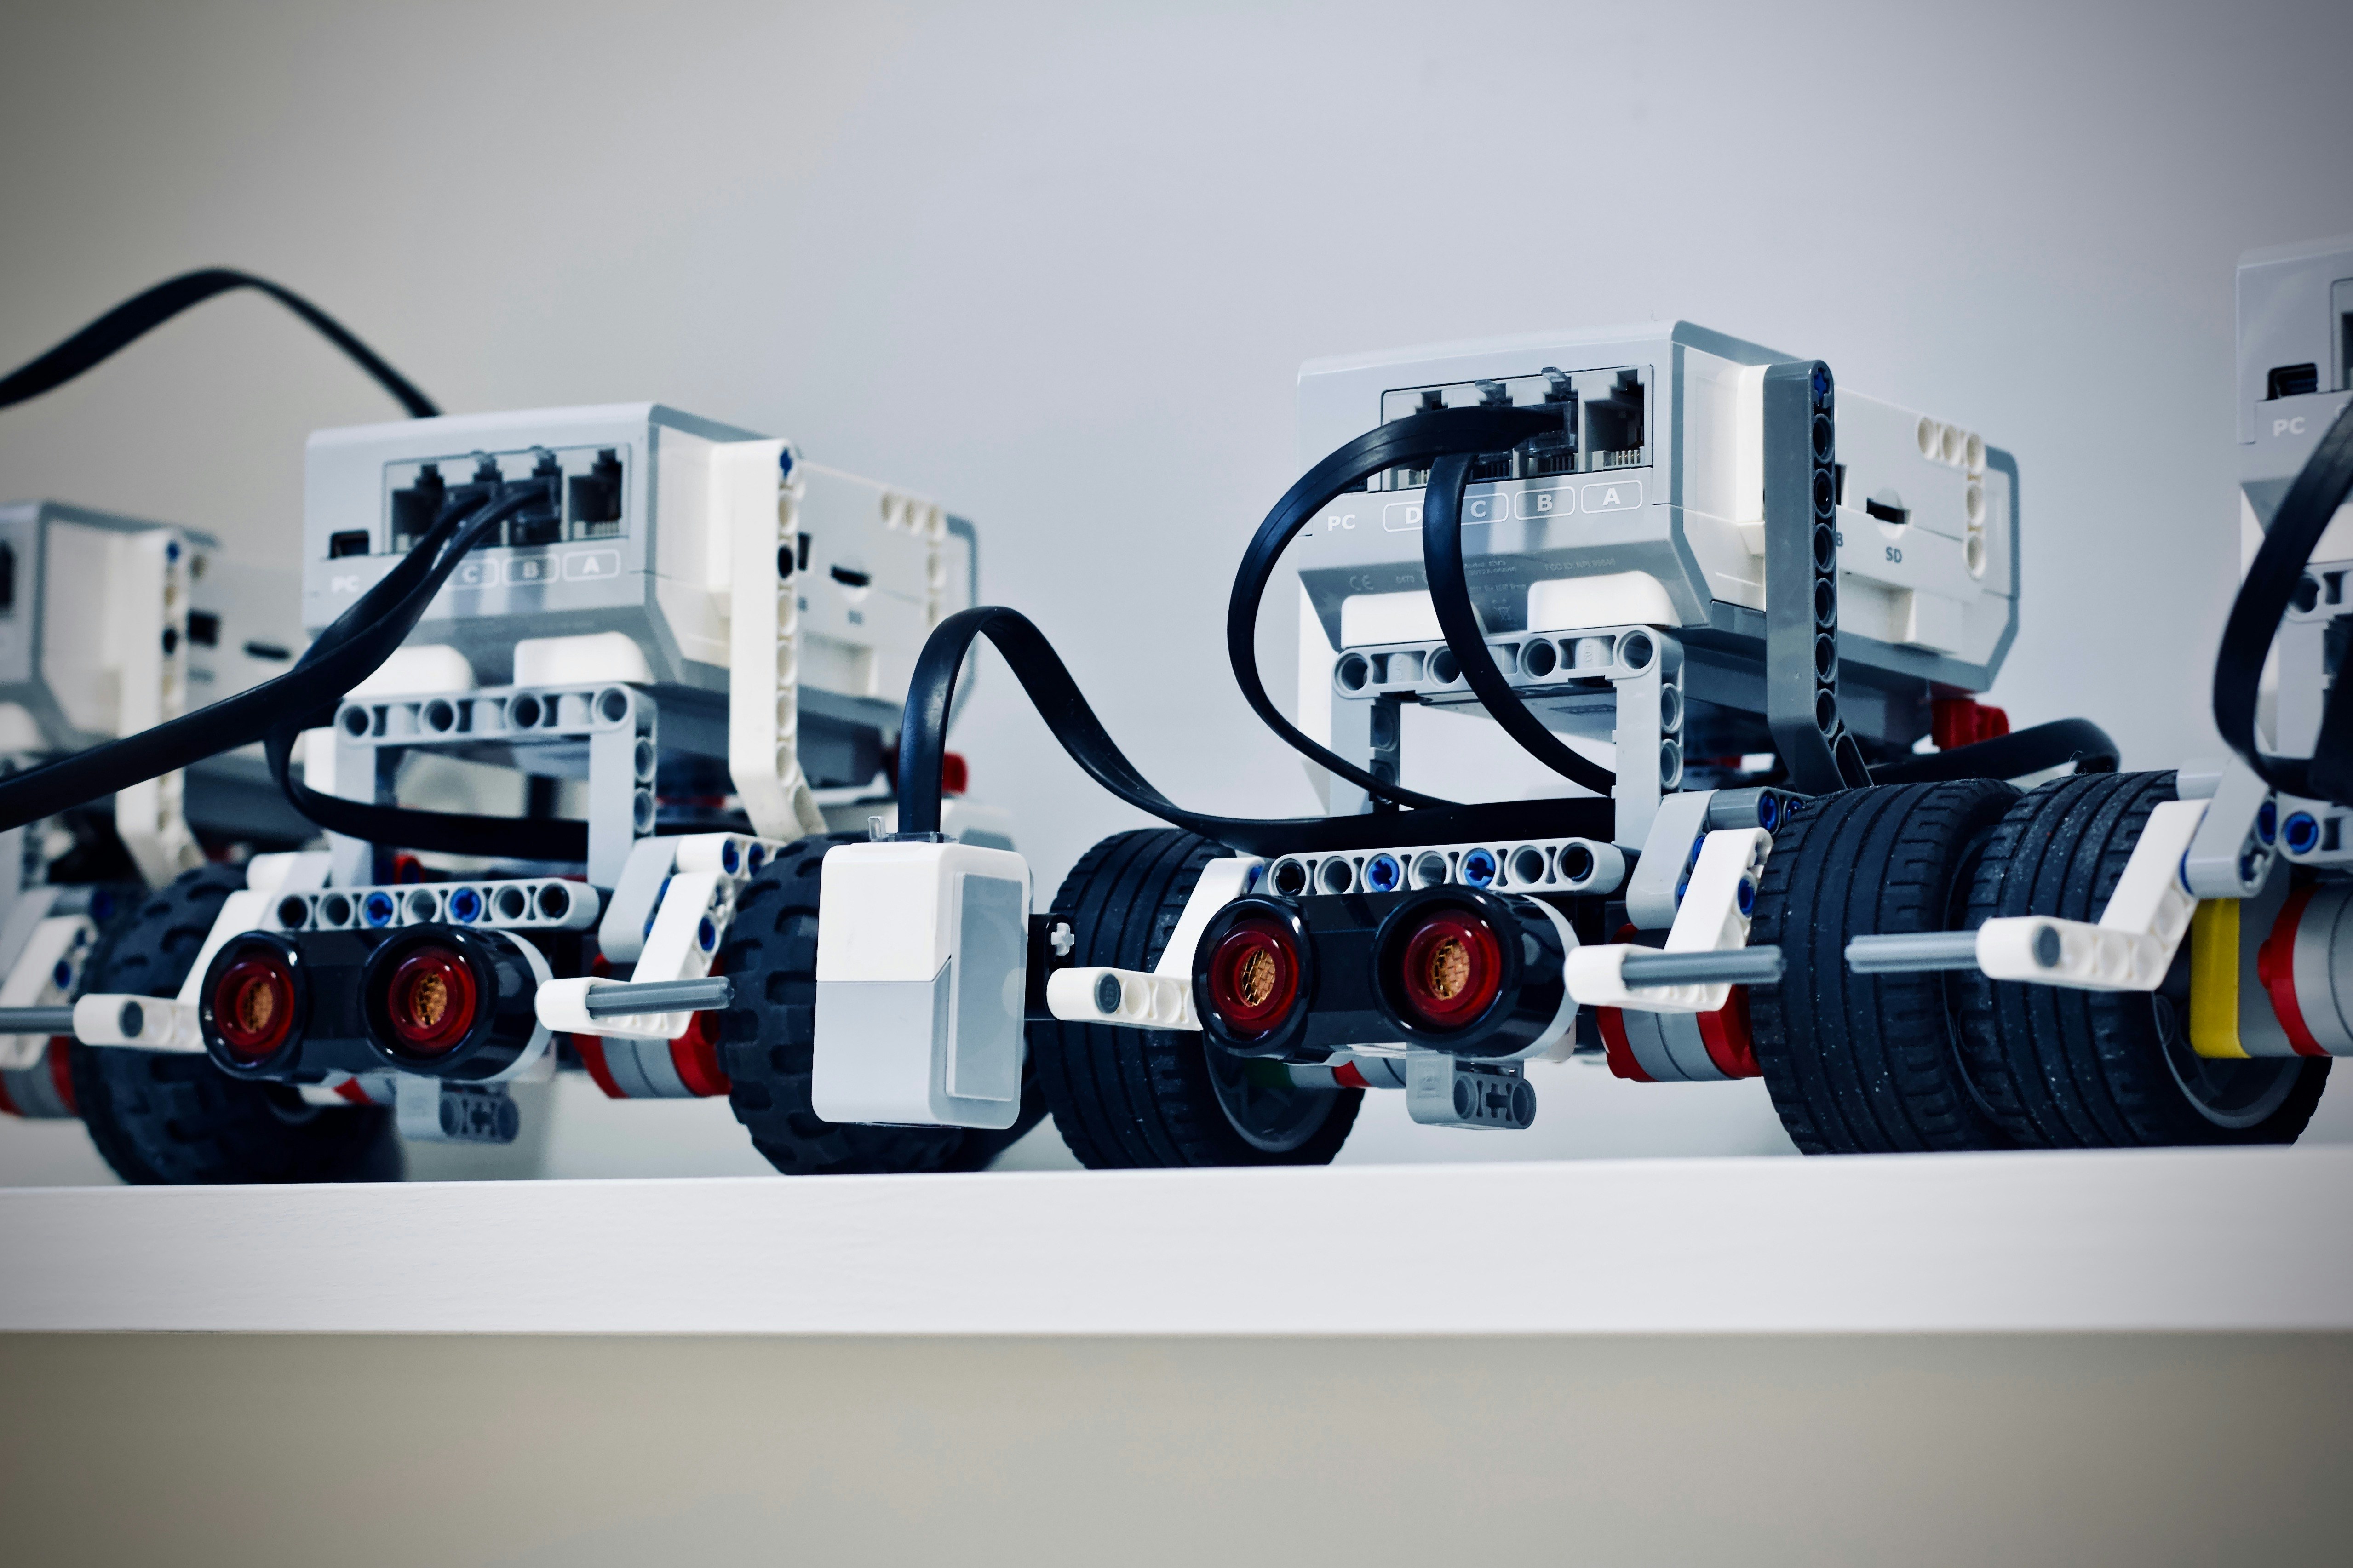
You might think Arduino was born in a Silicon Valley garage, but the real story is far more romantic and a bit more European. It started in 205 at the Interaction Design Institute Ivrea in Italy. The goal? To create a low-cost, easy-to-use tool for students who had great ideas but zero electronics background.
Before Arduino, protyping meant wrestling with expensive, proprietary systems like the Parallax Basic Stamp or Netmedia’s BX-24. These were powerful but locked down, expensive, and required a degree in electrical engineering just to blink an LED.
The Birth of a Revolution
The founders—Massimo Banzi, David Cuartieles, Tom Igoe, Gianluca Martino, and David Mellis—wanted something open source. They took the Wiring platform (created by Hernando Barragán) and simplified it. They named it after a local bar in Ivrea, “Bar di Re Arduino,” which was named after an Italian king.
- 205: The first Arduino NG (Next Generation) is released.
- 208: The Arduino Uno is born, becoming the de facto standard for a decade.
- 2010s: The ecosystem explodes. SparkFun, Adafruit, and Seed Studio start making shields and sensors, turning Arduino into a global movement.
Did you know? The original hardware design was released under a Creative Commons Attribution-ShareAlike 3.0 License. This meant anyone could manufacture their own version, leading to the “clone” market that drives the price down to under $10 today.
🤔 What is an Arduino Used For? The Ultimate Project Breakdown
So, you’ve got a board, a USB cable, and a burning curiosity. What is an Arduino used for? The short answer: Anything that interacts with the physical world.
The long answer? It’s the bridge between the digital code you write and the analog reality you live in. It reads sensors (inputs) and controls motors, lights, and displays (outputs). Let’s break down the most common and exciting use cases we’ve tackled at Robotic Coding™.
1. Home Automation and Smart Living Hacks
Forget waiting for the big tech giants to fix your smart home. With an Arduino, you can build your own IoT (Internet of Things) devices.
- Smart Lighting: Control LEDs based on time of day or motion sensors.
- Climate Control: Monitor temperature and humidity, then trigger a fan or heater automatically.
- Security Systems: Use PIR motion sensors to detect intruders and send alerts to your phone via Wi-Fi modules like the ESP826.
Real-World Anecdote: One of our engineers built a “Coffee Machine Monitor” that tweets when the coffee pot is empty. It uses a simple load cell sensor and a NodeMCU (an Arduino-compatible board with Wi-Fi). It’s silly, but it works perfectly!
2. Robotics and Autonomous Vehicle Protyping
This is where we live. Robotics is the heart of Arduino applications.
- Line Following Robots: Use IR sensors to detect a black line on the floor and adjust motor speeds to stay on track.
- Obstacle Avoidance: Mount an Ultrasonic Sensor (HC-SR04) to detect walls and steer away.
- Drone Control: While complex drones need flight controllers, Arduino is perfect for learning the basics of PWM (Pulse Width Modulation) to control motor speed.
For more on this, explore our category on Robotics.
3. Wearable Tech and Fashionable Electronics
Who says tech has to be boring? Wearable electronics are a booming field.
- LED Jackets: Use NeoPixel strips to create dynamic light shows on your clothing.
- Health Monitors: Build a heart rate monitor using a pulse sensor and display the data on a small OLED screen.
- Gesture Control: Use an accelerometer to control a presentation slide deck just by waving your hand.
4. Environmental Monitoring and Weather Stations
Scientists and hobbyists alike use Arduino to track the planet.
- Air Quality: Measure PM2.5 levels using specialized sensors.
- Soil Moisture: Automate your garden’s watering system.
- Weather Stations: Log temperature, pressure, and humidity data to an SD card or the cloud.
5. Interactive Art Installations and Musical Synthesizers
Artists love Arduino because it’s responsive.
- Sound Reactives: Make lights pulse to the beat of music.
- Touch Interfaces: Create large touch-sensitive surfaces that trigger sounds or visuals.
- MIDI Controllers: Build your own custom keyboard or drum pad for music production.
6. Industrial Control Systems and IoT Gateways
Don’t let the “hobbyist” label fool you. Industrial PLC (Programmable Logic Controller) alternatives often start with Arduino.
- Machine Monitoring: Track vibration and temperature on factory motors.
- Process Control: Automate mixing tanks or conveyor belts.
- Data Logging: Record production metrics for analysis.
7. Educational STEM Kits and Coding Bootcamps
This is the original purpose. STEM education relies heavily on Arduino because it teaches C++ logic without the complexity of a full OS.
- Coding Logic: Learn loops, variables, and functions.
- Circuitry Basics: Understand Ohm’s Law, series/parallel circuits, and voltage dividers.
8. 3D Printer Firmware and CNC Machine Controllers
Many open-source 3D printers (like the Prusa i3) and CNC machines run on Arduino Mega boards with firmware like Marlin or GRBL.
- Motion Control: Precise control of stepper motors.
- Thermal Management: Monitoring hotend temperatures to prevent fires.
🛠️ How Do I Use Arduino? A Step-by-Step Guide for Beginners
Ready to stop reading and start building? Here is the Robotic Coding™ roadmap to your first successful upload.
Step 1: Get the Hardware
You need three things:
- The Board: Start with an Arduino Uno R3. It’s the most documented and easiest to find.
- A USB Cable: Type-B for the Uno, Micro-USB for the Nano.
- A Breadboard and Jumper Wires: To connect components without soldering.
Step 2: Install the Software
Download the Arduino IDE (Integrated Development Environment).
- IDE 2.0: The modern version with auto-complete and debugging.
- IDE 1.8.x: The classic, stable version.
- Web Editor: No install needed, runs in your browser.
Step 3: Connect and Upload
- Connect your board to your computer via USB.
- Open the IDE.
- Go to Tools > Board and select “Arduino Uno”.
- Go to Tools > Port and select the COM port your board is on.
- Open File > Examples > 01.Basics > Blink.
- Click the Upload button (the right arrow icon).
Wait, why isn’t it working? If you get a “Compilation Error,” check your board selection. If you get a “Upload Error,” check your drivers or USB cable.
Step 4: Understanding the Code
Every sketch has two main functions:
void setup(): Runs once when the board powers up. Used for initializing pins and serial communication.void loop(): Runs forever. This is where your main logic lives.
void setup() {
 pinMode(LED_BUILTIN, OUTPUT); // Set the built-in LED pin as output
}

void loop() {
 digitalWrite(LED_BUILTIN, HIGH); // Turn LED on
 delay(10); // Wait 1 second
 digitalWrite(LED_BUILTIN, LOW); // Turn LED off
 delay(10); // Wait 1 second
}
🧠 Arduino vs. Raspberry Pi vs. ESP32: Choosing the Right Microcontroller
Confused about which board to buy? You are not alone. Let’s break down the big three.
| Feature | Arduino Uno | Raspberry Pi | ESP32 |
|---|---|---|---|
| Type | Microcontroller | Single Board Computer (SBC) | Microcontroller |
| OS | None (Firmware only) | Linux (Ubuntu, Raspbian) | None (FreeRTOS) |
| Speed | ~16 MHz | ~1.5 GHz | ~240 MHz |
| Power | Low (5V, ~50mA) | High (5V, ~2A+) | Low (3.3V, ~10mA) |
| Connectivity | USB, I2C, SPI, UART | Wi-Fi, Bluetooth, Ethernet, HDMI | Wi-Fi, Bluetooth, BLE |
| Best For | Simple control, sensors, motors | Media centers, complex apps, AI | IoT, wireless projects, battery power |
| Difficulty | Beginner | Intermediate/Advanced | Intermediate |
When to choose Arduino Uno: You need to read a sensor and turn on a motor. Simple, reliable, and cheap.
When to choose Raspberry Pi: You need to run a web server, process video, or use Python libraries like OpenCV.
When to choose ESP32: You need Wi-Fi or Bluetooth but want the simplicity of Arduino code.
Expert Insight: At Robotic Coding™, we often use the ESP32 for IoT projects because it has built-in Wi-Fi and Bluetooth, saving you the hassle of adding extra shields. However, for pure robotics where timing is critical, the Arduino Uno or Nano is often more predictable.
💡 Why Arduino? The Unbeatable Ecosystem and Community Support
Why does everyone still use Arduino when there are faster, cheaper chips? The Ecosystem.
1. The Library System
Need to read a specific sensor? There’s probably a library for it.
- Adafruit Sensor Library: Handles almost any sensor you can imagine.
- Servo Library: Control motors with two lines of code.
- LiquidCrystal: Drive LCD screens easily.
2. The Community
With millions of users, the Arduino Forum and Stack Exchange are goldmines. If you have a bug, someone has already posted a solution.
3. Hardware Compatibility
Shields stack on top of the board to add functionality instantly.
- Motor Shield: Control DC motors and servos.
- Ethernet/Wi-Fi Shield: Connect to the internet.
- Data Logger Shield: Save data to an SD card.
4. Cross-Platform
Whether you are on Windows, macOS, or Linux, the IDE works the same way. No driver headaches (mostly).
⚠️ Critical Notice: Safety, Voltage Limits, and Common Pitfalls
We love building, but we love not burning down the house even more. Here are the critical safety rules we enforce at Robotic Coding™.
Voltage and Current Limits
- Digital Pins: Max 40mA per pin. Exceed this, and you fry the pin.
- Total Current: The whole board can handle about 20mA. If you need to drive a motor, use a motor driver or relay, not the pins directly.
- Voltage: Most classic Arduinos are 5V. Do not connect 9V or 12V directly to a 5V pin. Use the VIN pin or a barrel jack for higher voltages (up to 12V-20V), which the onboard regulator will step down.
The “Short Circuit” Danger
- Never connect 5V directly to GND. This is a dead short and will blow your USB port or the board.
- Always use a resistor with LEDs. An LED without a resistor is like a car without brakes.
Power Supply Issues
- Brownouts: If your motor draws too much current, the voltage might drop, causing the Arduino to reset. Use a separate power supply for motors.
- USB Power: The USB port on your computer can only supply ~50mA. If your project needs more, use an external power source.
🚀 Can Arduino Sketch Be Used for Production? Real-World Viability
This is the million-dollar question. Can Arduino Sketch be used for production?
The short answer: Yes, but with caveats.
The “Hobbyist” Stigma
Many engineers dismiss Arduino as a “toy” because it lacks the real-time operating system (RTOS) features of industrial PLCs. However, in the real world, Arduino-based systems are powering:
- Smart Meters: Millions of energy meters use Arduino-compatible chips.
- Medical Devices: Some portable diagnostic tools use Arduino for protyping and even final production.
- Consumer Electronics: Many smart home gadgets are essentially custom PCBs running Arduino code.
The Production Reality
- Scalability: For mass production, you wouldn’t buy an Arduino Uno. You would design a custom PCB using the ATmega328P chip (the brain of the Uno) or a more modern chip like the SAMD21.
- Code Optimization: The standard Arduino IDE is great for protyping, but for production, you might use PlatformIO or AVR-GCC to optimize the code size and speed.
- Reliability: Industrial environments need better noise immunity. You might need to add capacitors, fuses, and opto-isolators to your custom design.
Verdict: The code (the sketch) is absolutely production-ready. The board (the plastic Uno) is not. You take the logic, optimize it, and put it on a custom PCB.
For a deep dive into the technical debate, check out the discussion on Arduino Stack Exchange regarding production viability.
🏆 Top 15 Must-Try Arduino Projects for Every Skill Level
Ready to get your hands dirty? Here are 15 projects we recommend, sorted by difficulty.
Beginner (The “I Blink, Therefore I Am” Tier)
- Blinking LED: The classic. Learn
digitalWriteanddelay. - Traffic Light Simulator: Use 3 LEDs to mimic a traffic intersection.
- Light Sensor (LDR): Turn an LED on when it gets dark.
- Button Controlled LED: Press a button toggle an LED.
- Potentiometer Dimer: Use a knob to control LED brightness (PWM).
Intermediate (The “I Can Read Sensors” Tier)
- Ultrasonic Distance Meter: Measure distance with an HC-SR04 and display on LCD.
- Temperature & Humidity Monitor: Use a DHT1 or DHT2 sensor.
- Servo Motor Control: Sweep a servo back and forth.
- Simple Weather Station: Log data to an SD card.
- IR Remote Control: Read signals from a TV remote and control an LED.
Advanced (The “I Build Robots” Tier)
- Line Following Robot: Build a car that follows a black line.
- Obstacle Avoiding Robot: Use ultrasonic sensors to navigate a maze.
- Bluetooth Controlled Car: Control a robot via your smartphone.
- IoT Smart Home Hub: Monitor sensors and send data to the cloud (Blynk or Arduino Cloud).
- 3D Printer Controller: Build a simple CNC ploter or 3D printer axis.
📚 Recommended Links: Best Boards, Shields, and Sensors
Where do you buy the good stuff? Here are our top picks for hardware.
👉 CHECK PRICE on:
- Arduino Uno R3: Amazon | Arduino Official Store
- Arduino Nano: Amazon | SparkFun
- ESP32 DevKit: Amazon | Adafruit
👉 Shop Sensors & Components:
- Ultrasonic Sensor (HC-SR04): Amazon | Adafruit
- Servo Motor (SG90): Amazon | SparkFun
- Breadboard & Jumper Wires Kit: Amazon | Adafruit
Books to Master the Craft:
- “Making Things Talk” by Tom Igoe: The bible of IoT. Amazon
- “Arduino Cookbook” by Michael Margolis: A reference for every problem. Amazon
❓ Frequently Asked Questions About Arduino Applications
What are some advanced Arduino projects for experienced robotic coders?
Experienced coders often tackle autonomous drones, robotic arms with inverse kinematics, or distributed sensor networks using LoRa for long-range communication. These projects require deep knowledge of C++, PID control loops, and RTOS.
How does Arduino integrate with sensors and other electronic components?
Arduino uses GPIO (General Purpose Input/Output) pins.
- Digital Pins: For on/off signals (buttons, LEDs).
- Analog Pins: For continuous values (potentiometers, light sensors).
- Communication Protocols: I2C (2 wires, many devices), SPI (fast, 4 wires), and UART (serial communication).
What programming language is used to code Arduino microcontrollers?
Arduino uses a simplified version of C++. It includes the Arduino API which wraps complex C++ functions into easy-to-use commands like digitalWrite(). You can also write pure C or C++ if you know what you’re doing.
Can I use Arduino to build autonomous robots and drones?
Yes. While complex drones often use dedicated flight controllers (like Pixhawk), Arduino is perfect for learning the basics of motor control, sensor fusion, and navigation logic. For advanced robotics, check out our Robotic Simulations category.
What are some popular Arduino robotic kits for learning coding?
- Arduino Starter Kit: The official kit with a book and components.
- Elegoo Smart Robot Car Kit: A popular, affordable car kit.
- LEGO Mindstorms (with Arduino bridge): Combines LEGO with Arduino logic.
How do I get started with Arduino projects for beginners?
- Buy an Arduino Starter Kit.
- Install the Arduino IDE.
- Follow the Blink tutorial.
- Join the Arduino Forum for help.
What are the basics of programming an Arduino board?
Understand setup() and loop(), learn how to read digital and analog inputs, and control outputs using digitalWrite and analogWrite.
What are the most popular Arduino boards and their applications in robotics?
- Uno: General purpose, protyping.
- Nano: Compact, wearable, small robots.
- Mega: High pin count, complex robots, 3D printers.
- Due: 32-bit ARM processor, high speed, advanced robotics.
How do I get started with Arduino and robotic coding as a hobby?
Start with a simple line follower. It teaches you sensors, motors, and logic. Then move to an obstacle avoider.
What are some examples of simple Arduino projects for beginners?
- Blinking LED.
- Traffic light simulator.
- Temperature monitor.
- Light-activated night light.
Can Arduino be used for industrial automation and control systems?
Yes, for small-scale automation. However, for heavy industry, PLCs are preferred due to their ruggedness and safety certifications. Arduino is great for protyping industrial solutions before moving to custom PCBs.
What programming languages are used to code Arduino boards?
Primarily C++. Some advanced users use MicroPython (via ports like CircuitPython on compatible boards) or JavaScript (via Espruino).
How does Arduino compare to other microcontrollers like Raspberry Pi?
Arduino is a microcontroller (real-time, low power, simple). Raspberry Pi is a computer (OS, high power, complex). Use Arduino for control, Pi for processing.
What are the benefits of using Arduino in robotic projects?
- Low Cost: Cheap to prototype.
- Large Community: Easy to find help.
- Hardware Variety: Thousands of shields and sensors.
- Simplicity: Easy to learn C++.
What are some advanced Arduino techniques for complex robotic coding projects?
- Interrupts: React instantly to events without
delay(). - State Machines: Manage complex robot behaviors.
- PID Control: Smooth motor control.
- Non-blocking Code: Using
millis()instead ofdelay().
How can I integrate sensors and actuators with an Arduino board for robotics?
Use I2C for sensors like accelerometers, PWM for servos, and H-Bridges for DC motors. Always check voltage levels!
What is the difference between Arduino and Raspberry Pi for robotic applications?
Arduino handles real-time motor control and sensor reading. Raspberry Pi handles image processing, AI, and high-level decision making. They often work together!
Can I use Arduino to build autonomous robots and if so, how?
Yes. Use sensors (ultrasonic, IR, IMU) to perceive the environment, write logic to make decisions, and use motor drivers to act. Start with simple behaviors like “move forward until obstacle, then turn.”
What are some popular Arduino projects for beginners in robotic coding?
- Line Follower: Follows a black line.
- Obstacle Avoider: Stops or turns when it hits something.
- Sumo Bot: Pushes other bots out of a ring.
How do I get started with programming an Arduino for robotics?
Learn the basics of C++, understand PWM for motor speed, and practice with a servo and a DC motor.
What are the basic components of an Arduino board?
- Microcontroller: The brain (ATmega328P).
- USB Port: For power and programming.
- Power Jack: For external power.
- Digital/Analog Pins: For connecting components.
- Reset Button: To restart the code.
🏁 Conclusion: Your Journey into Embedded Systems Starts Here
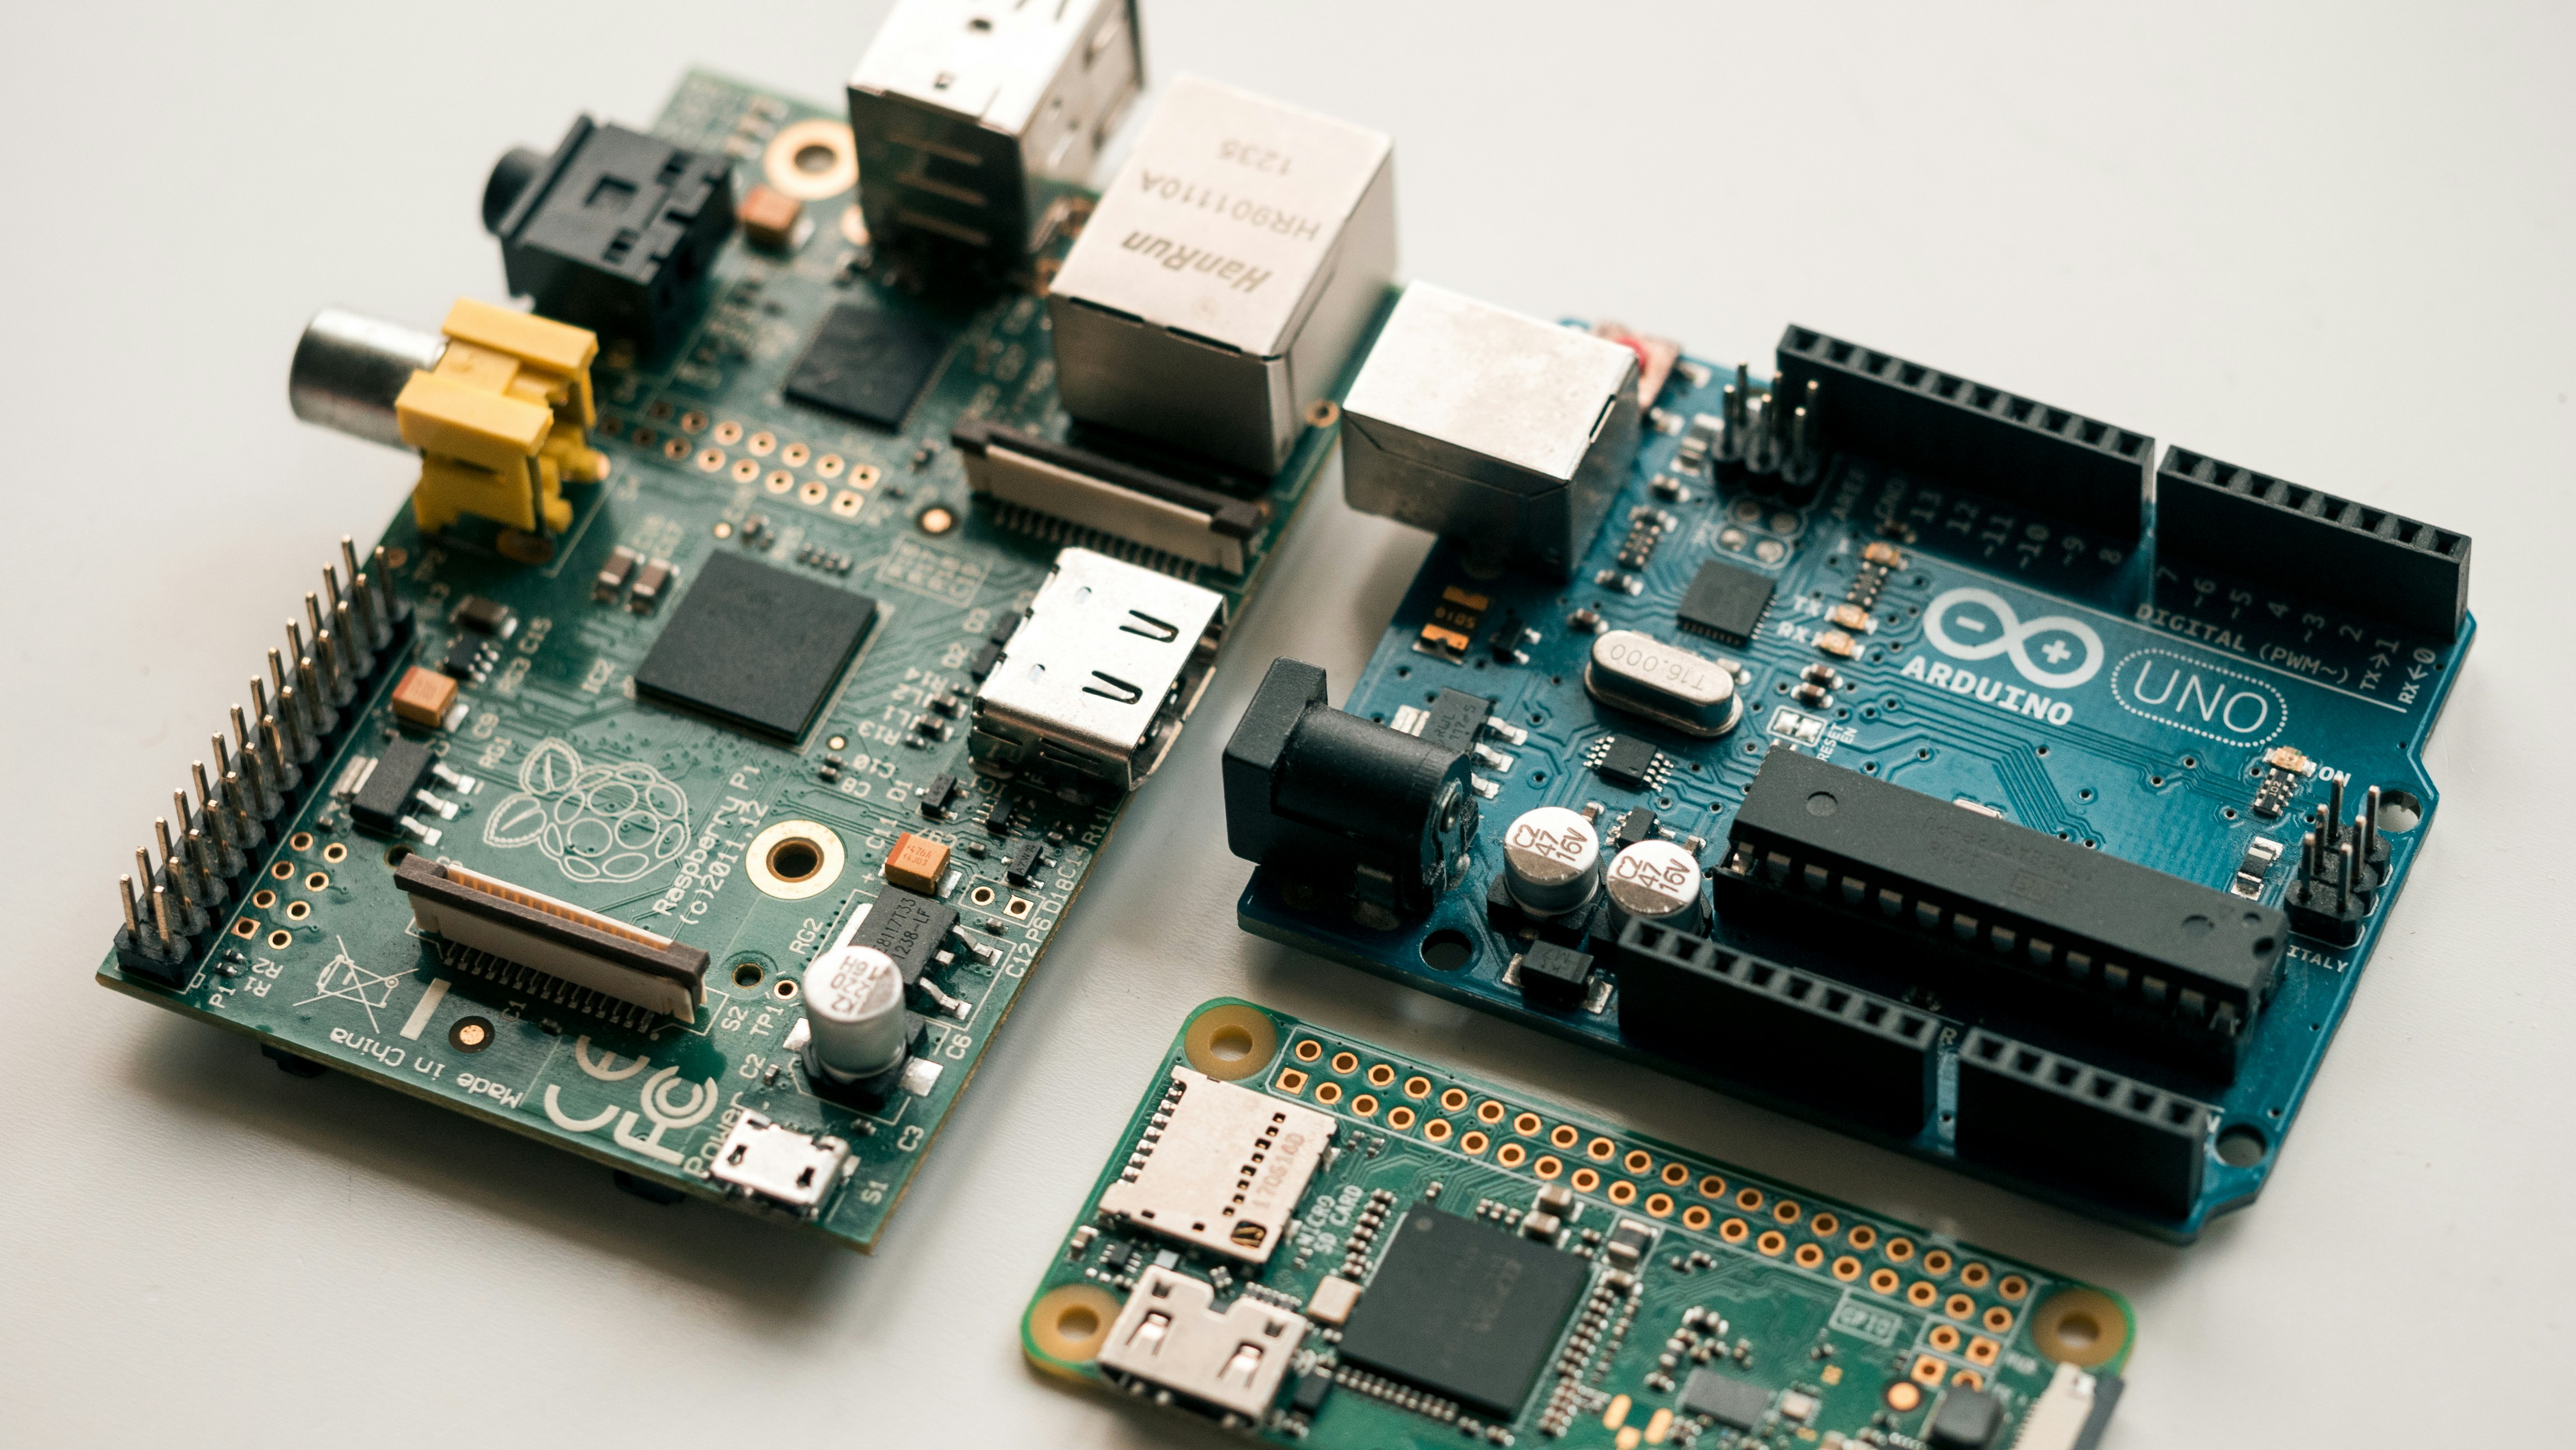
So, what is an Arduino used for? It’s used for everything. From the blinking LED on your desk to the complex autonomous robots navigating our labs, the Arduino is the gateway to the physical world of code.
We started this article wondering if a simple microcontroller could handle real-world tasks. The answer is a resounding yes. While it may not replace a supercomputer, it is the perfect tool for protyping, learning, and even production (with the right design).
Our Final Recommendation:
If you are a beginner, grab an Arduino Uno Starter Kit today. Don’t worry about the perfect board; just start. The community is there to help, and the possibilities are endless. Whether you want to build a smart home, a robot, or just understand how the world works, Arduino is your best friend.
Ready to code? The only thing standing between you and your first robot is a USB cable and a little bit of courage. Happy Coding!
📚 Recommended Links
👉 Shop Hardware:
- Arduino Uno R3: Amazon | Arduino Official Store
- Arduino Starter Kit: Amazon | Adafruit
- ESP32 DevKit: Amazon | SparkFun
Books & Resources:
- “Arduino Cookbook” by Michael Margolis: Amazon
- “Making Things Talk” by Tom Igoe: Amazon
- Arduino Project Hub: Official Site
🔗 Reference Links and Official Documentation
- Arduino Official Documentation: docs.arduino.cc
- Arduino Stack Exchange: Can Arduino Sketch be used for production?
- SparkFun Learning Center: SparkFun Learn
- Adafruit Learning System: Adafruit Learn
- Arduino Forum: forum.arduino.cc
- Wiring Project: wiring.org.co
❓ Frequently Asked Questions (FAQ)
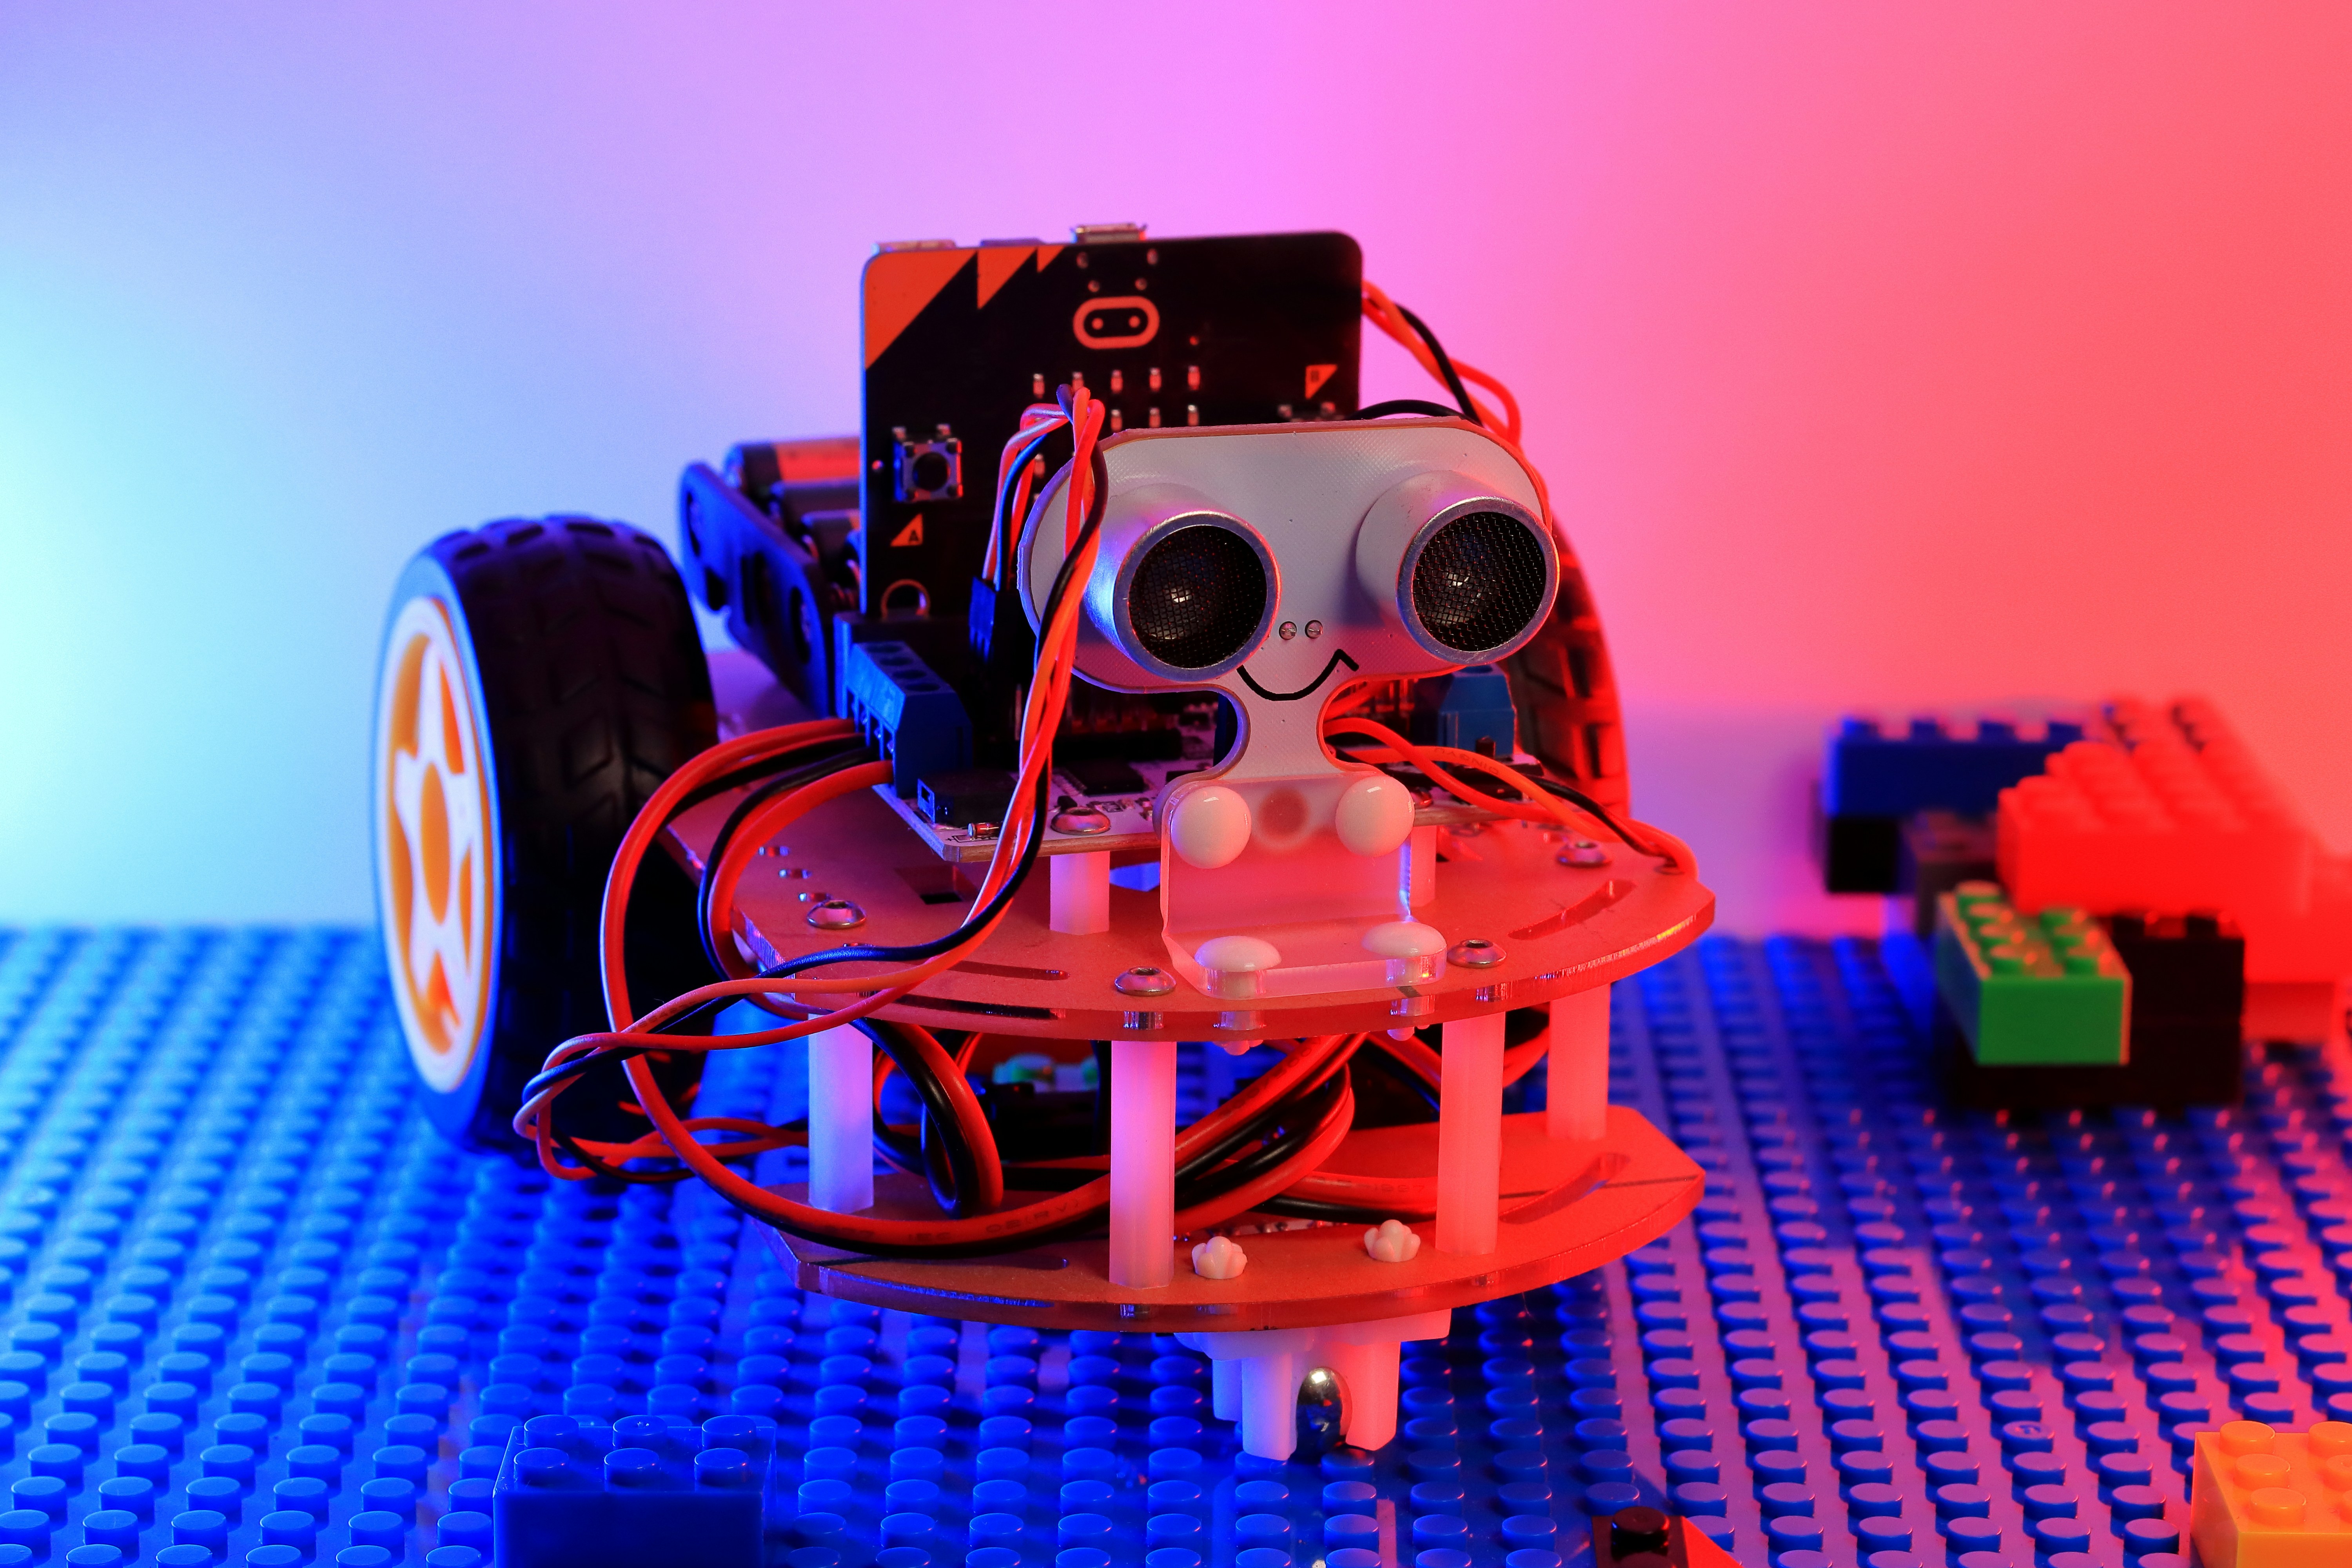
What are some advanced Arduino projects for experienced robotic coders?
Experienced coders often tackle autonomous drones, robotic arms with inverse kinematics, or distributed sensor networks using LoRa for long-range communication. These projects require deep knowledge of C++, PID control loops, and RTOS.
How does Arduino integrate with sensors and other electronic components?
Arduino uses GPIO (General Purpose Input/Output) pins.
- Digital Pins: For on/off signals (buttons, LEDs).
- Analog Pins: For continuous values (potentiometers, light sensors).
- Communication Protocols: I2C (2 wires, many devices), SPI (fast, 4 wires), and UART (serial communication).
Read more about “🤖 35 Mind-Blowing DIY Automated Projects to Transform Your Life (2026)”
What programming language is used to code Arduino microcontrollers?
Arduino uses a simplified version of C++. It includes the Arduino API which wraps complex C++ functions into easy-to-use commands like digitalWrite(). You can also write pure C or C++ if you know what you’re doing.
Read more about “🤖 MicroPython vs Python: The Ultimate 2026 Showdown for Robotics”
Can I use Arduino to build autonomous robots and drones?
Yes. While complex drones often use dedicated flight controllers (like Pixhawk), Arduino is perfect for learning the basics of motor control, sensor fusion, and navigation logic. For advanced robotics, check out our Robotic Simulations category.
What are some popular Arduino robotic kits for learning coding?
- Arduino Starter Kit: The official kit with a book and components.
- Elegoo Smart Robot Car Kit: A popular, affordable car kit.
- LEGO Mindstorms (with Arduino bridge): Combines LEGO with Arduino logic.
Read more about “🚀 Arduino Coding for Beginners: 10 Projects to Master Robotics (2026)”
How do I get started with Arduino projects for beginners?
- Buy an Arduino Starter Kit.
- Install the Arduino IDE.
- Follow the Blink tutorial.
- Join the Arduino Forum for help.
Read more about “Is Arduino Beginner Friendly? The 2026 Verdict & Top 7 Picks 🤖”
What are the basics of programming an Arduino board?
Understand setup() and loop(), learn how to read digital and analog inputs, and control outputs using digitalWrite and analogWrite.
Read more about “🤖 What Is Arduino Used For? 10 Real-World Uses & Why It Wins (2026)”
What are the most popular Arduino boards and their applications in robotics?
- Uno: General purpose, protyping.
- Nano: Compact, wearable, small robots.
- Mega: High pin count, complex robots, 3D printers.
- Due: 32-bit ARM processor, high speed, advanced robotics.
Read more about “🚀 15 Best Interactive Coding Tutorials to Master Code in 2026”
How do I get started with Arduino and robotic coding as a hobby?
Start with a simple line follower. It teaches you sensors, motors, and logic. Then move to an obstacle avoider.
Read more about “How Does Robotic Coding Differ from Traditional Software Development? 🤖 (2025)”
What are some examples of simple Arduino projects for beginners?
- Blinking LED.
- Traffic light simulator.
- Temperature monitor.
- Light-activated night light.
Read more about “Is Arduino Similar to Raspberry Pi? The 2026 Showdown 🤖”
Can Arduino be used for industrial automation and control systems?
Yes, for small-scale automation. However, for heavy industry, PLCs are preferred due to their ruggedness and safety certifications. Arduino is great for protyping industrial solutions before moving to custom PCBs.
Read more about “🤖 Can Arduino Control Complex Robots? The 2026 Reality Check”
What programming languages are used to code Arduino boards?
Primarily C++. Some advanced users use MicroPython (via ports like CircuitPython on compatible boards) or JavaScript (via Espruino).
Read more about “10+ Languages That Work with Arduino (2026) 🤖”
How does Arduino compare to other microcontrollers like Raspberry Pi?
Arduino is a microcontroller (real-time, low power, simple). Raspberry Pi is a computer (OS, high power, complex). Use Arduino for control, Pi for processing.
Read more about “🤖 15+ Best Arduino Sensors for Robots (2026 Guide)”
What are the benefits of using Arduino in robotic projects?
- Low Cost: Cheap to prototype.
- Large Community: Easy to find help.
- Hardware Variety: Thousands of shields and sensors.
- Simplicity: Easy to learn C++.
Read more about “🤖 7 Arduino Robotics Projects to Master Coding Skills (2026)”
What are some advanced Arduino techniques for complex robotic coding projects?
- Interrupts: React instantly to events without
delay(). - State Machines: Manage complex robot behaviors.
- PID Control: Smooth motor control.
- Non-blocking Code: Using
millis()instead ofdelay().
Read more about “10 Best Arduino Programming Tutorials to Master Robotics (2026) 🤖”
How can I integrate sensors and actuators with an Arduino board for robotics?
Use I2C for sensors like accelerometers, PWM for servos, and H-Bridges for DC motors. Always check voltage levels!
Read more about “🤖 7 Essential Parts to Start Arduino Robotics (2026)”
What is the difference between Arduino and Raspberry Pi for robotic applications?
Arduino handles real-time motor control and sensor reading. Raspberry Pi handles image processing, AI, and high-level decision making. They often work together!
Read more about “🤖 7 Best Arduino Boards for Robotic Coding Beginners (2026)”
Can I use Arduino to build autonomous robots and if so, how?
Yes. Use sensors (ultrasonic, IR, IMU) to perceive the environment, write logic to make decisions, and use motor drivers to act. Start with simple behaviors like “move forward until obstacle, then turn.”
What are some popular Arduino projects for beginners in robotic coding?
- Line Follower: Follows a black line.
- Obstacle Avoider: Stops or turns when it hits something.
- Sumo Bot: Pushes other bots out of a ring.
Read more about “🤖 Intro to C++ for Robotics: The Ultimate 2026 Guide to Real-Time Control”
How do I get started with programming an Arduino for robotics?
Learn the basics of C++, understand PWM for motor speed, and practice with a servo and a DC motor.
Read more about “Is MicroPython Compatible with CircuitPython? The 2026 Truth 🤖”
What are the basic components of an Arduino board?
- Microcontroller: The brain (ATmega328P).
- USB Port: For power and programming.
- Power Jack: For external power.
- Digital/Analog Pins: For connecting components.
- Reset Button: To restart the code.
Read more about “🤖 15 Best Resources to Learn Arduino for Robotics Coding (2026)”