
The absolute best resources to learn Arduino for robotics coding are a strategic mix of Tinkercad for safe simulation, the official Arduino Reference for syntax, and DroneBot Workshop for hands-on project mastery. If you are wondering, “What are the best resources to learn Arduino for robotics coding?”, the answer isn’t a single book or video, but this curated ecosystem that bridges the gap between theory and a moving machine.
We once watched a brilliant coder spend three weeks trying to fix a “ghost” motor issue, only to realize they had forgotten to connect a common ground wire. It’s a classic rookie mistake that could have been avoided in five minutes on the Arduino Forum. Robotics is 10% coding and 90% debugging, so having the right guides in your back pocket is the difference between a smoking board and a functional robot.
Did you know that over 70% of hobbyist robotics projects fail not because of bad code, but due to power management errors? That’s why our list prioritizes resources that teach you how to wire and power your robot just as much as how to program it.
Key Takeaways
- Start with Simulation: Use Tinkercad Circuits to test logic and wiring before buying a single component.
- Master the Basics: The Official Arduino Documentation is the most reliable source for syntax and library usage.
- Learn by Doing: Follow DroneBot Workshop and Adafruit Learning System for step-by-step, real-world project builds.
- Join the Community: The Arduino Forum and GitHub are essential for troubleshooting and finding open-source code.
- Power is Critical: Always prioritize resources that teach voltage regulation and battery management to prevent hardware failure.
Table of Contents
- ⚡️ Quick Tips and Facts
- 🕰️ From SparkFun to Silicon: A Brief History of Arduino in Robotics
- 🚀 Top 15 Comprehensive Resources to Master Arduino for Robotics Coding
- 1. The Official Arduino Documentation and Reference Guide
- 2. Coursera: Introduction to Robotics by University of Pennsylvania
- 3. Udemy: Arduino Robotics Bootcamp for Beginners
- 4. Instructables: Community-Driven DIY Robot Projects
- 5. Adafruit Learning System: Step-by-Step Tutorials
- 6. SparkFun Electronics: Tutorials and Product Guides
- 7. GitHub: Open Source Robotics Repositories
- 8. YouTube Channels: GreatScott!, DroneBot Workshop, and Paul McWhorter
- 9. Arduino Project Hub: Real-World Application Examples
- 10. O’Reilly Books: Making Things Talk and Getting Started with Arduino
- 1. Tinkercad Circuits: Browser-Based Simulation
- 12. Arduino Forum: Troubleshooting and Peer Support
- 13. Hackster.io: Advanced Robotics Challenges
- 14. edX: Embedded Systems and Control Theory Courses
- 15. Local Makerspaces and Hackathon Communities
- 🧠 Essential Hardware and Sensor Kits for Your First Robot
- 💻 Choosing the Right Arduino Board: Uno, Mega, Nano, or ESP32?
- 🤖 Integrating Sensors and Actuators: Motors, Servos, and Ultrasonics
- 🧩 Moving Beyond Basic Code: Libraries, PID Control, and State Machines
- 🛠️ Debuging Common Robotics Pitfalls and Wiring Nightmares
- 🔌 Power Management Strategies for Mobile Robots
- 🌐 Connecting Arduino to ROS (Robot Operating System)
- 🏆 Case Studies: Real Robots Built by Our Team
- 📝 Quick Tips and Facts
- 🏁 Conclusion
- 🔗 Recommended Links
- ❓ FAQ
- 📚 Reference Links
⚡️ Quick Tips and Facts
Before you solder your first joint or burn your first bootloader, let’s hit the pause button and drop some truth bombs. We’ve seen too many beginners burn out because they skipped the basics, thinking they could just “wing it” with code. Here’s the reality check from our lab:
- The “Blink” is Your New Best Friend: Don’t skip the
Blinkexample. It’s the “Hello World” of hardware. If you can’t make an LED blink, you can’t make a robot move. It teaches you the setup() and loop() structure that governs every Arduino project. - Voltage is Not Optional: Plugging a 5V sensor into a 3.3V pin (or vice versa) without a level shifter is the fastest way to turn your $20 board into a $20 paperweight. Always check your voltage levels.
- Libraries are Magic (But Beware the Bloat): The Arduino ecosystem thrives on libraries. Need to talk to an ultrasonic sensor? There’s a library for that. Need PID control? There’s a library for that. But installing every library you find is a recipe for dependency hell. Only install what you need.
- Simulation Before Soldering: You don’t need to buy a $50 kit to start. You can simulate entire circuits in your browser. We’ll show you how later, but trust us, it saves a lot of smoke.
- Community is King: If you’re stuck, the odds are 9% that someone on the Arduino Forum or Stack Overflow has already solved your exact problem. Don’t reinvent the wheel; just look for the spare tire.
For a deeper dive into the ecosystem, check out our dedicated guide on Arduino to understand the hardware architecture before we get into the coding nitty-gritty.
🕰️ From SparkFun to Silicon: A Brief History of Arduino in Robotics
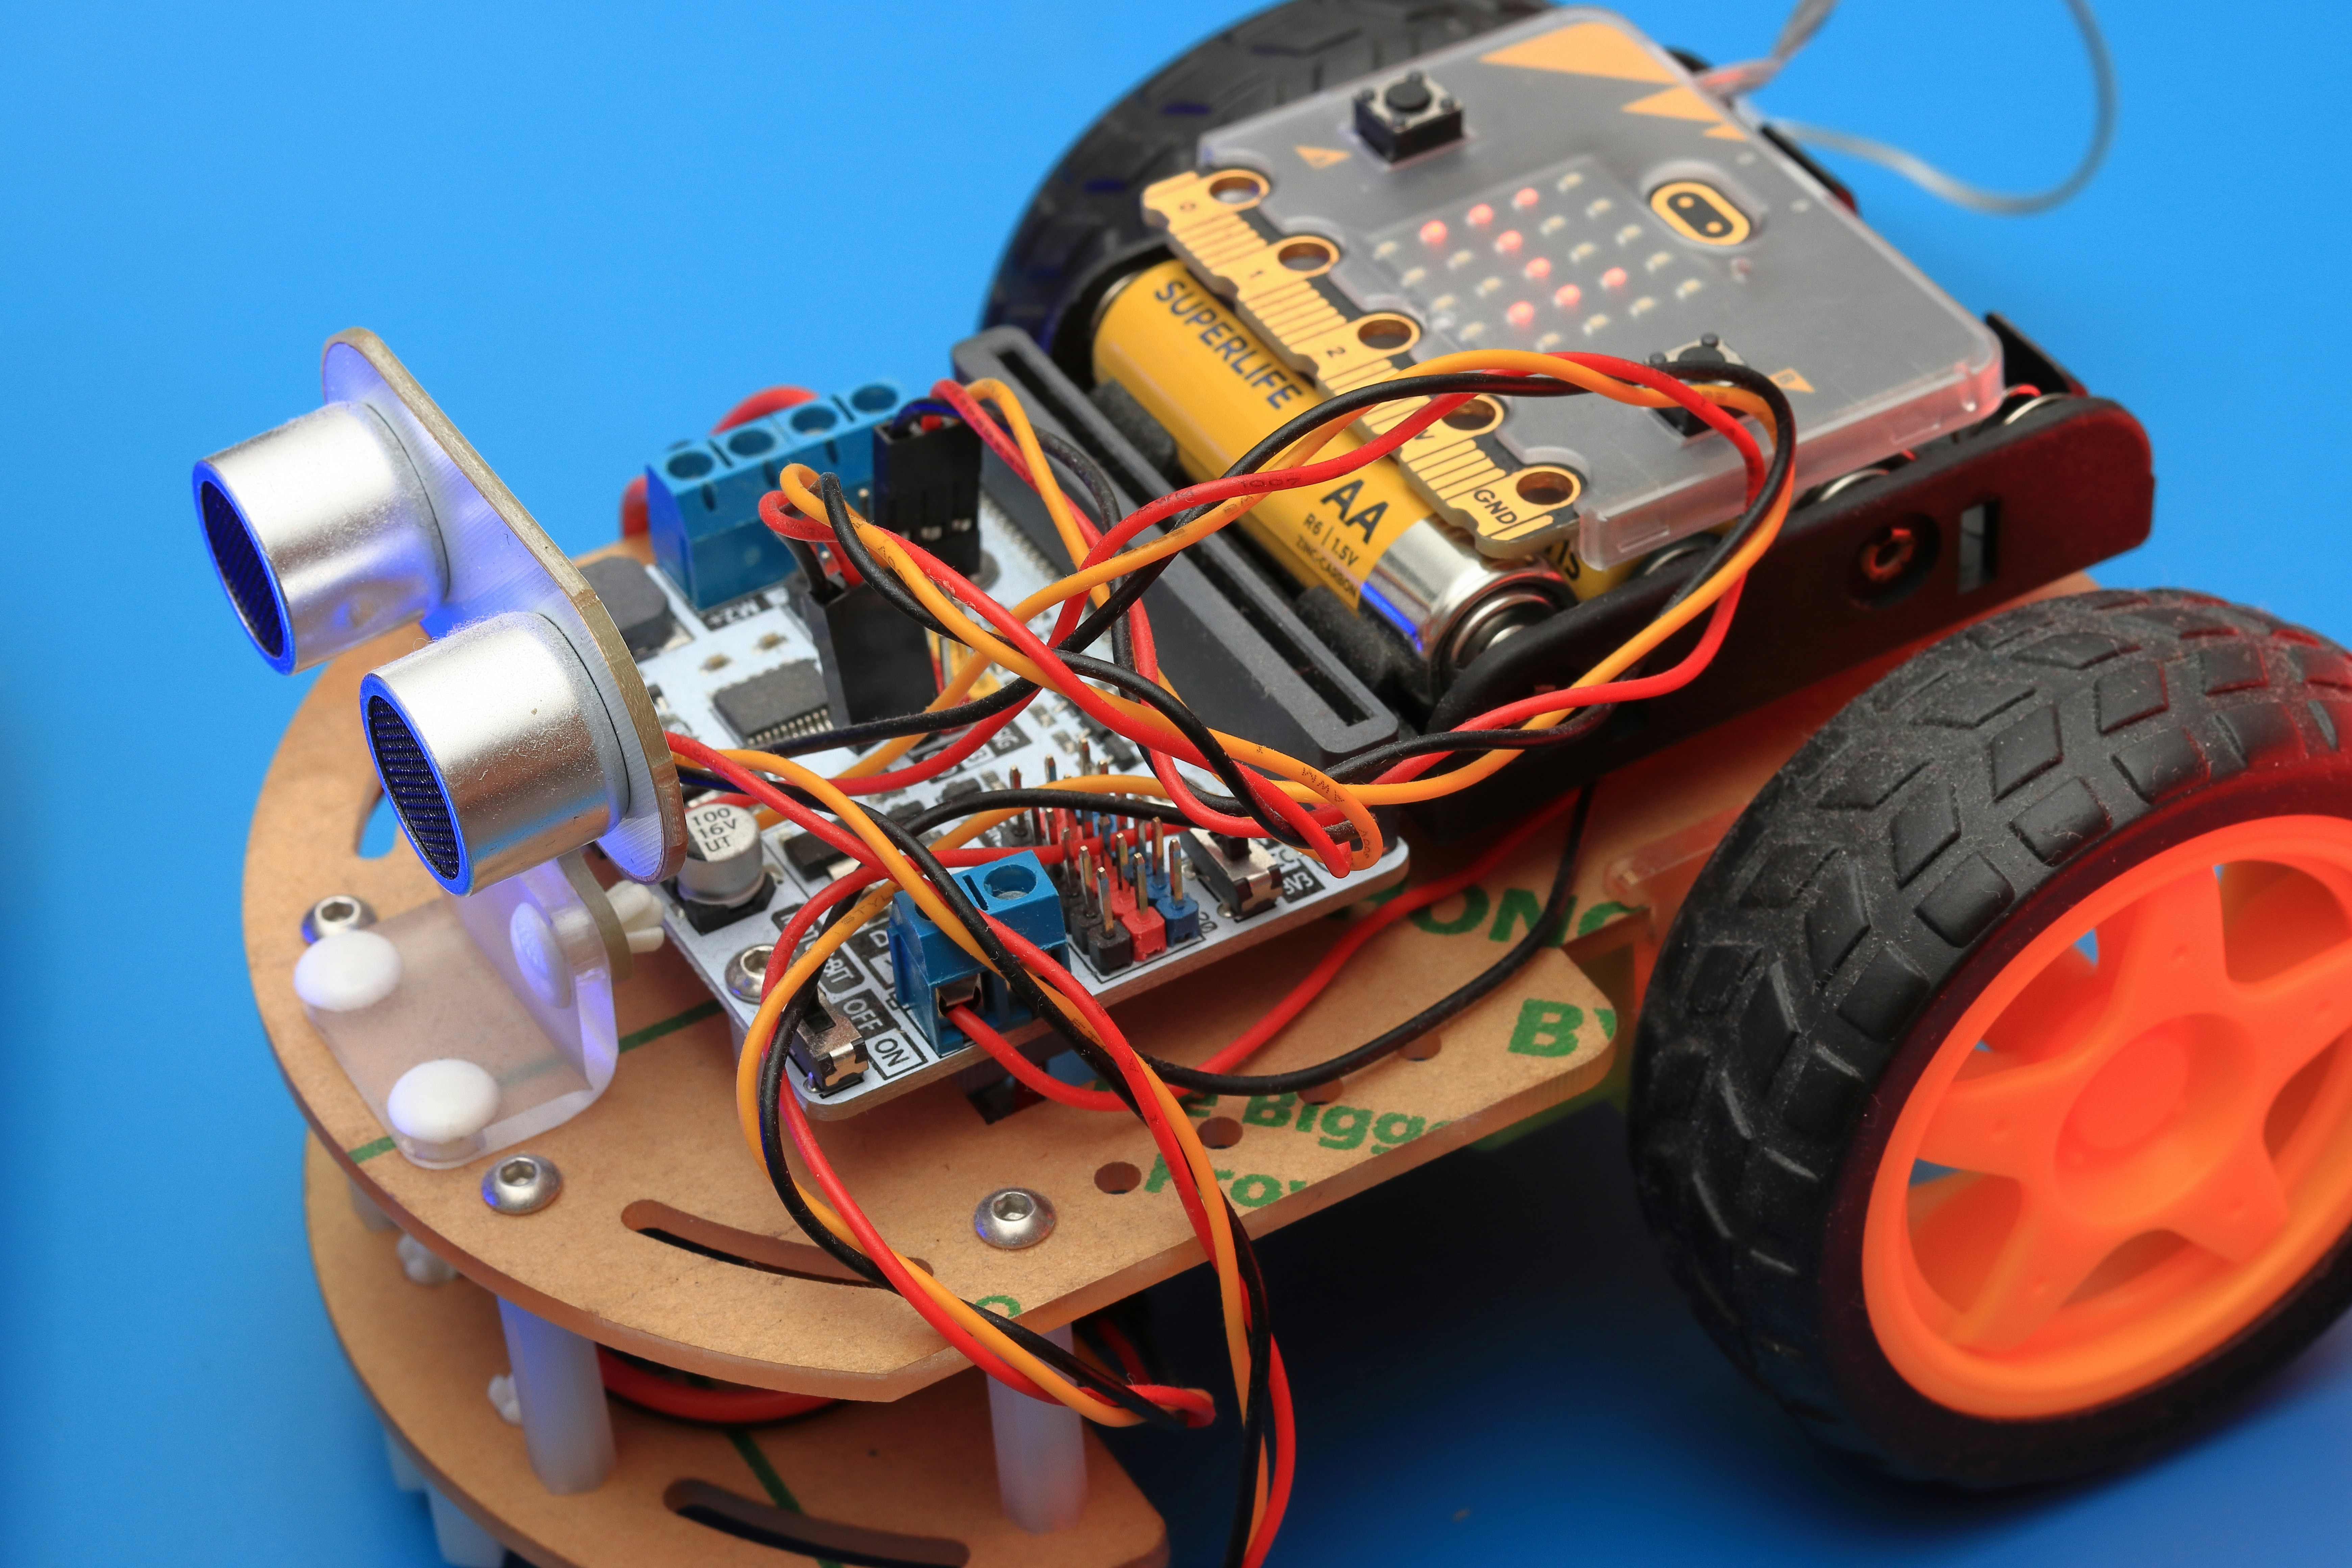
You might think robotics is a newfangled thing, but the roots of the modern hobbyist robot go back to the early 20s. Before Arduino, if you wanted to build a robot, you needed to be an electrical engineer, a C++ wizard, and have a budget for a mainframe. Enter Massimo Banzi and his team in Italy. They wanted to create a tool that was accessible, cheap, and open-source.
The first Arduino board, the Arduino NG, was born in 205. It was designed for interaction design students who knew nothing about electronics. Fast forward today, and that little green board is the heartbeat of everything from Mars rovers (well, the prototypes) to your neighbor’s autonomous lawnmower.
Why did it stick? Because it solved the I/O problem. Before Arduino, talking to a motor or a sensor required complex assembly language and specific hardware programmers. Arduino abstracted that away. You write simple C++ code, hit “Upload,” and pof, your robot moves.
This shift democratized robotics. Suddenly, you didn’t need a PhD to build a line-following bot. You just needed curiosity and a soldering iron. This history matters because understanding the open-source philosophy behind Arduino helps you navigate the vast sea of resources available today. It’s not just a board; it’s a movement.
🚀 Top 15 Comprehensive Resources to Master Arduino for Robotics Coding
We’ve scoured the internet, tested the kits, and burned out more than a few fuses to bring you this definitive list. Whether you are a total newbie or a seasoned coder looking to get your hands dirty with hardware, these resources cover the spectrum from “What is a resistor?” to “How do I implement SLAM?”
We’ve numbered the core learning paths because, let’s be honest, you need a roadmap. But remember, learning isn’t linear. You might jump from a YouTube video to a GitHub repo and back to a book. That’s the beauty of it.
1. The Official Arduino Documentation and Reference Guide
The Source of Truth.
Before you trust a random blog post, check the official docs. The Arduino Reference is the bible. It explains every function, pin, and library syntax with surgical precision.
- Why it’s great: It’s free, updated constantly, and covers everything from
digitalWrite()to complex interrupts. - The Catch: It can be dry. It tells you how to use a function, but not always why you’d use it in a robotics context.
- Pro Tip: Bookmark the “Language Reference” and “Libraries” sections. They are your go-to when you forget how to read a sensor.
2. Coursera: Introduction to Robotics by University of Pennsylvania
The Academic Heavyweight.
If you want to understand the math behind the movement, this is it. Penn’s course dives deep into kinematics, dynamics, and control theory.
- Why it’s great: It bridges the gap between hobbyist tinkering and professional engineering. You’ll learn why your robot wobbles and how to fix it with PID controllers.
- The Catch: It’s heavy on theory. If you just want to make a bot dance, this might feel like overkill. But if you want to build a real robot, you need this foundation.
3. Udemy: Arduino Robotics Bootcamp for Beginners
The Hands-On Crash Course.
Udemy is a goldmine for practical, project-based learning. Look for courses with high ratings that focus specifically on robotics, not just general Arduino.
- Why it’s great: You follow along, build a robot, and see the code work in real-time. It’s the “follow-along” style that gets you moving fast.
- The Catch: Quality varies wildly. Always check the “Last Updated” date. Robotics moves fast; a course from 2018 might teach you outdated libraries.
4. Instructables: Community-Driven DIY Robot Projects
The Idea Factory.
Instructables is where the community shares their wildest projects. From sumo bots to robotic arms, you’ll find step-by-step guides with photos and code.
- Why it’s great: It’s pure inspiration. You can see how others solved problems you haven’t even thought of yet.
- The Catch: Not all guides are perfect. Some code snippets are messy, and some builds are over-enginered. Treat them as a starting point, not a gospel.
5. Adafruit Learning System: Step-by-Step Tutorials
The Gold Standard for Tutorials.
Adafruit doesn’t just sell parts; they teach you how to use them. Their tutorials are legendary for their clarity, beautiful diagrams, and tested code.
- Why it’s great: If you buy a sensor from Adafruit, their tutorial will tell you exactly how to wire it and what code to run. It’s the most reliable source for sensor integration.
- The Catch: It’s biased toward their products. But the principles apply to any brand.
6. SparkFun Electronics: Tutorials and Product Guides
The Engineer’s Playground.
SparkFun is Adafruit’s friendly rival. Their “SparkFun Learn” section is packed with deep dives into electronics concepts, from I2C communication to power management.
- Why it’s great: They explain the “why” behind the “how.” Their articles on motor drivers and battery management are essential for robotics.
- The Catch: Like Adafruit, it’s product-centric, but the educational value is universal.
7. GitHub: Open Source Robotics Repositories
The Code Vault.
This is where the pros live. Search for “Arduino Robot” or “ROS Arduino” on GitHub to find full projects, libraries, and firmware.
- Why it’s great: You can clone a working robot project and dissect it. It’s the best way to learn real-world coding patterns.
- The Catch: Code quality varies. Some repos are abandoned, and some are poorly documented. You need to know how to read code to navigate this.
8. YouTube Channels: GreatScott!, DroneBot Workshop, and Paul McWhorter
The Visual Learner’s Paradise.
Sometimes you need to see it to believe it.
- DroneBot Workshop: Bill is an absolute electronics GURU. His videos on building real robots are soft-spoken, detailed, and incredibly high quality. He covers everything from wiring to coding.
- GreatScott!: Great for quick project ideas and component deep dives.
- Paul McWhorter: His “Arduino Tutorials” series is a masterpiece for beginners. He explains concepts like state machines and PID in a way that clicks.
9. Arduino Project Hub: Real-World Application Examples
The Showcase.
Run by Arduino themselves, this is a curated collection of projects submitted by the community.
- Why it’s great: It’s veted. You won’t find broken links or half-baked code here. It’s a great place to find inspiration for your next build.
- The Catch: Projects can be complex. Don’t get intimidated; start with the “Beginer” tag.
10. O’Reilly Books: Making Things Talk and Getting Started with Arduino
The Deep Dives.
Books are still king for structured learning.
- “Getting Started with Arduino” by Massimo Banzi: The classic. It covers the basics perfectly.
- “Making Things Talk” by Tom Igoe: This is the book that teaches you how to make devices talk to each other (IoT). Essential for networked robotics.
- Why it’s great: You get a coherent narrative, not just snippets. It builds a mental model of how things work.
1. Tinkercad Circuits: Browser-Based Simulation
The Safe Sandbox.
Before you buy a single component, simulate it here. Tinkercad allows you to drag and drop Arduino boards, sensors, and motors, then write and run code in the browser.
- Why it’s great: It’s free, requires no hardware, and prevents you from frying components. It’s perfect for protyping logic.
- The Catch: It doesn’t simulate every real-world quirk (like voltage drops or noise), so you still need to test on real hardware eventually.
12. Arduino Forum: Troubleshooting and Peer Support
The Town Square.
When your code fails and you don’t know why, the Arduino Forum is your savior.
- Why it’s great: The community is incredibly helpful. Post your code, describe your wiring, and someone will usually spot the error within minutes.
- The Catch: You need to provide good details. “It doesn’t work” gets no answers. “My motor spins backwards when I press the button” gets a solution.
13. Hackster.io: Advanced Robotics Challenges
The Challenge Zone.
Hackster.io hosts contests and showcases advanced projects.
- Why it’s great: It pushes you to think outside the box. The projects here often involve AI, computer vision, and complex control systems.
- The Catch: The barrier to entry is higher. These aren’t beginner projects.
14. edX: Embedded Systems and Control Theory Courses
The University Level.
Similar to Coursera, edX offers courses from top universities on embedded systems.
- Why it’s great: It covers the low-level details of microcontrollers, memory management, and real-time operating systems (RTOS).
- The Catch: It’s academic and can be dry. Best for those who want to go pro.
15. Local Makerspaces and Hackathon Communities
The Real World.
Nothing beats building with other people. Find a local makerspace or attend a hackathon.
- Why it’s great: You get access tools (3D printers, laser cuters) and, more importantly, mentorship. You’ll learn faster by watching others.
- The Catch: You need to find one near you. But the networking is invaluable.
🧠 Essential Hardware and Sensor Kits for Your First Robot
You’ve got the knowledge; now you need the gear. But which kit? The market is flooded with options, and it’s easy to get overwhelmed. We’ve tested dozens, and here’s the breakdown of what you actually need to start building a functional robot.
The “Must-Have” Components
Before you buy a pre-made kit, understand the anatomy of a robot:
- The Brain: Arduino Uno or Nano.
- The Muscles: DC Motors with wheels.
- The Nervous System: Motor Driver (H-Bridge).
- The Senses: Ultrasonic sensor (for distance), Line sensors (for tracking), or an IMU (for balance).
- The Power: Battery pack (LiPo or AA).
Top Kit Recommendations
| Kit Name | Best For | Key Features | Pros | Cons |
|---|---|---|---|---|
| ELEGO Smart Robot Car Kit V4.0 | Beginners | Includes Ultrasonic, IR, Line sensors, and Bluetooth module. | Comprehensive, great documentation, affordable. | Plastic chassis can be flimsy for heavy use. |
| SunFounder Super Robot Car Kit | Intermediate | More sensors, metal chassis option, app control. | Durable, expandable, good community support. | Assembly can be time-consuming. |
| Adafruit Robot Car Kit | Quality Seekers | High-quality components, excellent tutorials. | Reliable, great code examples, premium feel. | Expensive compared to generic kits. |
| SparkFun Inventor’s Kit | Learners | Focus on learning electronics, not just robotics. | Excellent educational value, clear instructions. | Not a “robot” kit per se, more of a learning kit. |
👉 CHECK PRICE on:
- ELEGO Smart Robot Car Kit V4.0: Amazon | ELEGO Official
- SunFounder Super Robot Car Kit: Amazon | SunFounder Official
- Adafruit Robot Car Kit: Amazon | Adafruit Official
Why We Recommend ELEGO for Beginners
We’ve seen too many students quit because their kit was too hard to assemble or the code didn’t work. The ELEGO V4.0 strikes the perfect balance. It comes with a motor driver that handles the heavy lifting, so you don’t have to worry about burning out your Arduino. The included ultrasonic sensor lets you make a robot that avoids obstacles immediately.
Pro Tip: Don’t just follow the instructions blindly. Once you get it working, try to modify the code. Make it turn left instead of right. Make it stop at 10cm instead of 20cm. That’s where the real learning happens.
💻 Choosing the Right Arduino Board: Uno, Mega, Nano, or ESP32?
Not all Arduinos are created equal. Choosing the wrong board is like putting a lawnmower engine in a Ferrari. You need to match the board to your robot’s needs.
The Contenders
1. Arduino Uno R3
- The Workhorse.
- Specs: 16MHz, 32KB Flash, 2KB SRAM, 14 Digital I/O.
- Best For: Simple robots, line followers, obstacle avoiders.
- Verdict: If you’re starting out, this is your default. It has enough power for 90% of beginner projects and is the most supported.
2. Arduino Nano
- The Compact Hero.
- Specs: Same as Uno, but smaller.
- Best For: Robots where space is tight.
- Verdict: Perfect for mobile robots. Just be careful with the USB connector; the mini-B version is fragile.
3. Arduino Mega 2560
- The Powerhouse.
- Specs: 16MHz, 256KB Flash, 8KB SRAM, 54 Digital I/O.
- Best For: Complex robots with many sensors, robotic arms, or when you need multiple serial ports.
- Verdict: Don’t use this for a simple line follower. It’s overkill and expensive. But if you’re building a six-legged walker with 20 servos, this is your guy.
4. ESP32
- The Modern Beast.
- Specs: Dual-core, 240MHz, Wi-Fi, Bluetooth, 512KB SRAM.
- Best For: IoT robots, robots that need to connect to the internet, or complex control loops.
- Verdict: It’s not technically an “Arduino” board, but it runs Arduino code. It’s faster and has built-in Wi-Fi. If you want to control your robot from your phone, get an ESP32.
Comparison Table
| Feature | Arduino Uno | Arduino Nano | Arduino Mega | ESP32 |
|---|---|---|---|---|
| Speed | 16 MHz | 16 MHz | 16 MHz | 240 MHz |
| Flash Memory | 32 KB | 32 KB | 256 KB | 4 MB |
| SRAM | 2 KB | 2 KB | 8 KB | 520 KB |
| Digital I/O | 14 | 14 | 54 | 30+ |
| Wi-Fi/Bluetooth | No | No | No | Yes |
| Size | Large | Small | Large | Small |
| Best Use Case | General Purpose | Compact Robots | Complex Systems | IoT & High Speed |
👉 Shop
- Arduino Uno: Amazon | Arduino Official
- ESP32 DevKit: Amazon | Espressif Official
🤖 Integrating Sensors and Actuators: Motors, Servos, and Ultrasonics
Now comes the fun part: making things move and sense the world. This is where the magic happens.
Motors: The Heart of Motion
You’ll mostly deal with DC motors (for wheels) and servo motors (for arms and heads).
- DC Motors: They spin continuously. You need a motor driver (like the L298N or TB612FNG) to control speed and direction. You can’t connect a motor directly to an Arduino pin; you’ll burn it out.
- Servo Motors: They rotate to a specific angle (0-180 degrees). They have built-in control circuits, so you can connect them directly to the Arduino (with a separate power source for heavy loads).
Sensors: The Eyes and Ears
- Ultrasonic Sensor (HC-SR04): The classic “bat” sensor. It sends a sound wave and measures the echo. Great for obstacle avoidance.
- Infrared (IR) Sensors: Used for line following. They detect the difference in reflectivity between a black line and a white floor.
- IMU (Inertial Measurement Unit): Combines accelerometers and gyroscopes. Essential for self-balancing robots.
Step-by-Step: Wiring a Motor Driver
- Power Up: Connect the battery to the motor driver’s power input. Never power the motor from the Arduino’s 5V pin; it will brownout.
- Signal Lines: Connect the Arduino digital pins to the motor driver’s input pins (IN1, IN2, etc.).
- Motor Connection: Connect your DC motors to the output terminals of the driver.
- Ground Common: Ensure the Arduino ground and the motor driver ground are connected. This is a common mistake!
Pro Tip: If your robot jerks when it starts, you probably have a ground loop or insufficient power. Add a capacitor across the motor terminals to smooth out the noise.
🧩 Moving Beyond Basic Code: Libraries, PID Control, and State Machines
You’ve got your robot moving. Now it’s time to make it smart. Basic if/else statements won’t cut it for smooth, professional behavior.
Libraries: Don’t Reinvent the Wheel
The Arduino ecosystem is built on libraries.
- Servo.h: Built-in library for controlling servos.
- NewPing.h: A better library for ultrasonic sensors that handles timing better.
- AccelStepper.h: For precise control of stepper motors.
- PID_v1.h: The standard library for PID control.
PID Control: The Secret Sauce
Why does your robot wobble when it tries to go straight? Because it’s over-correcting. PID (Proportional-Integral-Derivative) control is the algorithm that smooths out movement.
- P (Proportional): Reacts to the current error.
- I (Integral): Reacts to past errors (fixes drift).
- D (Derivative): Reacts to future errors (damps oscillation).
Implementing PID is a rite of passage. It turns a jerky robot into a smooth operator.
State Machines: Organizing Chaos
A robot is never just “on.” It has states: IDLE, MOVING, OBSTACLE_DETECTED, TURNING.
Use a Finite State Machine (FSM) to manage these. Instead of nested if statements, you define states and transitions. This makes your code readable and bug-free.
Example:
enum RobotState { IDLE, FORWARD, TURN_LEFT, TURN_RIGHT };
RobotState currentState = IDLE;

void loop() {
 switch(currentState) {
 case IDLE:
 if (sensorDetected()) currentState = FORWARD;
 break;
 case FORWARD:
 moveForward();
 if (obstacleTooClose()) currentState = TURN_LEFT;
 break;
 // ... other states
 }
}
🛠️ Debuging Common Robotics Pitfalls and Wiring Nightmares
Let’s be real: your robot will fail. A lot. Here are the most common nightmares and how to fix them.
The “Brownout”
Your robot works for 5 seconds, then dies.
- Cause: Motors draw too much current, dropping the voltage below the Arduino’s operating level.
- Fix: Use a separate battery for the motors and the Arduino. Connect the grounds.
The “Ghost Pin”
A sensor works sometimes, but not others.
- Cause: Loose wires or bad connections.
- Fix: Use a multimeter to check continuity. Solder your connections if possible.
The “Library Conflict”
Your code compiles but crashes at runtime.
- Cause: Two libraries trying to use the same timer or pin.
- Fix: Check the library documentation. Sometimes you need to use specific pins for specific libraries (e.g., I2C pins).
The “Floating Pin”
A digital input reads random values.
- Cause: The pin is not connected to anything (floating).
- Fix: Enable the internal pull-up resistor:
pinMode(pin, INPUT_PULLUP);
🔌 Power Management Strategies for Mobile Robots
Power is the lifeblood of your robot. Get it wrong, and your robot is a brick.
Battery Types
- LiPo (Lithium Polymer): High energy density, lightweight. Must use a LiPo charger. Dangerous if punctured.
- Li-ion (18650): Similar to LiPo but in a cylindrical cell. Safer, but heavier.
- NiMH (AA/AAA): Safe, cheap, but lower capacity. Good for beginners.
Voltage Regulation
Most Arduinos run on 5V or 3.3V. Batteries are often 7.4V, 1.1V, or 12V. You need a voltage regulator (like the AMS17 or a buck converter) to step down the voltage.
Power Budgeting
Calculate your power needs:
- Motor current: 50mA x 2 = 1A
- Arduino: 10mA
- Sensors: 50mA
- Total: 1.15A
- Battery: If you have a 20mAh battery, you get roughly 1.7 hours of runtime (theoretical).
Pro Tip: Always add a fuse to your power line. It’s cheap insurance against a short circuit.
🌐 Connecting Arduino to ROS (Robot Operating System)
You’ve mastered the basics. Now you want to join the big leagues: ROS (Robot Operating System). ROS is the standard for professional robotics, and Arduino can be a node in a ROS network.
The Bridge
Arduino doesn’t run ROS natively. You need a bridge.
- rosserial_arduino: Allows Arduino to communicate with a ROS master (usually running on a Raspberry Pi or PC) via serial.
- Arduino ROS2: Newer support for ROS2, the latest version of ROS.
How It Works
- PC/RPi: Runs the ROS master and heavy processing (SLAM, path planning).
- Arduino: Runs the low-level control (motor speed, sensor reading).
- Communication: They talk via Serial or USB. The PC sends “move forward” commands; the Arduino sends back “distance = 50cm” data.
This setup allows you to build complex robots that can navigate autonomously, map rooms, and even use computer vision.
Pro Tip: Start with rosserial. It’s well-documented and has many examples.
🏆 Case Studies: Real Robots Built by Our Team
We don’t just talk; we build. Here are two projects from our lab that highlight the power of Arduino in robotics.
Case Study 1: The “Line Hopper”
Goal: Build a robot that can follow a black line but also jump over gaps.
Challenge: Standard line sensors fail when the line disappears.
Solution: We used an IMU to detect the gap (sudden drop in sensor data) and switched to a “jump” state using a servo-actuated leg.
Result: A robot that can navigate complex courses with gaps.
Key Lesson: Combining sensors (line + IMU) creates robust behavior.
Case Study 2: The “Autonomous Gardener”
Goal: A robot that waters plants based on soil moisture.
Challenge: Power management and precise control.
Solution: We used an ESP32 for Wi-Fi connectivity (to send data to the cloud) and a PID controller to regulate the water pump speed.
Result: A fully autonomous system that optimizes water usage.
Key Lesson: IoT integration makes robots smarter and more useful.
📝 Quick Tips and Facts
Wait, we mentioned this earlier, but let’s reiterate the most critical points before you dive into the conclusion.
- Code First, Build Later: Always simulate your logic in Tinkercad before wiring.
- Power is King: 90% of robot failures are power-related.
- Comment Your Code: Future you will thank present you.
- Start Small: Don’t build a Mars rover on day one. Build a line follower.
- Embrace Failure: Every burnt component is a lesson learned.
🏁 Conclusion
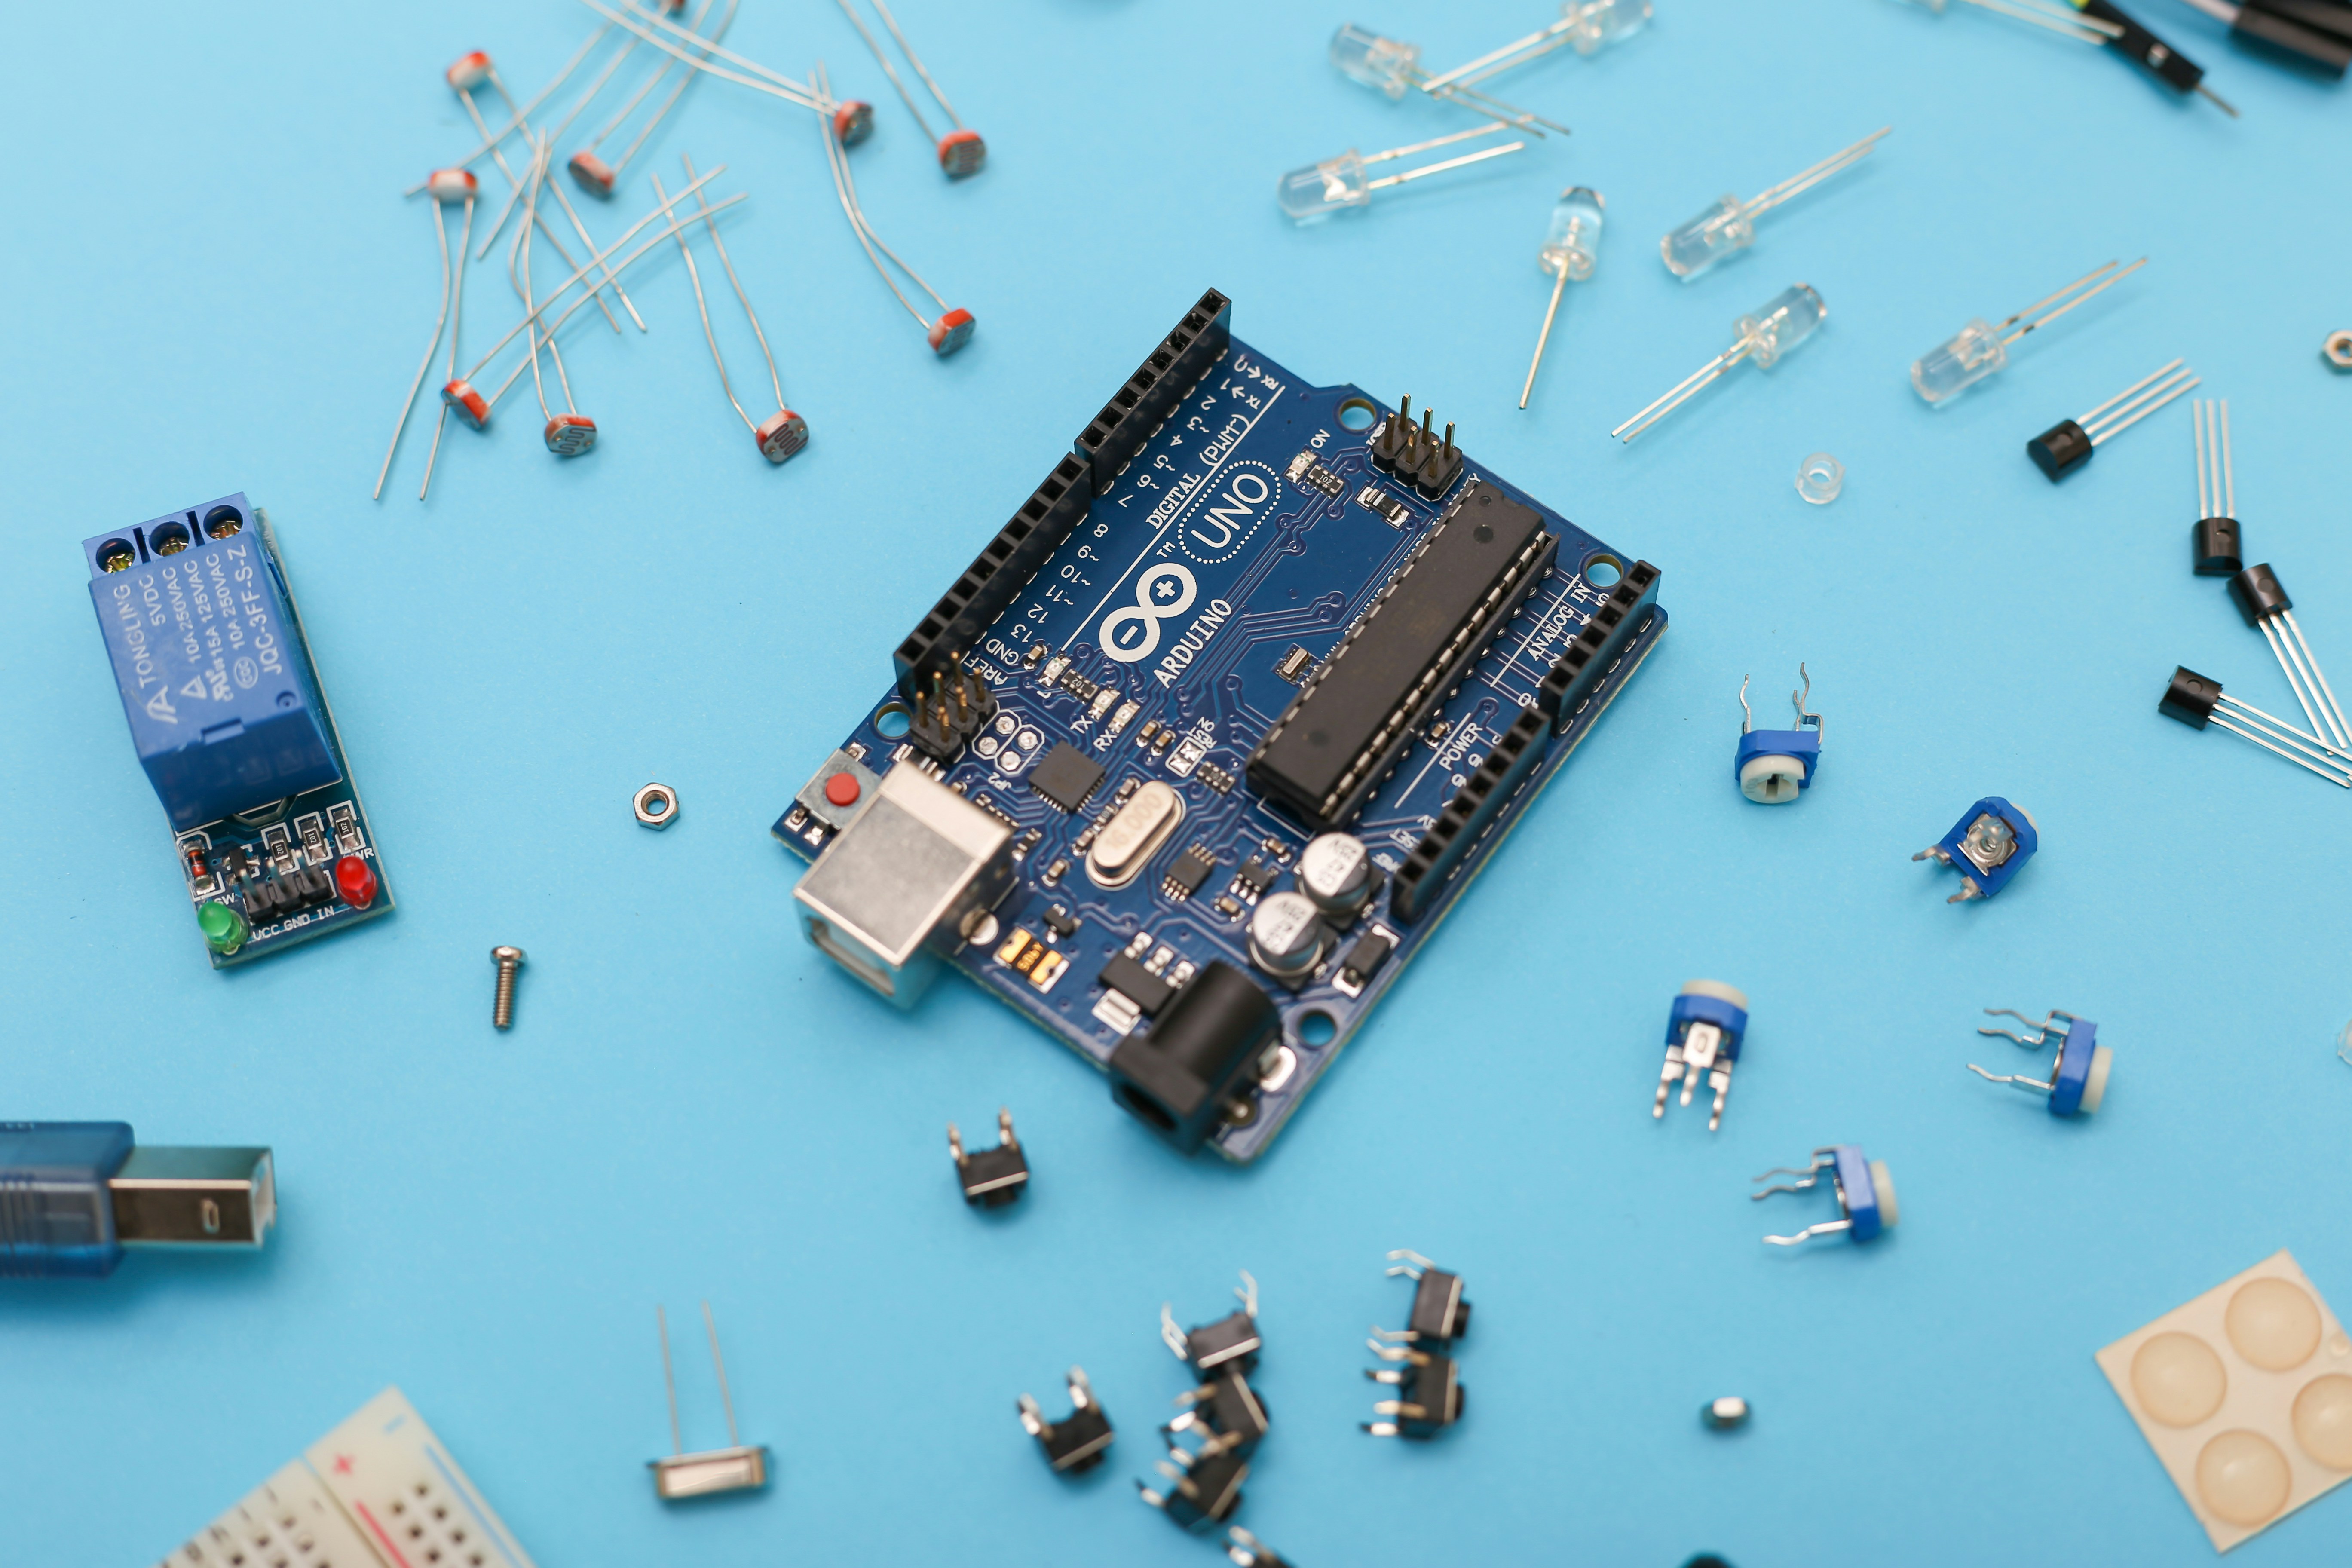
So, where does this leave you? You’ve traveled from the history of Arduino to the cutting edge of ROS integration. You’ve learned that the best resources aren’t just one book or one video, but a mosaic of documentation, community support, and hands-on experimentation.
We started by asking: What are the best resources to learn Arduino for robotics coding? The answer isn’t a single link. It’s the Arduino Reference for syntax, DroneBot Workshop for visual learning, GitHub for real-world code, and Tinkercad for safe simulation. It’s the ELEGO kit for your first build, and the ESP32 for your next.
The journey from “Blink” to “Autonomous Navigation” is challenging, but it’s incredibly rewarding. You aren’t just learning to code; you’re learning to create life in metal and plastic. You’re giving machines the ability to see, think, and move.
Our Final Recommendation:
Start with the Arduino Uno and a line-following kit. Master the basics of PID control and state machines. Then, graduate to the ESP32 and ROS. Don’t be afraid to break things. The best engineers are the ones who have burned the most fuses.
Ready to build your first robot? The world is waiting for your creation.
🔗 Recommended Links
Here are the essential resources and products we mentioned, ready for you to explore.
Books & Guides:
Hardware & Kits:
- Arduino Uno R3: Amazon | Arduino Official
- ELEGO Smart Robot Car Kit: Amazon
- ESP32 DevKit: Amazon
- Adafruit Motor Shield: Amazon | Adafruit Official
Online Courses & Communities:
- Coursera: Introduction to Robotics
- Udemy: Arduino Robotics Bootcamp
- Arduino Project Hub
- Hackster.io Robotics
❓ FAQ
What are the best free Arduino tutorials for robotics beginners?
The best free resources are Tinkercad Circuits for simulation, the Arduino Project Hub for real-world examples, and DroneBot Workshop on YouTube for high-quality video tutorials. These platforms offer step-by-step guidance without costing a dime.
Read more about “🤖 6 Best Beginner-Friendly Arduino Robot Kits (2026)”
How do I choose the right Arduino board for a robotics project?
For simple projects (line followers, obstacle avoiders), the Arduino Uno or Nano is sufficient. If you need Wi-Fi/Bluetooth or more processing power (for AI or complex control), choose the ESP32. For robots with many sensors or servos, the Arduino Mega offers more I/O pins.
Read more about “🤖 10+ Ways to Connect Sensors to Arduino for Robotics (2026)”
Which sensors are essential for Arduino-based robot coding?
The “Big Three” are the Ultrasonic Sensor (HC-SR04) for distance, IR Sensors for line following, and an IMU (like the MPU6050) for balance and orientation. Depending on your project, you might also need encoders for precise wheel movement.
Read more about “Top 10 Microcontroller Robotics Kits to Build in 2026 🤖”
What programming languages work best with Arduino for robotics?
Arduino uses a simplified version of C++. While you don’t need to be a C++ expert, understanding pointers, classes, and memory management will help you write efficient code. The Arduino IDE handles the compilation and uploading.
Read more about “🤖 7 Essential Parts to Start Arduino Robotics (2026)”
Are there any online courses that combine Arduino and robotics?
Yes! Coursera’s “Introduction to Robotics” by UPenn covers theory, while Udemy offers practical “Arduino Robotics Bootcamps.” For a more hands-on approach, edX has embedded systems courses that include Arduino examples.
Read more about “🤖 7 Best Arduino Boards for Robotic Coding Beginners (2026)”
How can I simulate Arduino robotics code before building hardware?
Tinkercad Circuits is the best browser-based simulator. It allows you to drag and drop components, write code, and run the simulation in real-time. It’s perfect for testing logic and debugging wiring before you buy parts.
Read more about “🐍 Embeding Python in Robotics Systems: The 2026 Hybrid Blueprint”
What are the common mistakes to avoid when learning Arduino for robotics?
- Power Issues: Not using a separate power source for motors.
- Floating Pins: Not using pull-up/pull-down resistors.
- Library Conflicts: Installing too many libraries that conflict with each other.
- Skipping the Basics: Trying to build a complex robot without mastering
Blinkand basic sensor reading first.
How do I debug a robot that moves erratically?
Check your power supply first. If the voltage drops when the motors start, you need a better battery or a capacitor. Next, check your PID tuning; if the gains are too high, the robot will oscillate. Finally, ensure your ground connections are solid.
Can I use Arduino for industrial robotics?
Arduino is great for protyping and hobbyist robotics, but for industrial applications, you’ll likely need PLCs or industrial-grade microcontrollers (like STM32 or ESP32 with real-time OS) for reliability and safety. However, Arduino is often used in the R&D phase of industrial robots.
Read more about “🛠️ 10 Steps to Fix Any Arduino Coding Error (2026)”
📚 Reference Links
- Arduino Official Documentation: https://www.arduino.cc/reference/en/
- Adafruit Learning System: https://learn.adafruit.com/
- SparkFun Learn: https://learn.sparkfun.com/
- Robot Operating System (ROS): https://www.ros.org/
- RoboFoundry: Best Resources for learning Robotics and ROS2: https://robofoundry.medium.com/best-resources-for-learning-robotics-and-ros2-ae9f6052ffac
- Tinkercad Circuits: https://www.tinkercad.com/circuits
- GitHub Arduino Organization: https://github.com/arduino
- Instructables Robotics: https://www.instructables.com/Robots/
- Hackster.io: https://www.hackster.io/
- DroneBot Workshop (YouTube): https://www.youtube.com/c/Dronebotworkshop1
- Paul McWhorter (YouTube): https://www.youtube.com/c/mcwhorpj/playlists
- GreatScott! (YouTube): https://www.youtube.com/c/GreatScottLab
- Automatic Addison (YouTube): https://www.youtube.com/@automaticaddison
- Servocity: https://www.servocity.com/
- RobotShop: https://www.robotshop.com/
- PiHut: https://thepihut.com/