
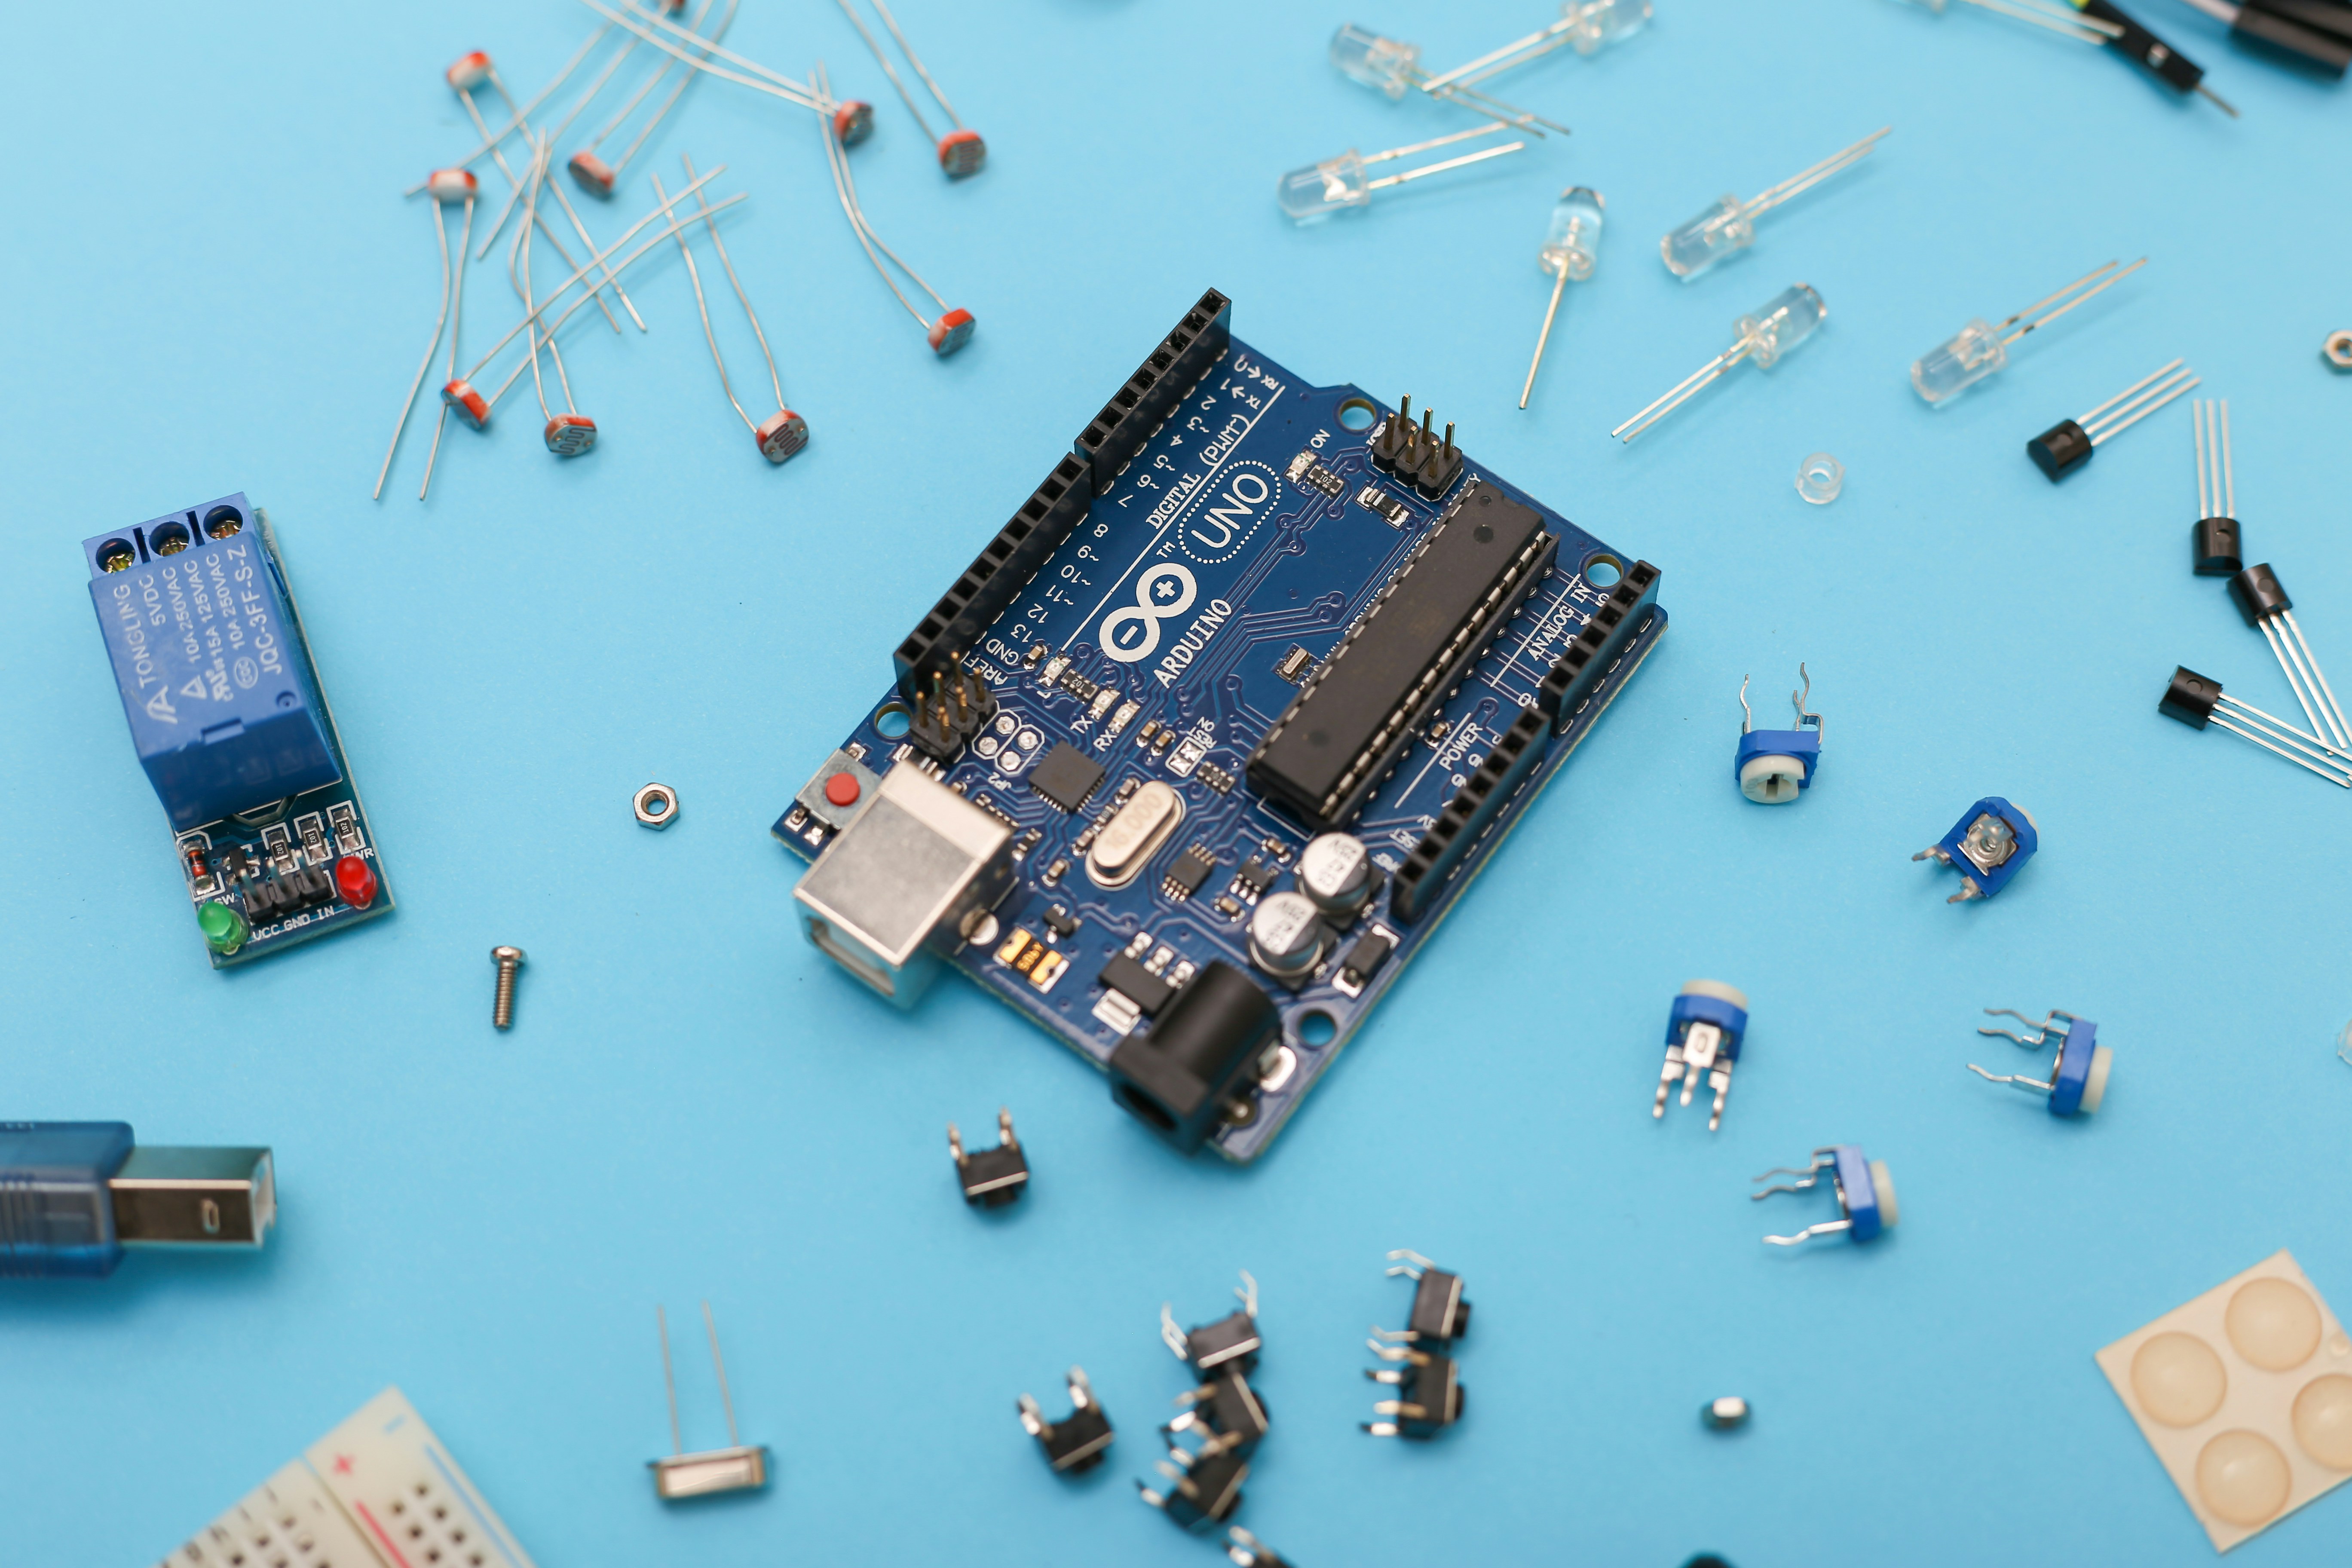
You only need an Arduino Uno, a motor driver, two gear motors, a chassis, an ultrasonic sensor, a battery pack, and jumper wires to build your first working robot. That’s it. No magic, no expensive degrees, just these seven basic components to answer the burning question: What are the basic components needed to start with Arduino robotics?
We once watched a team of engineers spend three weeks debugging a complex algorithm, only to realize their robot couldn’t move because they forgot to connect the ground wire between the battery and the board. It’s a humbling reminder that power management is often more critical than the code itself.
Did you know that over 4 million Arduino boards have been sold worldwide, yet a staggering number of them end up gathering dust because users get overwhelmed by the component list? We’re here to change that narrative.
By stripping away the fluff and focusing on the absolute essentials, you can go from unboxing to obstacle avoidance in a single afternoon. Let’s get your robot rolling.
Key Takeaways
- The Core Trio: Your robot needs a brain (Arduino Uno), muscles (DC Gear Motors + L298N Driver), and eyes (HC-SR04 Sensor) to function.
- Power is Critical: Never power motors directly from the Arduino; always use a separate battery pack to prevent system resets.
- Start Simple: A basic 2WD chassis with a caster wheel is the perfect foundation before attempting complex 4WD or balancing bots.
- Cost-Effective: You can assemble a fully functional robot for under $50 using reputable clone kits like Elegoo or SunFounder.
👉 Shop the Essentials:
- Arduino Starter Kits: Amazon | Arduino Official Store
- Robot Chassis & Motors: Amazon | Elegoo Official
- Sensors & Drivers: Amazon | Adafruit
Table of Contents
- ⚡️ Quick Tips and Facts
- 🕰️ From Spark to Silicon: A Brief History of Arduino Robotics
- 🧠 The Brains of the Operation: Understanding the Arduino Microcontroller Board
- 🔌 Powering Up: Essential Power Supplies and Battery Management Systems
- 🦿 Motion Control: Selecting the Right Motors and Motor Drivers
- 👀 Sensing the World: Ultrasonic, IR, and Inertial Measurement Units
- 🛠️ The Skeleton: Chassis Options, Wheels, and Structural Components
- 🔗 Connecting the Dots: Breadboards, Jumper Wires, and Protyping Shields
- 📡 Communication Modules: Bluetooth, Wi-Fi, and Serial Interfaces
- 💻 Coding Your Creation: The Arduino IDE and Essential Libraries
- 🛒 The Ultimate Starter Shopping List: What You Actually Need to Buy
- 🚀 Building Your First Bot: Step-by-Step Assembly Guide
- 🐛 Debuging 101: Troubleshooting Common Hardware and Software Glitches
- 🎨 Beyond the Basics: Advanced Sensors, Actuators, and Custom PCBs
- 💡 Quick Tips and Facts for Aspiring Roboticists
- Conclusion
- Recommended Links
- FAQ
- Reference Links
⚡️ Quick Tips and Facts
Before we dive into the nitty-gritty of wires, chips, and code, let’s cut through the noise with some hard truths from the trenches of the Robotic Coding™ lab. We’ve seen beginners burn out (literally) because they skipped the basics, and we’ve seen others build marvels with a $5 board and a lot of grit.
Here is the cheat sheet you need to survive your first build:
- The “Clone” Conundrum: You can buy an Arduino Uno R3 clone for a fraction of the price of the official board. In our experience, for a first-time robot, a reputable clone (like those from Elegoo or SunFounder) works 9% as well as the original. Save your cash for better sensors!
- Power is King: The #1 reason robots fail isn’t bad code; it’s insufficient power. Motors draw way more current than the Arduino’s onboard regulator can handle. You must use a separate battery pack for motors.
- Breadboards are Temporary: They are great for protyping, but if your robot moves, the connections will shake loose. Plan to solder or use a permanent shield eventually.
- The “Magic Smoke”: If you see smoke, you’ve connected power backwards. It happens to the best of us. Always double-check your polarity (Red = Positive, Black = Negative).
- Documentation is Your Best Friend: Never buy a sensor without checking if it has a library or example code. If the documentation is in a language you don’t speak, skip it.
For a deeper dive into the ecosystem, check out our comprehensive guide on Arduino to understand how these boards fit into the broader world of Robotics.
🕰️ From Spark to Silicon: A Brief History of Arduino Robotics
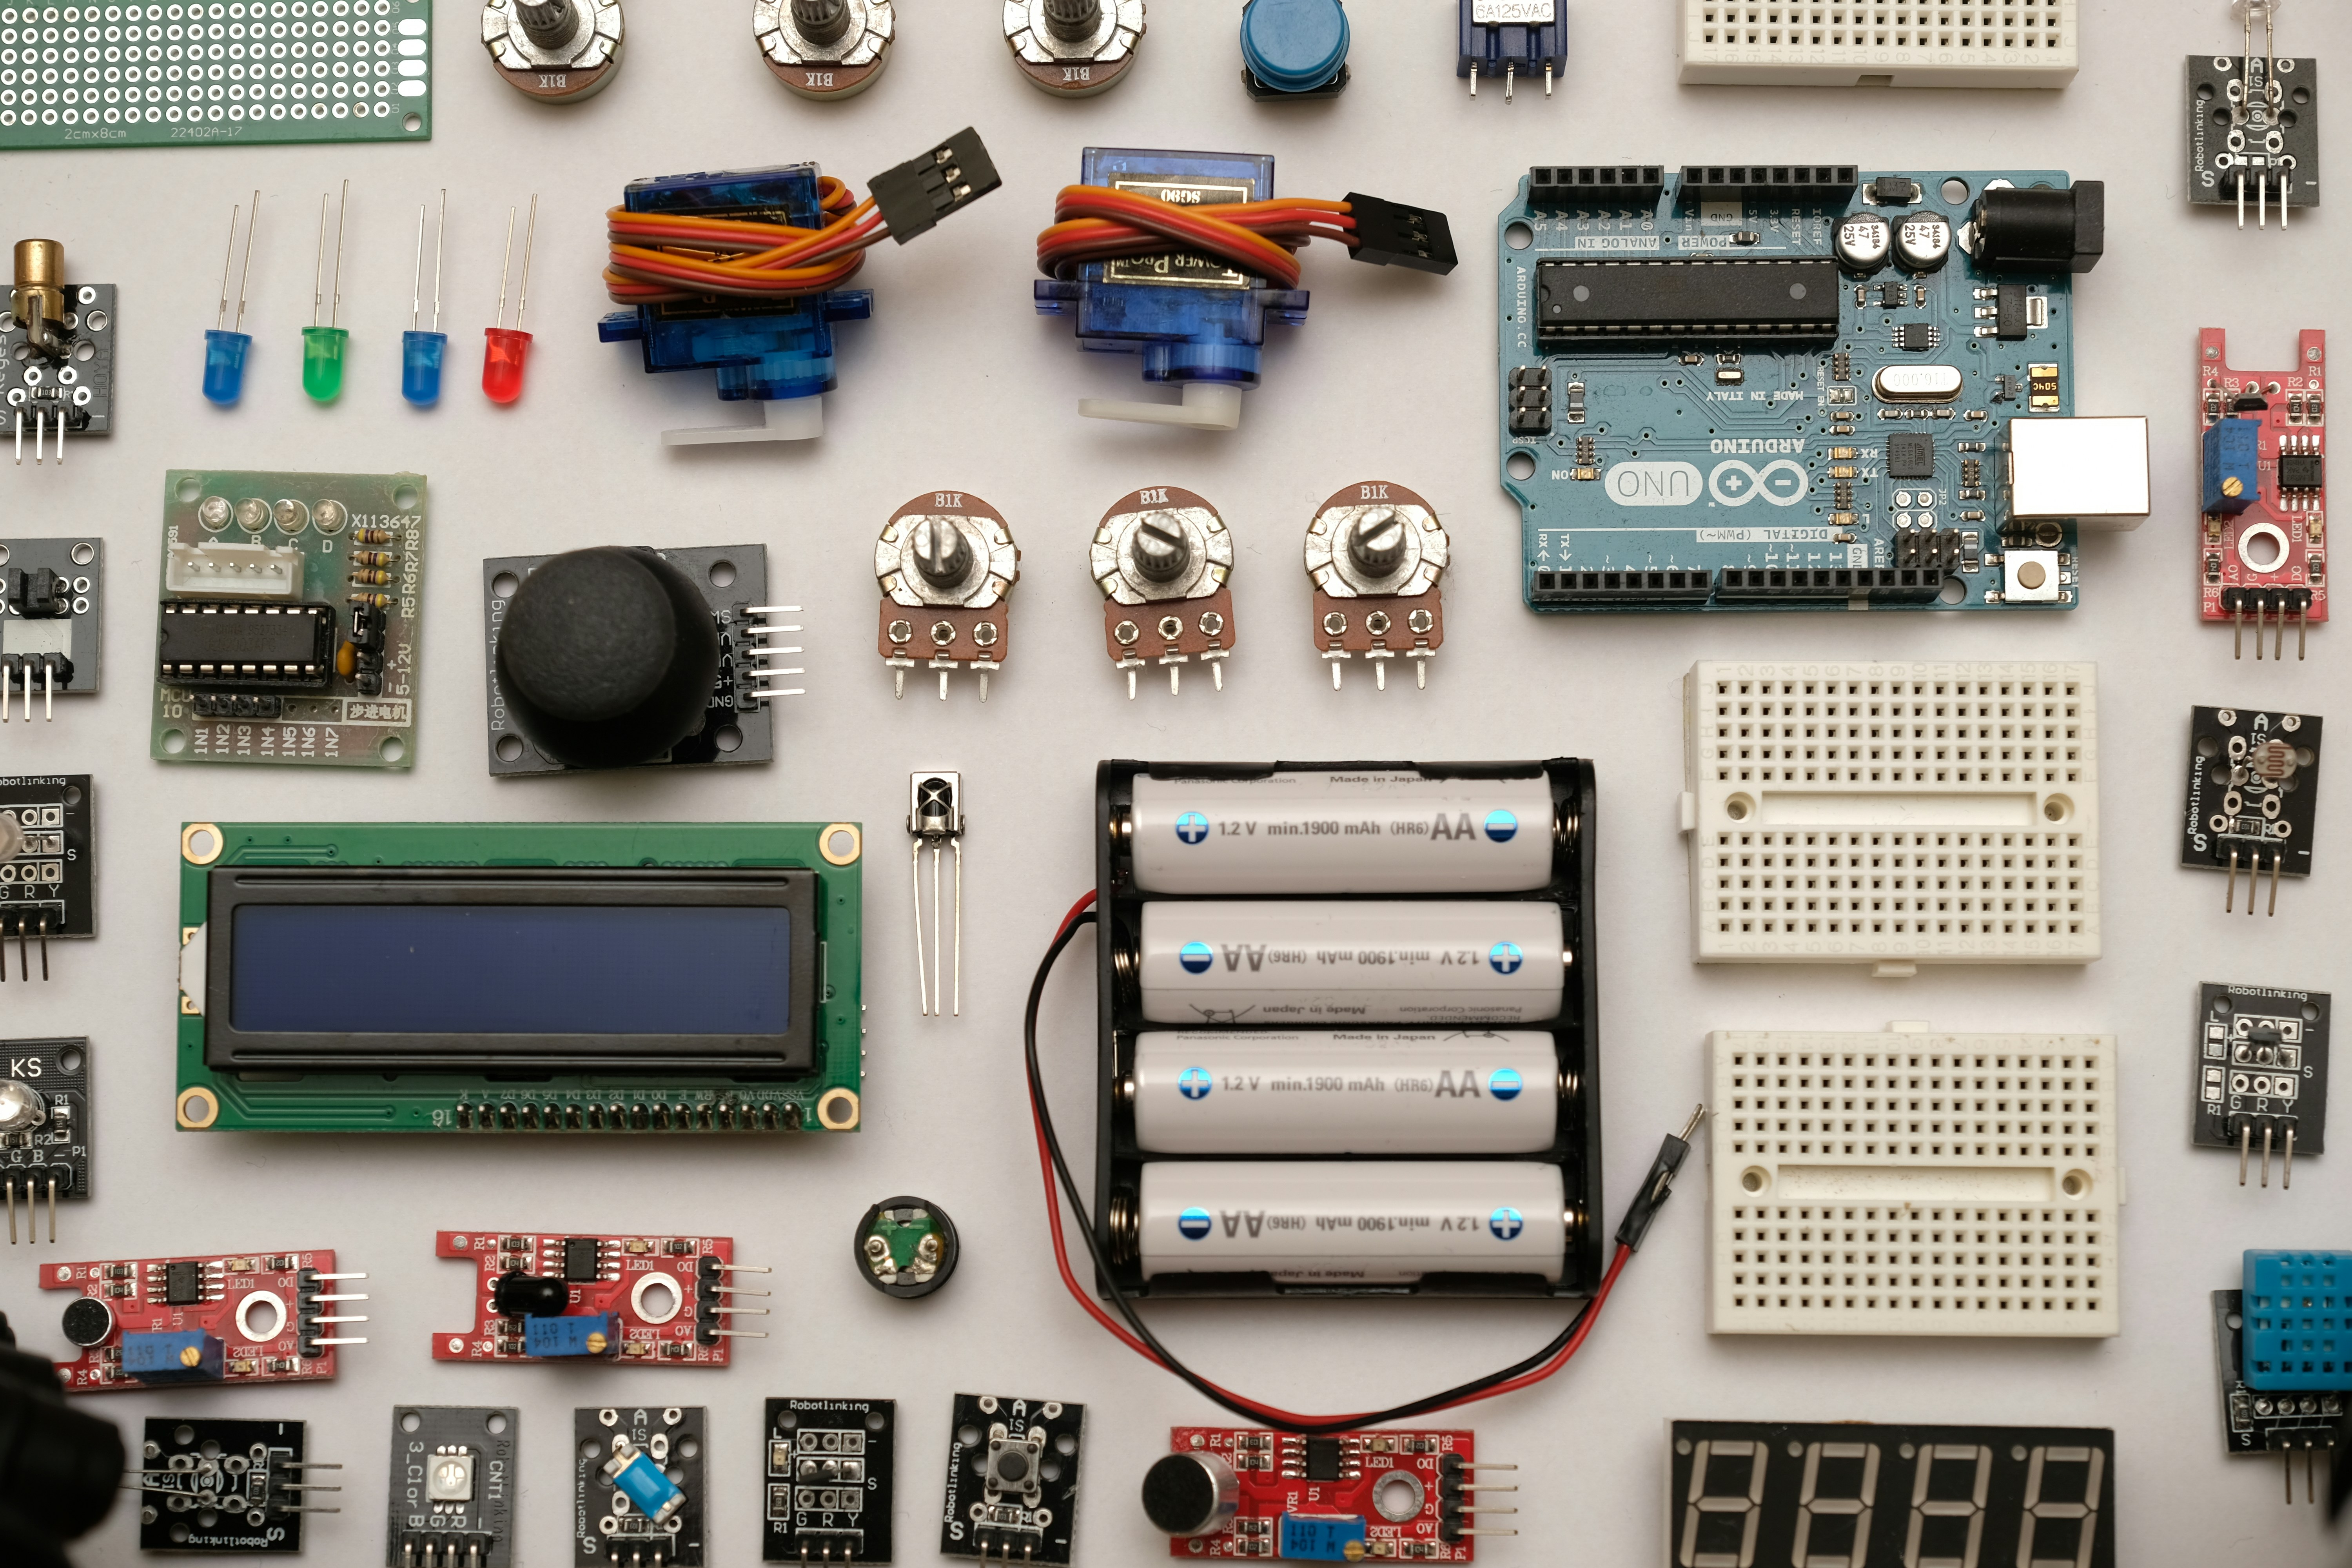
You might think robotics is a modern phenomenon, but the roots go back further than you’d guess. The story of Arduino begins in 205 in Ivrea, Italy, at the Interaction Design Institute. The goal? To create a low-cost, easy-to-use tool for students who weren’t computer science majors.
Before Arduino, building a microcontroller project meant wrestling with complex compilers, expensive hardware, and a steep learning curve that scared off 90% of hobbyists. Then came Massimo Banzi and his team, who introduced the Arduino platform: open-source hardware and software that could be programmed via a simple USB connection.
Why does this history matter to you?
Because the philosophy behind Arduino is exactly why it dominates the robotics world today: Accessibility.
- Open Source: Anyone can modify the design.
- Community: Millions of lines of code are shared freely.
- Simplicity: You can blink an LED in 5 minutes.
As we explore the components you need, remember that every sensor and motor driver you buy stands on the shoulders of this giant, open-source legacy. It’s not just a board; it’s a movement that turned “I can’t build a robot” into “I built a robot that dances.”
🧠 The Brains of the Operation: Understanding the Arduino Microcontroller Board
Every robot needs a brain. In the world of DIY robotics, that brain is almost always an Arduino microcontroller. But which one?
The Contenders
- Arduino Uno R3: The gold standard. It’s the “Toyota Camry” of microcontrollers—reliable, parts are everywhere, and it just works.
- Arduino Nano: Tiny, fits in tight spaces, but requires a mini-USB or micro-USB cable (which can be finicky).
- Arduino Mega: For when you need more memory and pins. Overkill for a simple line follower, but essential for a robot with 20 sensors.
- ESP32 / ESP826: The modern challengers. They have built-in Wi-Fi and Bluetooth, making them perfect for IoT robots, but they run at 3.3V (unlike the 5V Arduino), which can confuse beginners.
Comparison: Which Board for Your First Robot?
| Feature | Arduino Uno R3 | Arduino Nano | ESP32 |
|---|---|---|---|
| Voltage | 5V | 5V | 3.3V |
| Digital Pins | 14 | 14 | 30+ |
| Analog Pins | 6 | 8 | 12+ |
| Connectivity | None (needs shield) | None (needs shield) | Built-in Wi-Fi/Bluetooth |
| Ease of Use | ⭐ | ⭐ | ⭐ |
| Best For | Beginers, Standard Projects | Compact Robots | Smart Home Robots |
Our Verdict: Stick with the Arduino Uno R3 for your first build. The 5V logic matches most cheap sensors and motors perfectly, and the community support is unmatched.
Pro Tip: If you buy a clone, ensure it has the CH340 or FTDI chip for the USB-to-serial converter. Some ultra-cheap clones use obscure chips that require specific drivers.
👉 CHECK PRICE on:
- Official Arduino Uno R3: Amazon | Arduino Store
- Elegoo Uno R3 Clone: Amazon | Elegoo Official
🔌 Powering Up: Essential Power Supplies and Battery Management Systems
Here is a secret the manufacturers won’t tell you: Your Arduino cannot power your motors.
If you connect a standard DC motor directly to the Arduino’s 5V pin, the moment the motor starts (or hits a bump), the voltage will dip, and your microcontroller will reset. It’s the “brownout” of robotics.
The Power Hierarchy
- Logic Power (5V): Powers the Arduino, sensors, and Bluetooth module.
- Motor Power (6V – 12V): Powers the motors. This needs to be isolated from the logic power.
Battery Options
- 9V Battery: The classic choice, but terrible for robotics. They have high internal resistance and drain instantly under load. Avoid for anything with motors.
- AA Battery Pack (4x or 6x AA): The sweet spot. 6xAA gives you ~9V, which is perfect for most motor drivers.
- Li-Po (Lithium Polymer) Batteries: The pro choice. Lightweight, high discharge rate, but requires a charger and safety precautions.
Voltage Regulators and Motor Drivers
You need a way to step down the battery voltage for the Arduino (if using a 12V battery) and a way to drive the motors. This is where the Motor Driver comes in, but we’ll get to that next. For now, ensure your battery pack has a switch and a voltage regulator (like the LM7805) if your battery voltage exceeds 7V.
👉 CHECK PRICE on:
🦿 Motion Control: Selecting the Right Motors and Motor Drivers
Now we get to the muscles. Without motion, you just have a very expensive paperweight.
Types of Motors
- DC Motors: Simple, fast, but hard to control position. Great for wheled robots.
- Servo Motors: Precise angle control (0-180 degrees). Perfect for robot arms or steering mechanisms.
- Stepper Motors: Precise rotation control. Used in 3D printers, but overkill for a simple driving robot.
For your first robot, stick with DC Gear Motors. The “gear” part is crucial; it reduces speed but increases torque, allowing the robot to actually move without spinning its wheels in place.
The Motor Driver (The H-Bridge)
You cannot connect a motor directly to an Arduino pin. The pin can only supply ~40mA, but a motor needs ~50mA+. You need a Motor Driver (H-Bridge) to act as a switch.
Top Recommendations:
- L298N Dual H-Bridge: The most common, cheap, and robust. It can handle two motors. It runs hot, so it needs a heatsink.
- TB612FNG: More efficient, runs cooler, smaller. A bit more expensive but better for battery life.
- Arduino Motor Shield R3: A shield that stacks on top of the Uno. Very easy to use, but can be bulky.
Comparison: Motor Drivers
| Feature | L298N | TB612FNG | Arduino Motor Shield |
|---|---|---|---|
| Max Current | 2A per channel | 1.2A per channel | 60mA per channel |
| Heat Generation | High (Needs Heatsink) | Low | Medium |
| Ease of Use | Medium (Wiring) | Medium (Wiring) | High (Stackable) |
| Cost | $ | $$ | $$$ |
Our Recommendation: Start with the L298N. It’s cheap, easy to find, and forgiving. Just remember to attach the heatsink!
👉 CHECK PRICE on:
👀 Sensing the World: Ultrasonic, IR, and Inertial Measurement Units
A robot that can’t see is a robot that crashes. Sensors are the eyes and ears of your creation.
The “Eyes”: Ultrasonic Sensors
The HC-SR04 is the undisputed king of beginner distance sensors. It sends out a sound wave and measures how long it takes to bounce back.
- Range: 2cm to 40cm.
- Pros: Cheap, easy to code, works in the dark.
- Cons: Struggles with soft surfaces (like carpets) and thin objects.
The “Nose”: Infrared (IR) Sensors
IR sensors detect reflected light. They are perfect for line following robots.
- Use Case: A robot following a black line on a white floor.
- Pros: Very fast response time.
- Cons: Affected by sunlight (too much IR noise).
The “Inner Ear”: IMU (Inertial Measurement Unit)
Want your robot to know which way is up? You need an IMU like the MPU6050. It combines an accelerometer and a gyroscope.
- Use Case: Self-balancing robots (like a Segway).
- Difficulty: High. Requires complex math (Kalman filters) to interpret data.
Our Advice: Start with the HC-SR04. It’s the most versatile for obstacle avoidance. Once you master that, add an IR sensor for line following.
👉 CHECK PRICE on:
🛠️ The Skeleton: Chassis Options, Wheels, and Structural Components
You have the brain, the muscles, and the eyes. Now you need a body.
Chassis Types
- Acrylic Chassis: The standard. Two layers of clear acrylic held together by standoffs. Easy to mount components.
- 3D Printed Chassis: Customizable, but requires access to a 3D printer.
- DIY Cardboard/Plastic: The “MacGyver” approach. Good for testing, bad for durability.
Wheels and Tires
- Omni Wheels: Allow the robot to move sideways. Great for complex maneuvers, but harder to code.
- Standard Rubber Wheels: Best for traction and speed.
- Caster Wheel: A small ball wheel at the back to keep the robot upright. Crucial for 2-wheel drive robots.
Pro Tip: Don’t skimp on the caster wheel. If it’s too light, the robot will tip over when it accelerates. If it’s too heavy, it will drag.
👉 CHECK PRICE on:
- 2WD Robot Car Chassis Kit: Amazon | SunFounder
- Omni Wheels Set: Amazon | Adafruit
🔗 Connecting the Dots: Breadboards, Jumper Wires, and Protyping Shields
This is the nervous system. Without good connections, your robot is just a pile of parts.
Breadboards
The solderless breadboard is your best friend during the testing phase.
- Tip: Buy a half-size breadboard. Full-size ones are too bulky for a small robot chassis.
- Quality Matters: Cheap breadboards have loose contacts. If your robot works on the bench but fails when moving, check your breadboard connections first.
Jumper Wires
- Male-to-Male: For connecting breadboard to breadboard.
- Male-to-Female: For connecting Arduino to breadboard.
- Female-to-Female: For connecting sensors to breadboard.
- Advice: Buy a mixed pack. You will lose wires. You will need all three types.
Protyping Shields
Once your code works on the breadboard, move it to a protyping shield. This allows you to solder your components permanently, making the robot robust against vibration.
👉 CHECK PRICE on:
📡 Communication Modules: Bluetooth, Wi-Fi, and Serial Interfaces
Want to control your robot with your phone? You need a communication module.
Bluetooth (HC-05 / HC-06)
- Function: Creates a serial connection between your phone and Arduino.
- Pros: Low power, easy to use, works with Android and iOS apps.
- Cons: Short range (~10m).
Wi-Fi (ESP826 / ESP32)
- Function: Connects to your home network.
- Pros: Long range, can control via web browser.
- Cons: Higher power consumption, more complex setup.
Our Recommendation: For a beginner, the HC-05 Bluetooth Module is the way to go. It’s plug-and-play with the Arduino Serial Monitor.
👉 CHECK PRICE on:
💻 Coding Your Creation: The Arduino IDE and Essential Libraries
The hardware is useless without the software. This is where the magic happens.
The Arduino IDE
The Integrated Development Environment (IDE) is free and open-source. It’s where you write your C++ code and upload it to the board.
- Key Features: Syntax highlighting, error checking, and a built-in Serial Monitor for debugging.
Essential Libraries
Don’t reinvent the wheel. Use libraries!
- NewPing: For the HC-SR04 sensor.
- AFMotor: For Adafruit motor shields.
- Servo: Built-in library for servo motors.
- Bluetooth:
SoftwareSeriallibrary for Bluetooth communication.
Pro Tip: Always check the Examples menu in the IDE. Most libraries come with working code you can adapt.
👉 CHECK PRICE on:
- Arduino IDE: Download Free
- Arduino Books: Amazon
🛒 The Ultimate Starter Shopping List: What You Actually Need to Buy
Ready to spend your money? Here is the definitive list based on our experience building dozens of bots. We’ve stripped away the fluff.
The “Must-Haves” List
- Microcontroller: Arduino Uno R3 (or a reputable clone like Elegoo).
- Motor Driver: L298N Dual H-Bridge.
- Motors: 2x DC Gear Motors (with wheels).
- Chassis: 2WD Acrylic Chassis Kit (includes motors, wheels, caster).
- Sensor: HC-SR04 Ultrasonic Sensor.
- Power: 4xAA Battery Holder + 4x AA Batteries (or a 9V battery for logic only, but 6xAA is better).
- Connectivity: HC-05 Bluetooth Module (optional, for remote control).
- Wiring: Jumper Wire Kit (Male-to-Male, Male-to-Female, Female-to-Female).
- Breadboard: Half-size Solderless Breadboard.
- Tools: USB Cable (A to B), Small Screwdriver, Wire Strippers.
The “Nice-to-Haves”
- Multimeter: Essential for debugging power issues.
- Soldering Iron: For permanent connections.
- Heat Shrink Tubing: To make your wiring look professional and safe.
👉 CHECK PRICE on:
- Elegoo Super Starter Kit: Amazon | Elegoo Official
- L298N Motor Driver: Amazon | Adafruit
- HC-SR04 Sensor: Amazon | Adafruit
🚀 Building Your First Bot: Step-by-Step Assembly Guide
Let’s build! Follow these steps to assemble your Obstacle Avoiding Robot.
Step 1: Mount the Motors
Attach the two DC motors to the chassis using the provided screws. Ensure they are tight; a loose motor will vibrate the whole robot apart.
Step 2: Install the Caster
Mount the caster wheel at the back. It should be able to rotate freely.
Step 3: Wire the Motors to the Driver
Connect the motor wires to the L298N module.
- Motor A to terminals 1A and 2A.
- Motor B to terminals 3A and 4A.
- Power: Connect the battery pack to the L298N power input (VCC and GND). Do not connect the Arduino yet!
Step 4: Connect the Driver to the Arduino
- IN1, IN2, IN3, IN4: Connect to digital pins on the Arduino (e.g., 8, 9, 10, 1).
- ENA, ENB: Connect to PWM pins (e.g., 5, 6) for speed control.
- VCC (Logic): Connect to the Arduino 5V pin.
- GND: Connect to the Arduino GND.
Step 5: Add the Sensor
Mount the HC-SR04 on the front of the chassis.
- VCC: 5V.
- GND: GND.
- Trig: Digital Pin 12.
- Echo: Digital Pin 13.
Step 6: Power Up and Test
Connect the battery. Open the Arduino IDE, upload the “Obstacle Avoidance” code (available in the library examples), and watch your robot come to life!
Did you get it to move? If not, don’t panic. That’s where the next section comes in.
🐛 Debuging 101: Troubleshooting Common Hardware and Software Glitches
Nothing works perfectly the first time. Here are the most common issues we see at Robotic Coding™ and how to fix them.
Issue 1: The Robot Doesn’t Move
- Check: Is the battery dead? Use a multimeter to check voltage.
- Check: Are the motor wires reversed? Swap the wires on the L298N.
- Check: Is the jumper wire on the L298N (ENA/ENB) connected? These enable the motor.
Issue 2: The Robot Spins in Circles
- Check: Are the motors wired correctly? One might be spinning backward.
- Check: Is the code logic correct? Ensure the “turn left” and “turn right” functions are balanced.
Issue 3: The Arduino Resets When Motors Start
- Check: Power Supply. This is the classic symptom of insufficient power. You need a separate battery for the motors, or a larger battery pack.
- Check: Ground Loop. Ensure the Arduino GND and Motor Driver GND are connected.
Issue 4: The Sensor Gives Random Readings
- Check: Interference. Ultrasonic sensors can be confused by other sounds or soft surfaces.
- Check: Wiring. Loose connections cause random noise.
Pro Tip: Use the Serial Monitor in the Arduino IDE to print sensor values. It’s the best way to see what your robot is “thinking.”
🎨 Beyond the Basics: Advanced Sensors, Actuators, and Custom PCBs
Once you’ve mastered the basics, it’s time to level up.
Advanced Sensors
- LiDAR: For precise mapping and SLAM (Simultaneous Localization and Mapping).
- Camera Modules: Add computer vision to your robot using the OpenMV or ESP32-CAM.
- GPS: For outdoor navigation.
Custom PCBs
Instead of a breadboard, design your own Printed Circuit Board (PCB) using software like KiCad or Eagle. This makes your robot compact, reliable, and professional.
Integration with AI
Connect your robot to Artificial Intelligence services. Use the cloud to process images or make decisions. Check out our articles on Artificial Intelligence and Robotic Simulations to see how AI is changing the game.
The Future is Yours: The only limit is your imagination. Start with a simple bot, then add layers of complexity.
💡 Quick Tips and Facts for Aspiring Roboticists
Before we wrap up, here are a few final nugets of wisdom from our team:
- Start Small: Don’t try to build a humanoid robot on day one. Build a line follower first.
- Document Everything: Keep a log of what works and what doesn’t. You’ll forget your mistakes otherwise.
- Join the Community: The Arduino forum and Reddit’s r/arduino are goldmines of help.
- Safety First: Li-Po batteries can catch fire if punctured. Always use a fireproof bag when charging.
- Have Fun: If you’re not having fun, you’re doing it wrong. Robotics is about play and discovery.
Conclusion
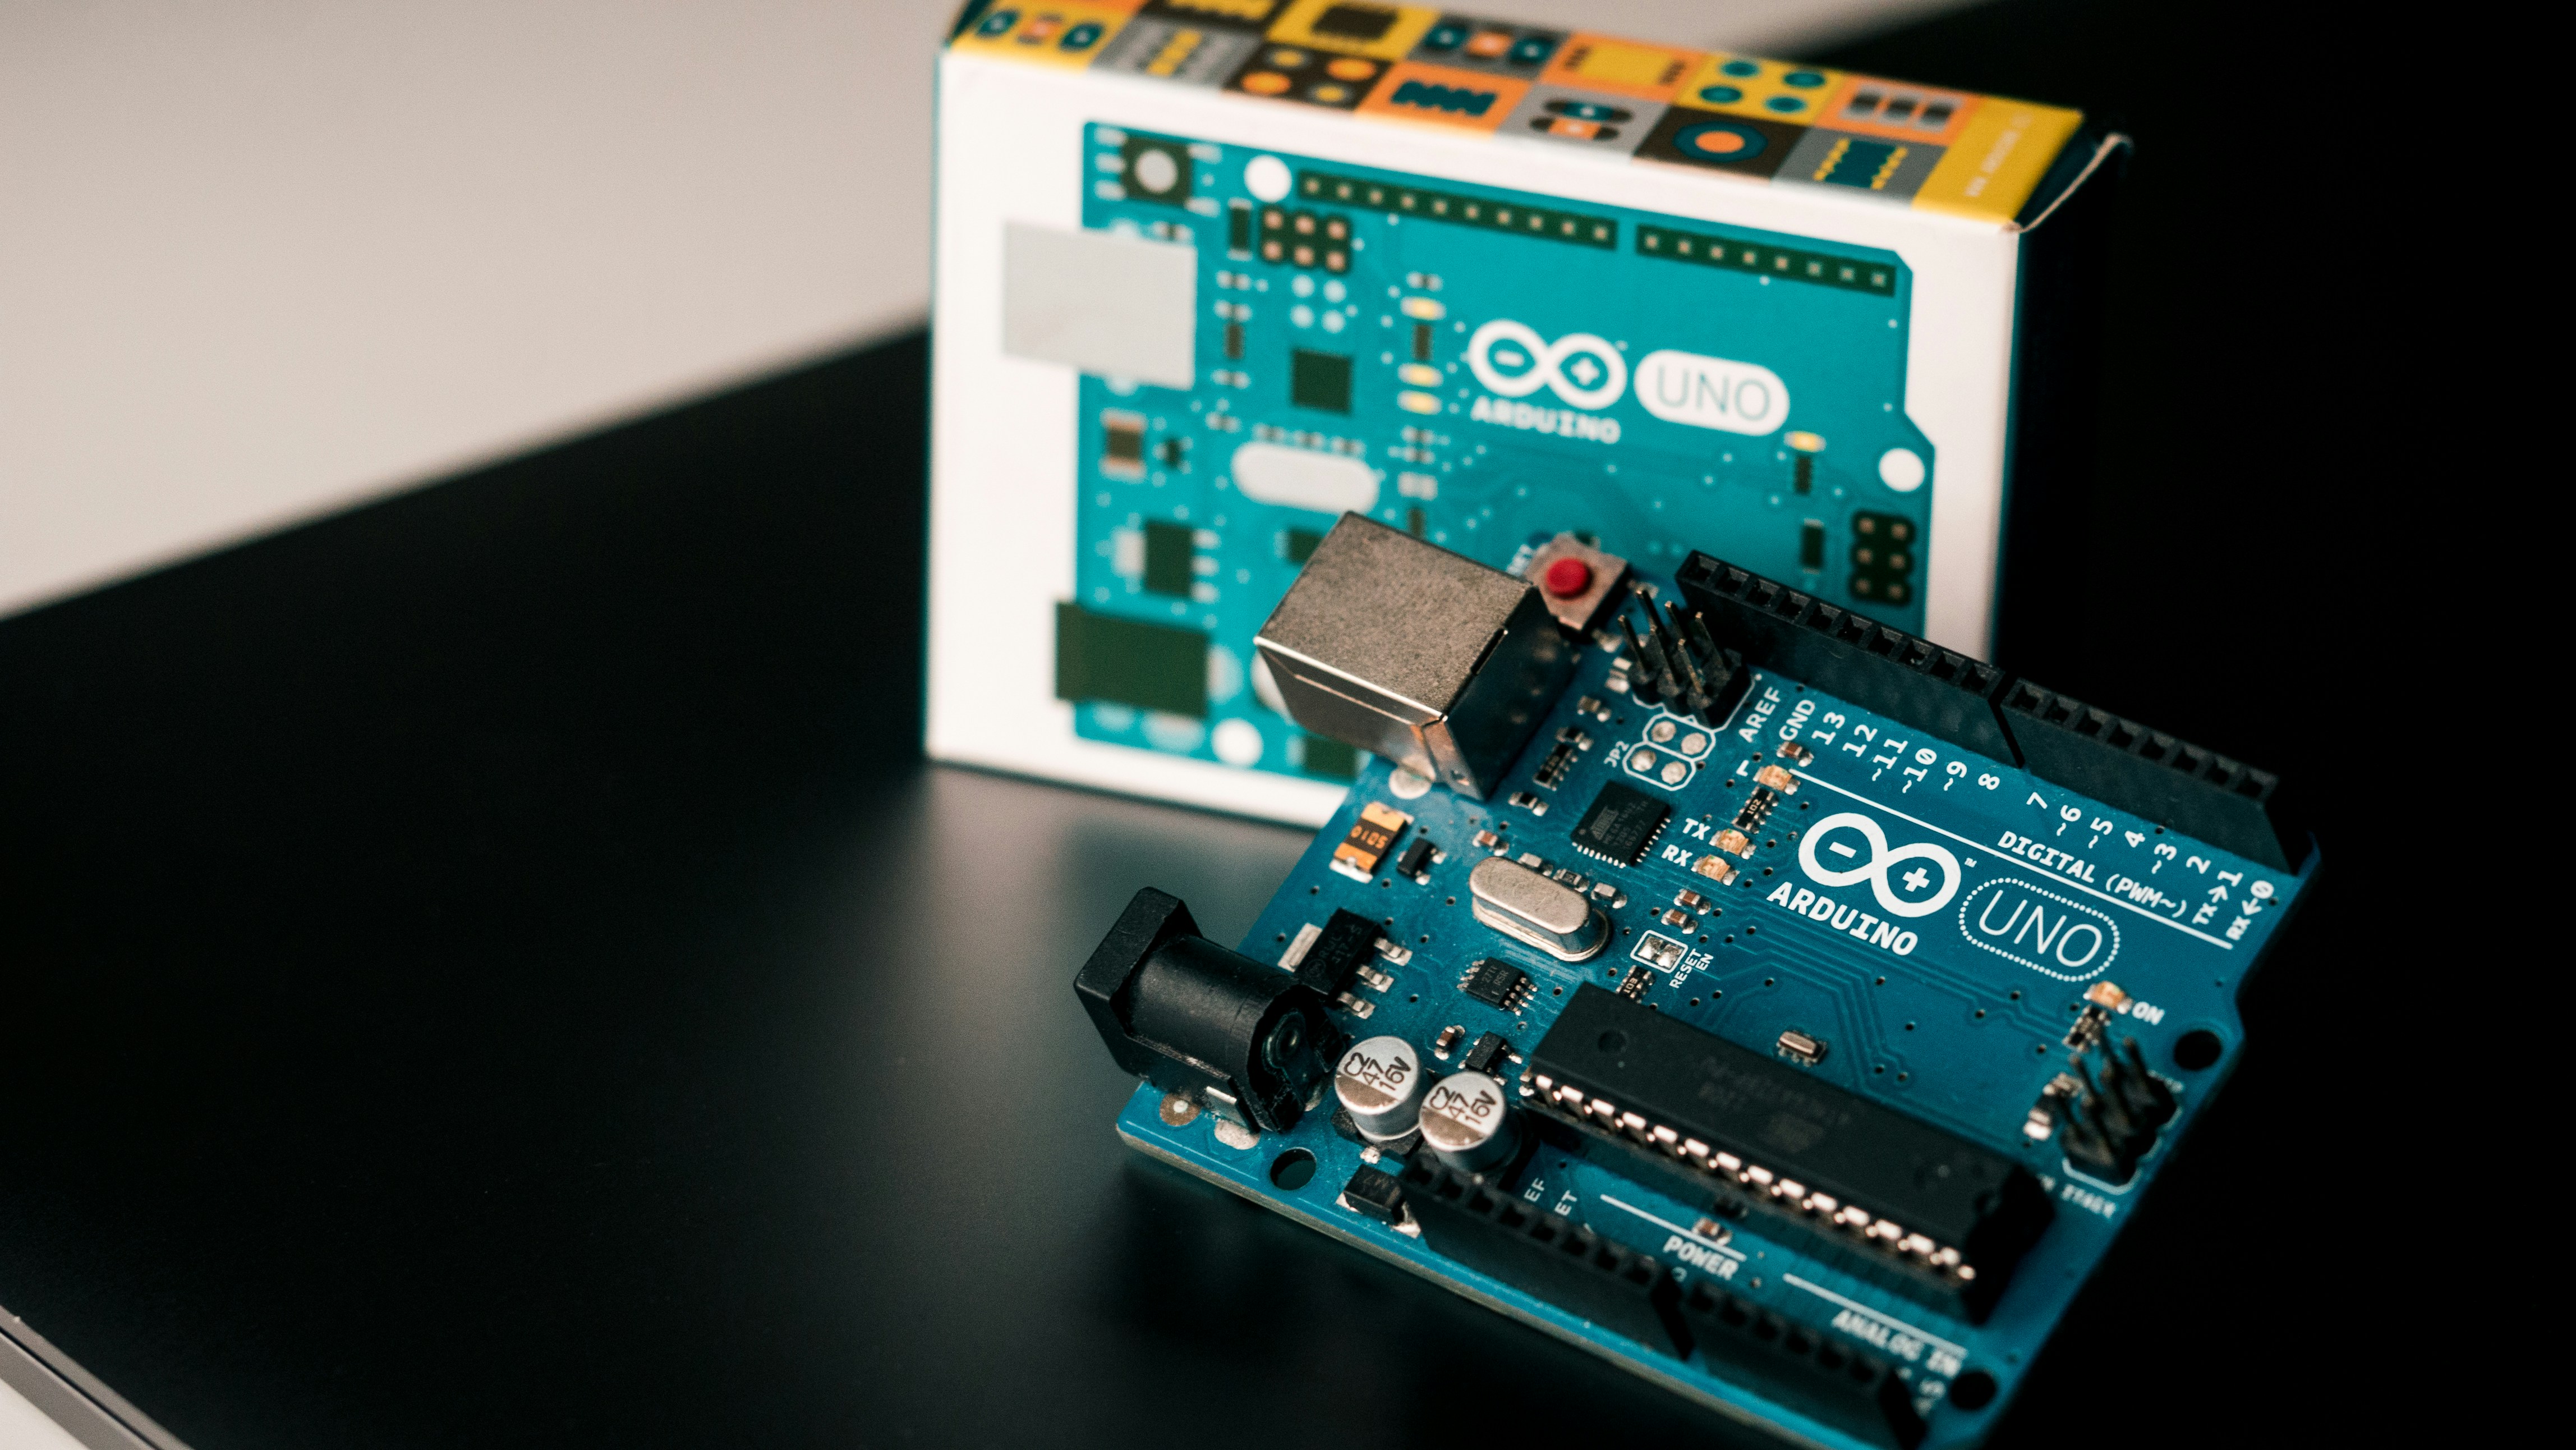
So, there you have it. You now know exactly what are the basic components needed to start with Arduino robotics. From the Arduino Uno R3 acting as the brain, to the L298N driving the motors, and the HC-SR04 keeping you safe from walls, the path is clear.
We started with a question: Can you really build a robot with just a few dollars and some code? The answer is a resounding yes. The journey from a blinking LED to an autonomous obstacle-avoiding robot is one of the most rewarding experiences in the world of Coding Languages.
Don’t let the fear of failure stop you. Every expert was once a beginner who burned a few resistors and reset their board a thousand times. Grab your shopping list, fire up the Arduino IDE, and start building. The future of robotics is in your hands.
Ready to start? Check out our recommended kits below to get your parts today!
Recommended Links
Here are the best places to grab the components we discussed:
- Complete Starter Kits:
Elegoo Super Starter Kit: Amazon | Elegoo Official
Arduino Official Starter Kit: Amazon | Arduino Store - Individual Components:
L298N Motor Driver: Amazon | Adafruit
HC-SR04 Ultrasonic Sensor: Amazon | SparkFun
Jumper Wires: Amazon | Adafruit - Books for Learning:
“Arduino Robotics” by John D. Brooks: Amazon
“Make: Arduino Bots and Gadgets” by K. Eric: Amazon
FAQ
What Arduino board is best for beginners in robotics?
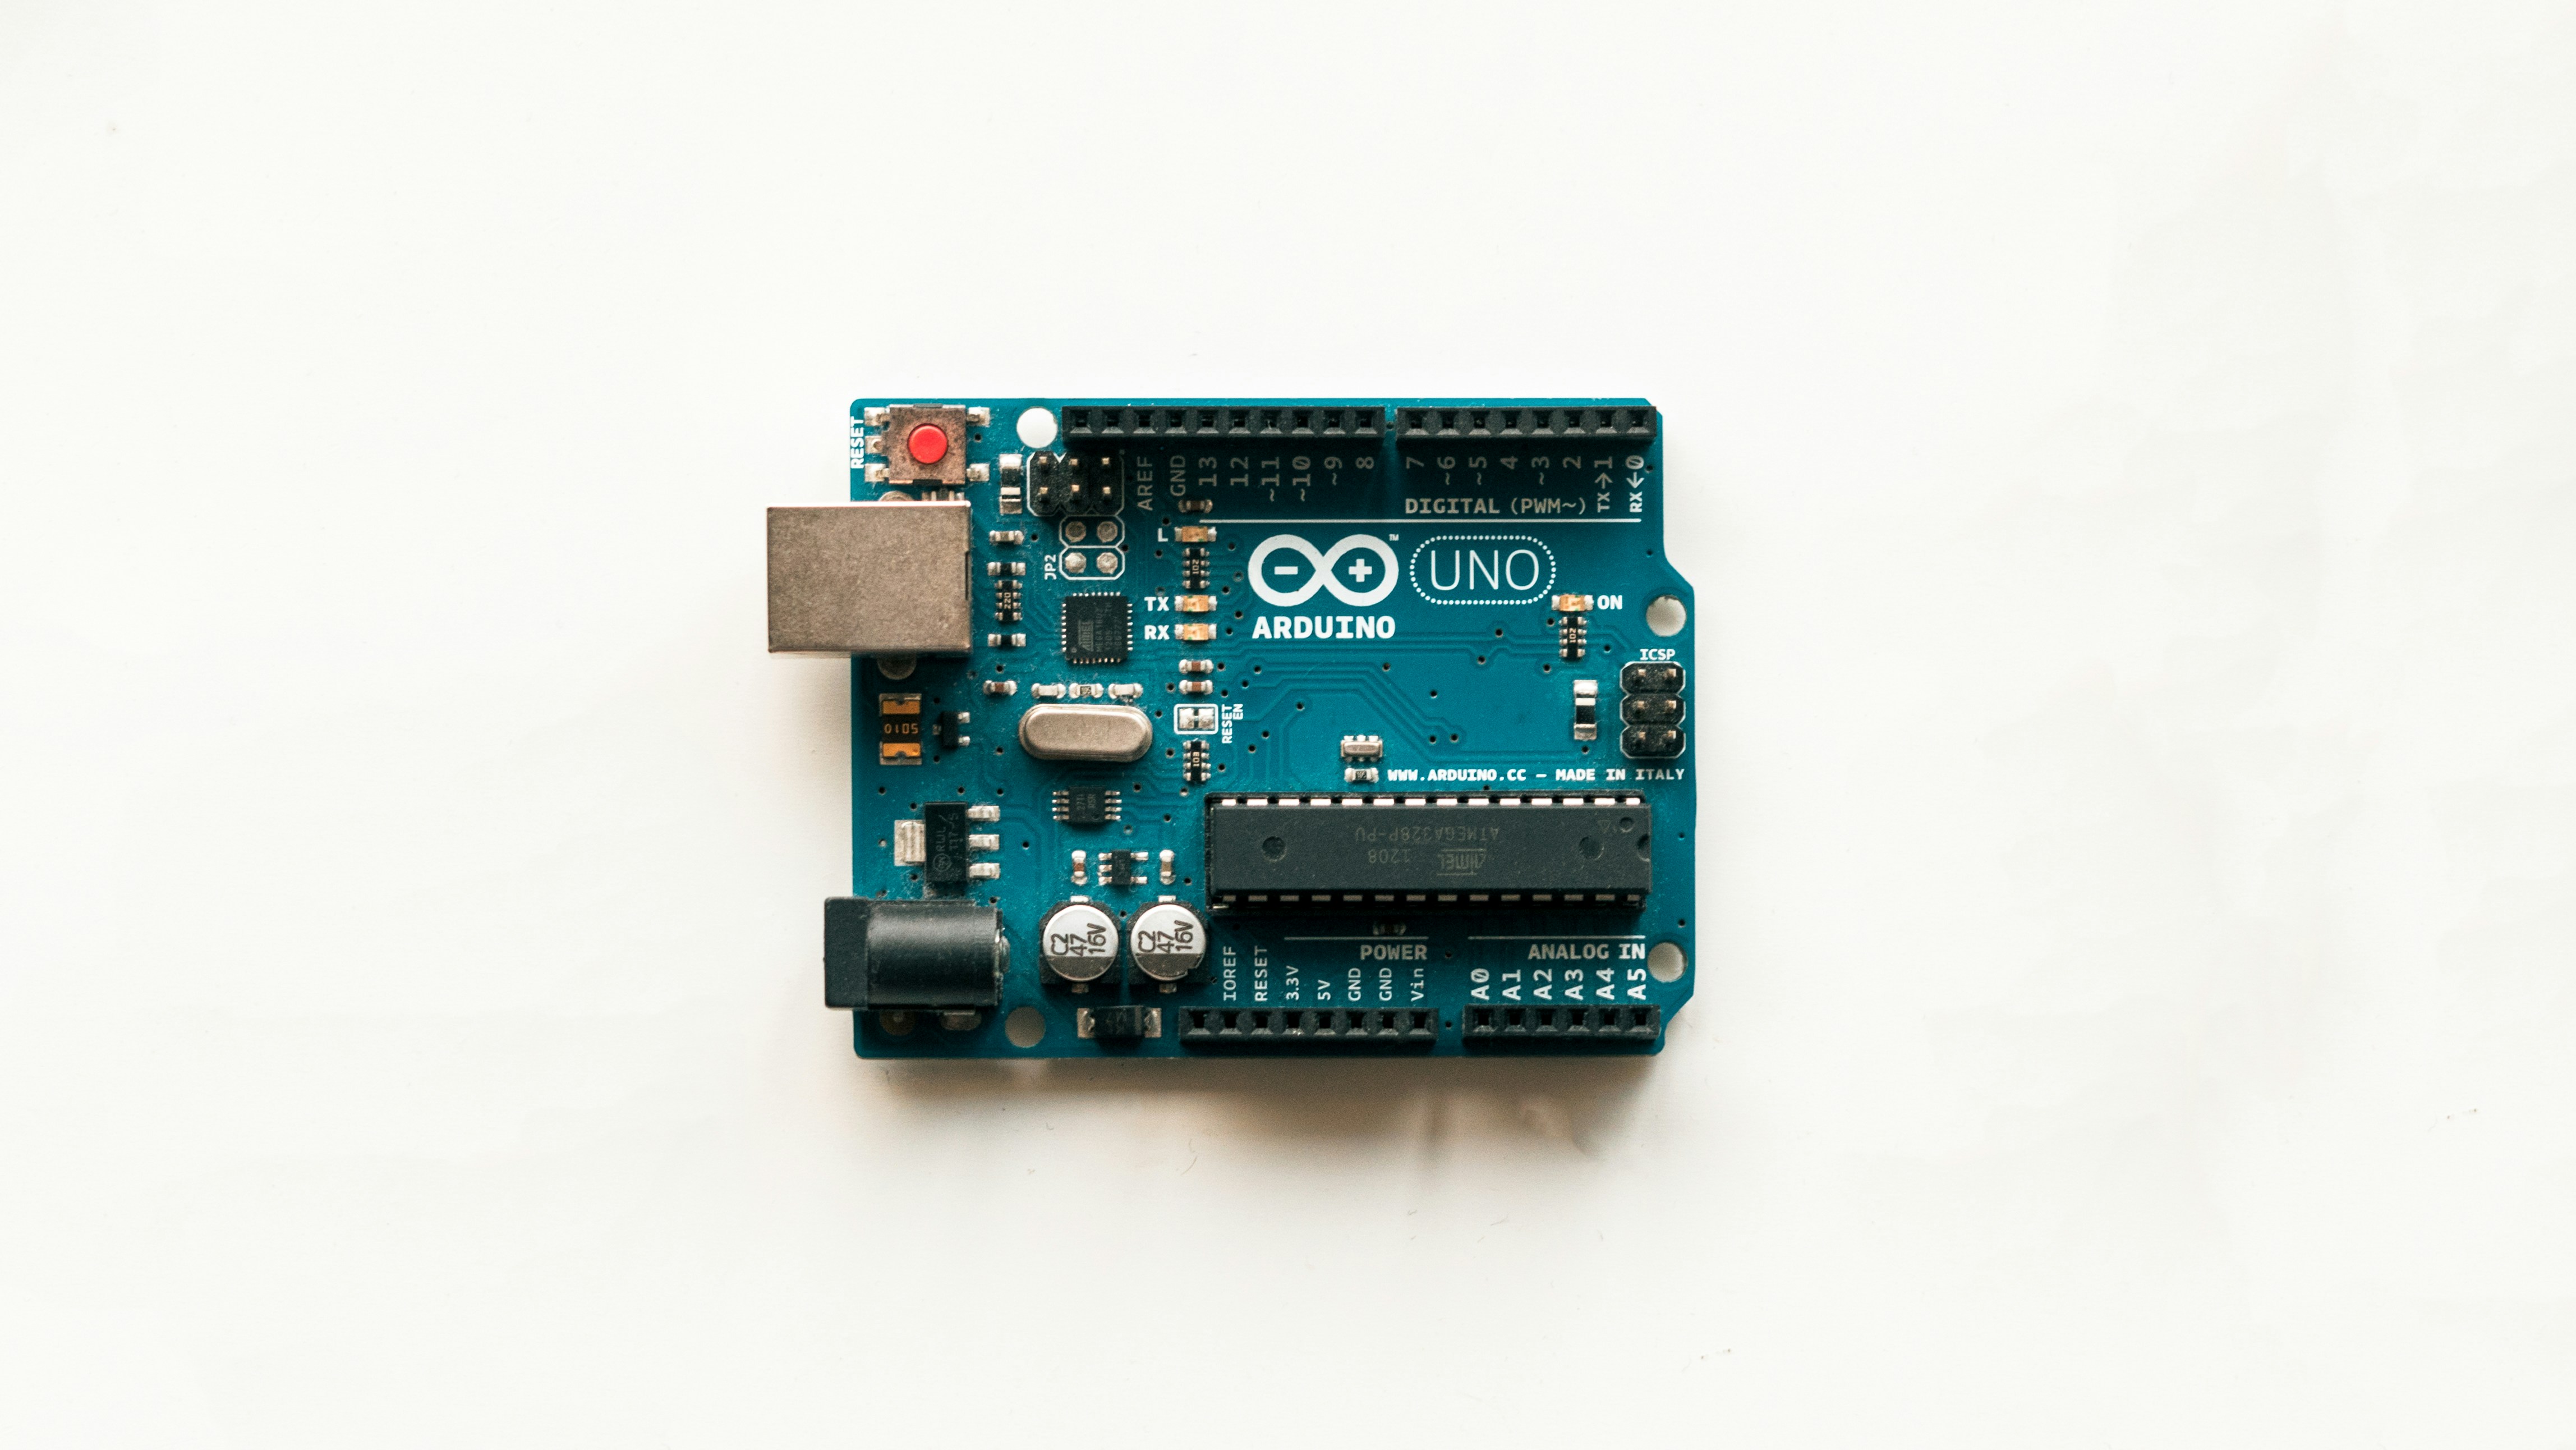
The Arduino Uno R3 is widely considered the best board for beginners. It offers a perfect balance of performance, ease of use, and community support. Its 5V logic is compatible with most hobbyist sensors and motors, and the vast majority of tutorials are written specifically for the Uno. While the Nano is smaller and the Mega has more pins, the Uno remains the standard for learning.
Read more about “10+ Languages That Work with Arduino (2026) 🤖”
Do I need any special software to program Arduino robots?
No, you do not need expensive software. The Arduino IDE (Integrated Development Environment) is free, open-source, and available for Windows, Mac, and Linux. It allows you to write code in C++ and upload it to your board via USB. For more advanced users, PlatformIO (an extension for VS Code) is a powerful alternative, but the standard IDE is sufficient for 9% of robotics projects.
Read more about “🤖 What is Arduino and How Does It Work? The Ultimate 2026 Guide”
What sensors are essential for a basic Arduino robot?
For a basic robot, the HC-SR04 Ultrasonic Sensor is the most essential for obstacle avoidance. If you want to build a line-follower, you’ll need IR (Infrared) sensors. For a self-balancing robot, an IMU (like the MPU6050) is required. Start with the ultrasonic sensor; it’s the most versatile for general navigation.
Read more about “🤖 15+ Ways Arduino Powers Robots (2026 Guide)”
How much does it cost to start building an Arduino robot?
You can build a functional robot for under $50 if you buy a starter kit or source individual components from budget-friendly brands like Elegoo or SunFounder. A basic kit with an Arduino clone, chassis, motors, and sensors typically ranges from $30 to $60. If you opt for official Arduino boards and premium components, the cost can rise to $10+, but the learning experience is the same.
Read more about “🏠 35 Epic DIY Home Automation Projects to Transform Your Home (2026)”
Can I control my Arduino robot with my smartphone?
Yes! By adding a Bluetooth module (HC-05) or a Wi-Fi module (ESP826/ESP32), you can control your robot via a smartphone app. There are many free apps available (like “Arduino Bluetooth Controller”) that allow you to send commands to your robot wirelessly. This is a fantastic way to add interactivity to your project.
What motors work best with Arduino for simple robotics projects?
DC Gear Motors are the best choice for simple robotics. They provide enough torque to move the robot while keeping the speed manageable. Avoid standard DC motors without gears, as they spin too fast and lack the torque to move a chassis. Servo motors are great for steering or arms, but for driving wheels, stick with geared DC motors.
Read more about “🤖 Can Arduino Control Complex Robots? The 2026 Reality Check”
Where can I find free Arduino robotics tutorials for beginners?
The best resources are the Arduino Official Website (arduino.cc), the Arduino Forum, and YouTube channels like DroneBot Workshop and Paul McWhorter. These platforms offer step-by-step guides, code examples, and community support. Additionally, our own Robotics category provides in-depth articles on specific projects.
Read more about “🤖 Python for Robotics Beginner: Your 2026 Roadmap to Building Robots”
Reference Links
- Arduino Official Website: https://www.arduino.cc
- Arduino Store (Kits & Boards): https://store-usa.arduino.cc/collections/kits
- Adafruit Learning System: https://learn.adafruit.com
- SparkFun Tutorials: https://learn.sparkfun.com
- Arduino Forum: https://forum.arduino.cc
- Elegoo Official Site: https://www.elegoo.com
- SunFounder Official Site: https://sunfounder.com