The absolute fastest way to learn Arduino coding for beginners is to skip theory-heavy textbooks and immediately build a blinking LED, because physical feedback cements logic faster than any screen ever could. You don’t need a computer science degree or a thousand-dollar lab; you just need a $20 board, a free IDE, and the courage to plug in a wire the wrong way (we’ve all been there).
Did you know the first Arduino was created in a small Italian design school to help artists build interactive sculptures? Today, that same open-source spirit powers millions of robots, smart homes, and even Mars rovers. We once watched a student who couldn’t write a “Hello World” script in Python build a self-balancing robot in three days just by understanding the loop() function.
The secret isn’t memorizing syntax; it’s understanding that your code talks directly to the physical world. Whether you want to automate your garden or build a line-following robot, the journey starts with a single line of C++ code.
Key Takeaways
- Start with the Uno: The Arduino Uno R3 remains the gold standard for learning due to its massive community support and forgiving 5V logic.
- Code is Physical: Unlike web development, Arduino coding for beginners offers instant gratification by controlling real-world components like motors and sensors.
- Master the Basics First: Focus on
setup(),loop(), anddigitalRead/writebefore attempting complex libraries or IoT connections. - Debug with Serial: The Serial Monitor is your most powerful tool for tracking variable values and fixing logic errors in real-time.
- Build to Learn: Completing 10 hands-on projects is the most effective way to internalize C++ concepts and prepare for advanced robotics.
Table of Contents
- ⚡️ Quick Tips and Facts
- 🕰️ The Sparky History: How Arduino Revolutionized DIY Electronics
- 🛠️ Why Arduino is the Ultimate Gateway for Coding Newbies
- 📦 Picking Your First Board: Uno, Nano, Mega, or ESP32?
- 💻 Setting Up the Arduino IDE: Your Digital Workshop
- 🧠 Arduino Coding for Beginners: The Absolute Essentials
- 1. Understanding the Skeleton:
void setup()andvoid loop() - 2. Speaking the Language: Variables, Data Types, and Constants
- 3. Making Decisions: If/Else Statements and Logic
- 4. Lops of Power: For, While, and Do-While Structures
- 5. Talking to the World: Digital vs. Analog I/O Explained
- 6. Time Management: Delays,
millis(), and Non-Blocking Code - 7. Modular Magic: Functions and Libraries You Must Know
- 🚀 10 Beginner Arduino Projects to Master Your Skills
- 1. The Classic Blink: Your “Hello, World!” Moment
- 2. Traffic Light Simulator: Mastering Output Control
- 3. Temperature Monitor: Reading Analog Sensors
- 4. Button-Activated LED: Input Basics
- 5. Servo Motor Control: Moving Parts Made Easy
- 6. Ultrasonic Distance Sensor: Building a Parking Assistant
- 7. LCD Display Messages: Showing Text on a Screen
- 8. RGB Color Mixer: PWM and Color Theory
- 9. Simple Weather Station: Combining Multiple Sensors
- 10. IoT Smart Home Node: Connecting to Wi-Fi with ESP826/ESP32
- 🐛 Debuging Like a Pro: Fixing Common Arduino Errors
- 🧩 Essential Components and Sensors for Your Starter Kit
- 🔌 Wiring Woes: Breadboards, Jumper Wires, and Circuit Safety
- 📚 Top Resources, Libraries, and Community Support
- 🏁 Conclusion
- 🔗 Recommended Links
- ❓ FAQ: Your Burning Arduino Questions Answered
- 📖 Reference Links
⚡️ Quick Tips and Facts
Before we solder our first joint or type a single line of code, let’s drop some hard truths that will save you hours of frustration. We’ve seen too many beginners burn out (literally and figuratively) by skipping these basics.
- The “Magic Smoke” Myth: Electronics don’t actually contain magic smoke; they contain silicon. But if you connect power to ground without a resistor, you will release the smoke, and the component is dead. Always use a current-limiting resistor for LEDs.
- It’s Not Just “Arduino Code”: Under the hood, Arduino is just C++. When you write
void loop(), you are writing C++ with a simplified wrapper. This means if you learn Arduino, you are actually learning a subset of a professional-grade language. - The 5V Rule: Most standard Arduino boards (like the Uno) run on 5V logic. Plugging a 3.3V sensor directly into a 5V pin without a level shifter can fry the sensor. Conversely, 5V sensors on 3.3V boards (like the ESP32) need care.
- Analog is Digital: An “analog” pin on an Arduino doesn’t read a smooth wave; it takes a snapshot and converts it to a number between 0 and 1023 (10-bit resolution).
- The Serial Monitor is Your Best Friend: If your code isn’t working, print everything. The Serial Monitor is the only way to see what your microcontroller is actually thinking.
Pro Tip from Robotic Coding™: Never trust a circuit that works on the first try. It usually means you haven’t tested it enough yet!
For a deeper dive into the ecosystem, check out our comprehensive guide on Arduino where we break down the hardware vs. software debate.
🕰️ The Sparky History: How Arduino Revolutionized DIY Electronics
Did you know that before 205, building a custom electronic controller required a degree in electrical engineering and a budget that could buy a small car? Enter Arduino.
Born in Ivrea, Italy, at the Interaction Design Institute, Arduino was created by Massimo Banzi and David Cuartieles with a simple, radical idea: make electronics accessible to everyone. They wanted a tool that artists, designers, and hobbyists could use without needing to understand the intricacies of assembly language or complex schematics.
The Evolution of the Board
- 205: The first Arduino board (NG) is released. It was based on the AVR microcontroller.
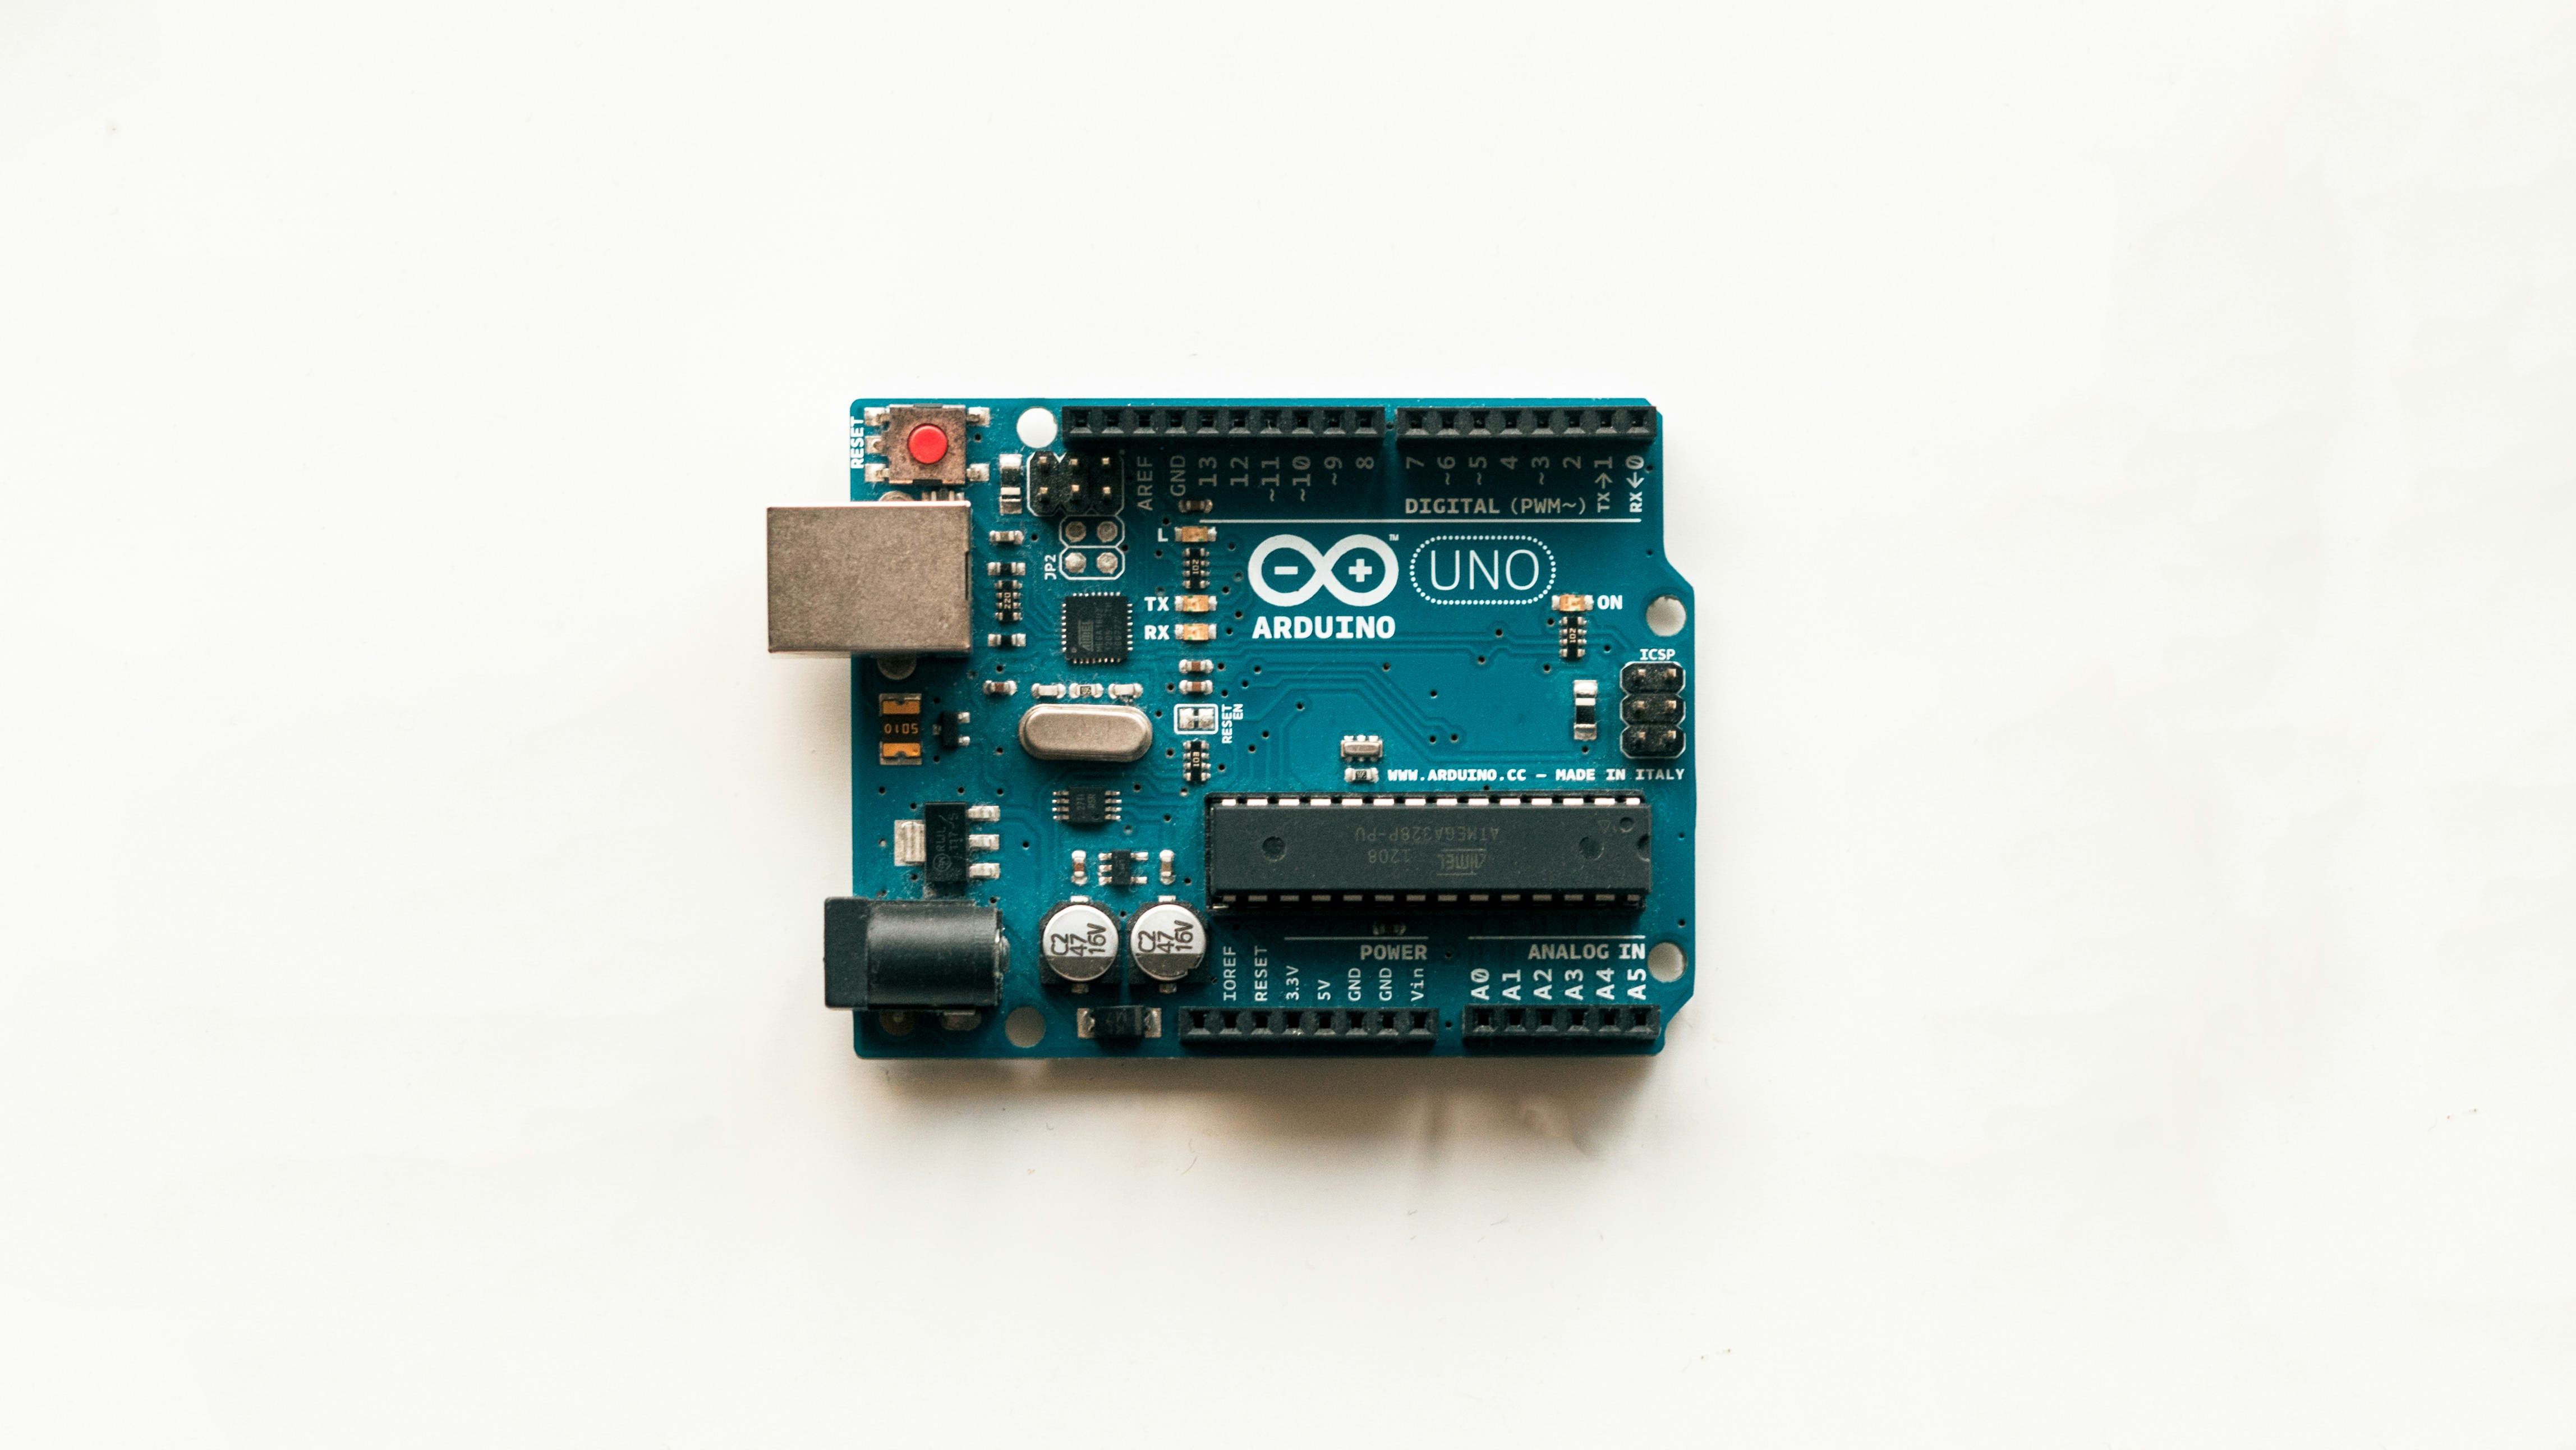
- 208: The Arduino Uno is born, becoming the de facto standard for beginners due to its robustness and the ATmega328P chip.
- 2013: The Arduino Leonardo introduces native USB support, allowing the board to act as a keyboard or mouse.
- 2016: The Arduino MKR series brings IoT (Internet of Things) capabilities to the masses with built-in Wi-Fi and Bluetooth.
- Present: The ecosystem has exploded, with boards ranging from the tiny Arduino Nano to the powerful Arduino Portenta H7.
The philosophy remains the same: Open Source. The hardware designs and the software (IDE) are free to use, modify, and distribute. This openness is why you can find millions of tutorials, libraries, and projects online.
Why does this matter to you? Because you aren’t just buying a board; you are joining a global community of over 20 million users who have shared their code and schematics for free.
🛠️ Why Arduino is the Ultimate Gateway for Coding Newbies
You might be wondering, “Why not just start with Python or JavaScript?” Great question! While those languages are powerful, they run on computers or servers. Arduino runs on the physical world.
When you code in Python, you manipulate text on a screen. When you code in Arduino, you control light, motion, temperature, and sound. This immediate physical feedback loop is the secret sauce that keeps beginners hooked.
The “Robotic Coding™” Perspective
We’ve taught hundreds of students, and the ones who stick with coding are the ones who see their code do something.
- Instant Gratification: Write 5 lines of code, upload, and an LED blinks. Done.
- Low Barrier to Entry: No need for a $2,0 laptop. A $20 board and a free IDE are all you need.
- Hardware Agnostic: Once you learn the concepts (loops, variables, logic), you can apply them to Raspberry Pi, ESP32, or even industrial PLCs.
If you are interested in how this translates to Robotics, check out our category on Robotics to see how these simple blocks build complex machines.
📦 Picking Your First Board: Uno, Nano, Mega, or ESP32?
Not all Arduino boards are created equal. Choosing the wrong one can lead to a frustrating start. Let’s break down the contenders.
Comparison of Popular Boards
| Feature | Arduino Uno R3 | Arduino Nano | Arduino Mega 2560 | ESP32 |
|---|---|---|---|---|
| Best For | Absolute Beginners | Portable Projects | Complex Projects | IoT & Wi-Fi |
| Microcontroller | ATmega328P | ATmega328P | ATmega2560 | ESP32-WROOM |
| Digital I/O Pins | 14 | 14 | 54 | 30+ |
| Analog Inputs | 6 | 8 | 16 | 18 |
| Clock Speed | 16 MHz | 16 MHz | 16 MHz | 160/240 MHz |
| Wi-Fi/Bluetooth | ❌ No | ❌ No | ❌ No | ✅ Built-in |
| Price Range | $$ | $ | $$$ | $ |
| USB Connector | USB-B (Square) | Mini-USB | USB-B | Micro-USB/USB-C |
Our Verdict:
- Start with the Uno: It has the most tutorials, the largest community support, and the standard USB-B connector is easy to find.
- Go Nano if: You need to fit your project into a small space (like a robot chassis).
- Go Mega if: You are building a 3D printer or a robot with 20+ sensors.
- Go ESP32 if: You want to connect your robot to the internet immediately.
Wait, what about the ESP826? It’s cheaper but harder to program for beginners. Stick to the ESP32 for Wi-Fi projects; it has more memory and is easier to set up.
Where to Buy
- Official Arduino: Always buy from the official source if you want guaranteed quality, but be prepared to pay a premium.
- Clones: You can find “Uno R3” clones for a fraction of the price. They work 9% of the time, but the USB-to-serial chip might be different (CH340 vs. ATmega16U2), requiring you to install extra drivers.
👉 Shop Arduino Boards on:
- Amazon: Arduino Uno R3 Official | Arduino Uno R3 Clones
- Adafruit: Arduino Uno R3
- SparkFun: Arduino Uno R3
💻 Setting Up the Arduino IDE: Your Digital Workshop
Before we write code, we need the tool. The Arduino IDE (Integrated Development Environment) is where the magic happens.
Step-by-Step Setup
- Download: Go to the Arduino Software page.
Recommendation: Download Arduino IDE 2.x. It’s modern, has auto-completion, and a built-in debugger. The old 1.8.x version is still fine, but 2.x is the future. - Install: Run the installer. On Windows, you might need to install drivers for the board (usually automatic, but sometimes manual).
- Connect: Plug your board into your computer via USB.
- Select Board: Go to
Tools>Board>Arduino AVR Boards>Arduino Uno. - Select Port: Go to
Tools>Port>COM3(or whatever your system assigns).
Troubleshooting Tip: If you don’t see a port, check your USB cable. Many cables are “charge only” and don’t transmit data. Try a different cable!
🧠 Arduino Coding for Beginners: The Absolute Essentials
Now, the moment you’ve been waiting for. Let’s decode the language. As mentioned in the “first YouTube video” perspective, Arduino code is C++ with a twist. It’s structured around two main functions: setup() and loop().
1. Understanding the Skeleton: void setup() and void loop()
Every Arduino sketch (program) must have these two functions.
void setup(): This runs once when the board powers up or resets. Think of it as the “pre-flight check.” You define pin modes, initialize serial communication, and set initial values here.void loop(): This runs repeatedly forever. It’s the engine of your program. If you want an LED to blink, the logic goes here.
void setup() {
 // Runs once
 pinMode(LED_BUILTIN, OUTPUT);
}

void loop() {
 // Runs forever
 digitalWrite(LED_BUILTIN, HIGH);
 delay(10);
 digitalWrite(LED_BUILTIN, LOW);
 delay(10);
}
2. Speaking the Language: Variables, Data Types, and Constants
Variables are containers for storing data. In Arduino, you must declare the data type.
int: Integers (whole numbers). Range: -32,768 to 32,767.float: Decimal numbers. Used for sensor readings.bool: True or False.const: A variable that cannot change (e.g.,const int ledPin = 13;).
Why use const? It saves memory and prevents accidental changes. If you change a pin number later, you only change it in one place.
3. Making Decisions: If/Else Statements and Logic
Robots need to make decisions. “If the button is pressed, turn on the light.”
if (buttonState == HIGH) {
 digitalWrite(ledPin, HIGH);
} else {
 digitalWrite(ledPin, LOW);
}
4. Lops of Power: For, While, and Do-While Structures
Lops let you repeat code without writing it 10 times.
forloop: Best for repeating a specific number of times (e.g., “fade an LED 10 times”).whileloop: Runs as long as a condition is true (e.g., “keep reading the sensor until the value is stable”).
5. Talking to the World: Digital vs. Analog I/O Explained
- Digital: Two states. HIGH (5V) or LOW (0V). Used for buttons, LEDs, and relays.
digitalWrite(pin, HIGH)digitalRead(pin)- Analog: Continuous range. 0 to 1023. Used for sensors like temperature, light, or potentiometers.
analogRead(pin)returns a value between 0 and 1023.
6. Time Management: Delays, millis(), and Non-Blocking Code
The Trap: Beginners love delay(). It stops the code for X milliseconds.
The Problem: If you use delay(10), your robot can’t do anything else for that second. It’s “blocking.”
The Solution: Use millis(). It returns the number of milliseconds since the board started. You can check the time and perform actions without stopping the code. This is crucial for robots that need to move and sense simultaneously.
7. Modular Magic: Functions and Libraries You Must Know
- Functions: Custom blocks of code you create to keep things tidy.
- Libraries: Pre-written code for complex tasks.
Servo.h: For controlling motors.
Wire.h: For I2C communication (sensors).
LiquidCrystal.h: For LCD screens.
To use a library: #include <Servo.h> at the top of your code.
🚀 10 Beginner Arduino Projects to Master Your Skills
Ready to build? Here are 10 projects that scale from “Hello World” to “Smart Home.”
1. The Classic Blink: Your “Hello, World!” Moment
Goal: Blink the built-in LED.
Why: Teaches setup, loop, digitalWrite, and delay.
Code: See the skeleton example above.
2. Traffic Light Simulator: Mastering Output Control
Goal: Control 3 LEDs (Red, Yellow, Green) to simulate a traffic light.
Skills: Multiple outputs, timing sequences, for loops.
Tip: Use a 20-ohm resistor for each LED.
3. Temperature Monitor: Reading Analog Sensors
Goal: Read a thermistor or TMP36 sensor and print the temperature to the Serial Monitor.
Skills: analogRead, math conversion (voltage to temperature), Serial.print.
4. Button-Activated LED: Input Basics
Goal: Turn an LED only when a button is pressed.
Skills: digitalRead, pull-up resistors (internal or external), debouncing.
5. Servo Motor Control: Moving Parts Made Easy
Goal: Sweep a servo motor from 0 to 180 degrees.
Skills: Using the Servo library, mapping values (map() function).
6. Ultrasonic Distance Sensor: Building a Parking Assistant
Goal: Measure distance to an object and beep faster as you get closer.
Skills: HC-SR04 sensor, trigonometry (time = distance/speed of sound), conditional logic.
7. LCD Display Messages: Showing Text on a Screen
Goal: Display “Hello World” and sensor values on a 16×2 LCD.
Skills: I2C communication, LiquidCrystal library, formatting strings.
8. RGB Color Mixer: PWM and Color Theory
Goal: Create a color mixer using an RGB LED and potentiometers.
Skills: PWM (Pulse Width Modulation) with analogWrite, mixing colors.
9. Simple Weather Station: Combining Multiple Sensors
Goal: Read temperature, humidity, and light, then display them on an LCD.
Skills: Combining multiple libraries, managing memory, error handling.
10. IoT Smart Home Node: Connecting to Wi-Fi with ESP826/ESP32
Goal: Send sensor data to a web dashboard or control an LED via a phone app.
Skills: Wi-Fi connectivity, HTTP requests, MQTT protocol, JSON data.
Curiosity Check: Can you make a robot that avoids walls and follows a line at the same time? We’ll tackle that logic in the “Advanced Logic” section later!
🐛 Debuging Like a Pro: Fixing Common Arduino Errors
Even the best coders break things. Here is how to fix them.
| Error | Symptom | Likely Cause | Solution |
|---|---|---|---|
| Compilation Error | Red text in IDE | Missing ;, typo in function name, missing #include |
Check the line number in the error message. |
| Upload Error | “Programer not responding” | Wrong board selected, bad USB cable, driver issue | Check Tools > Board and Port. Try a different cable. |
| Logic Error | Code compiles but doesn’t work | Wrong pin number, sensor not powered, delay too long |
Use Serial.print() to debug values. |
| Reset Loop | Board keeps restarting | Power supply too weak, short circuit | Check wiring. Add a capacitor across power rails. |
The Golden Rule of Debuging: Print it out! If you think a variable is 50, print it. If it’s 0, you know where the bug is.
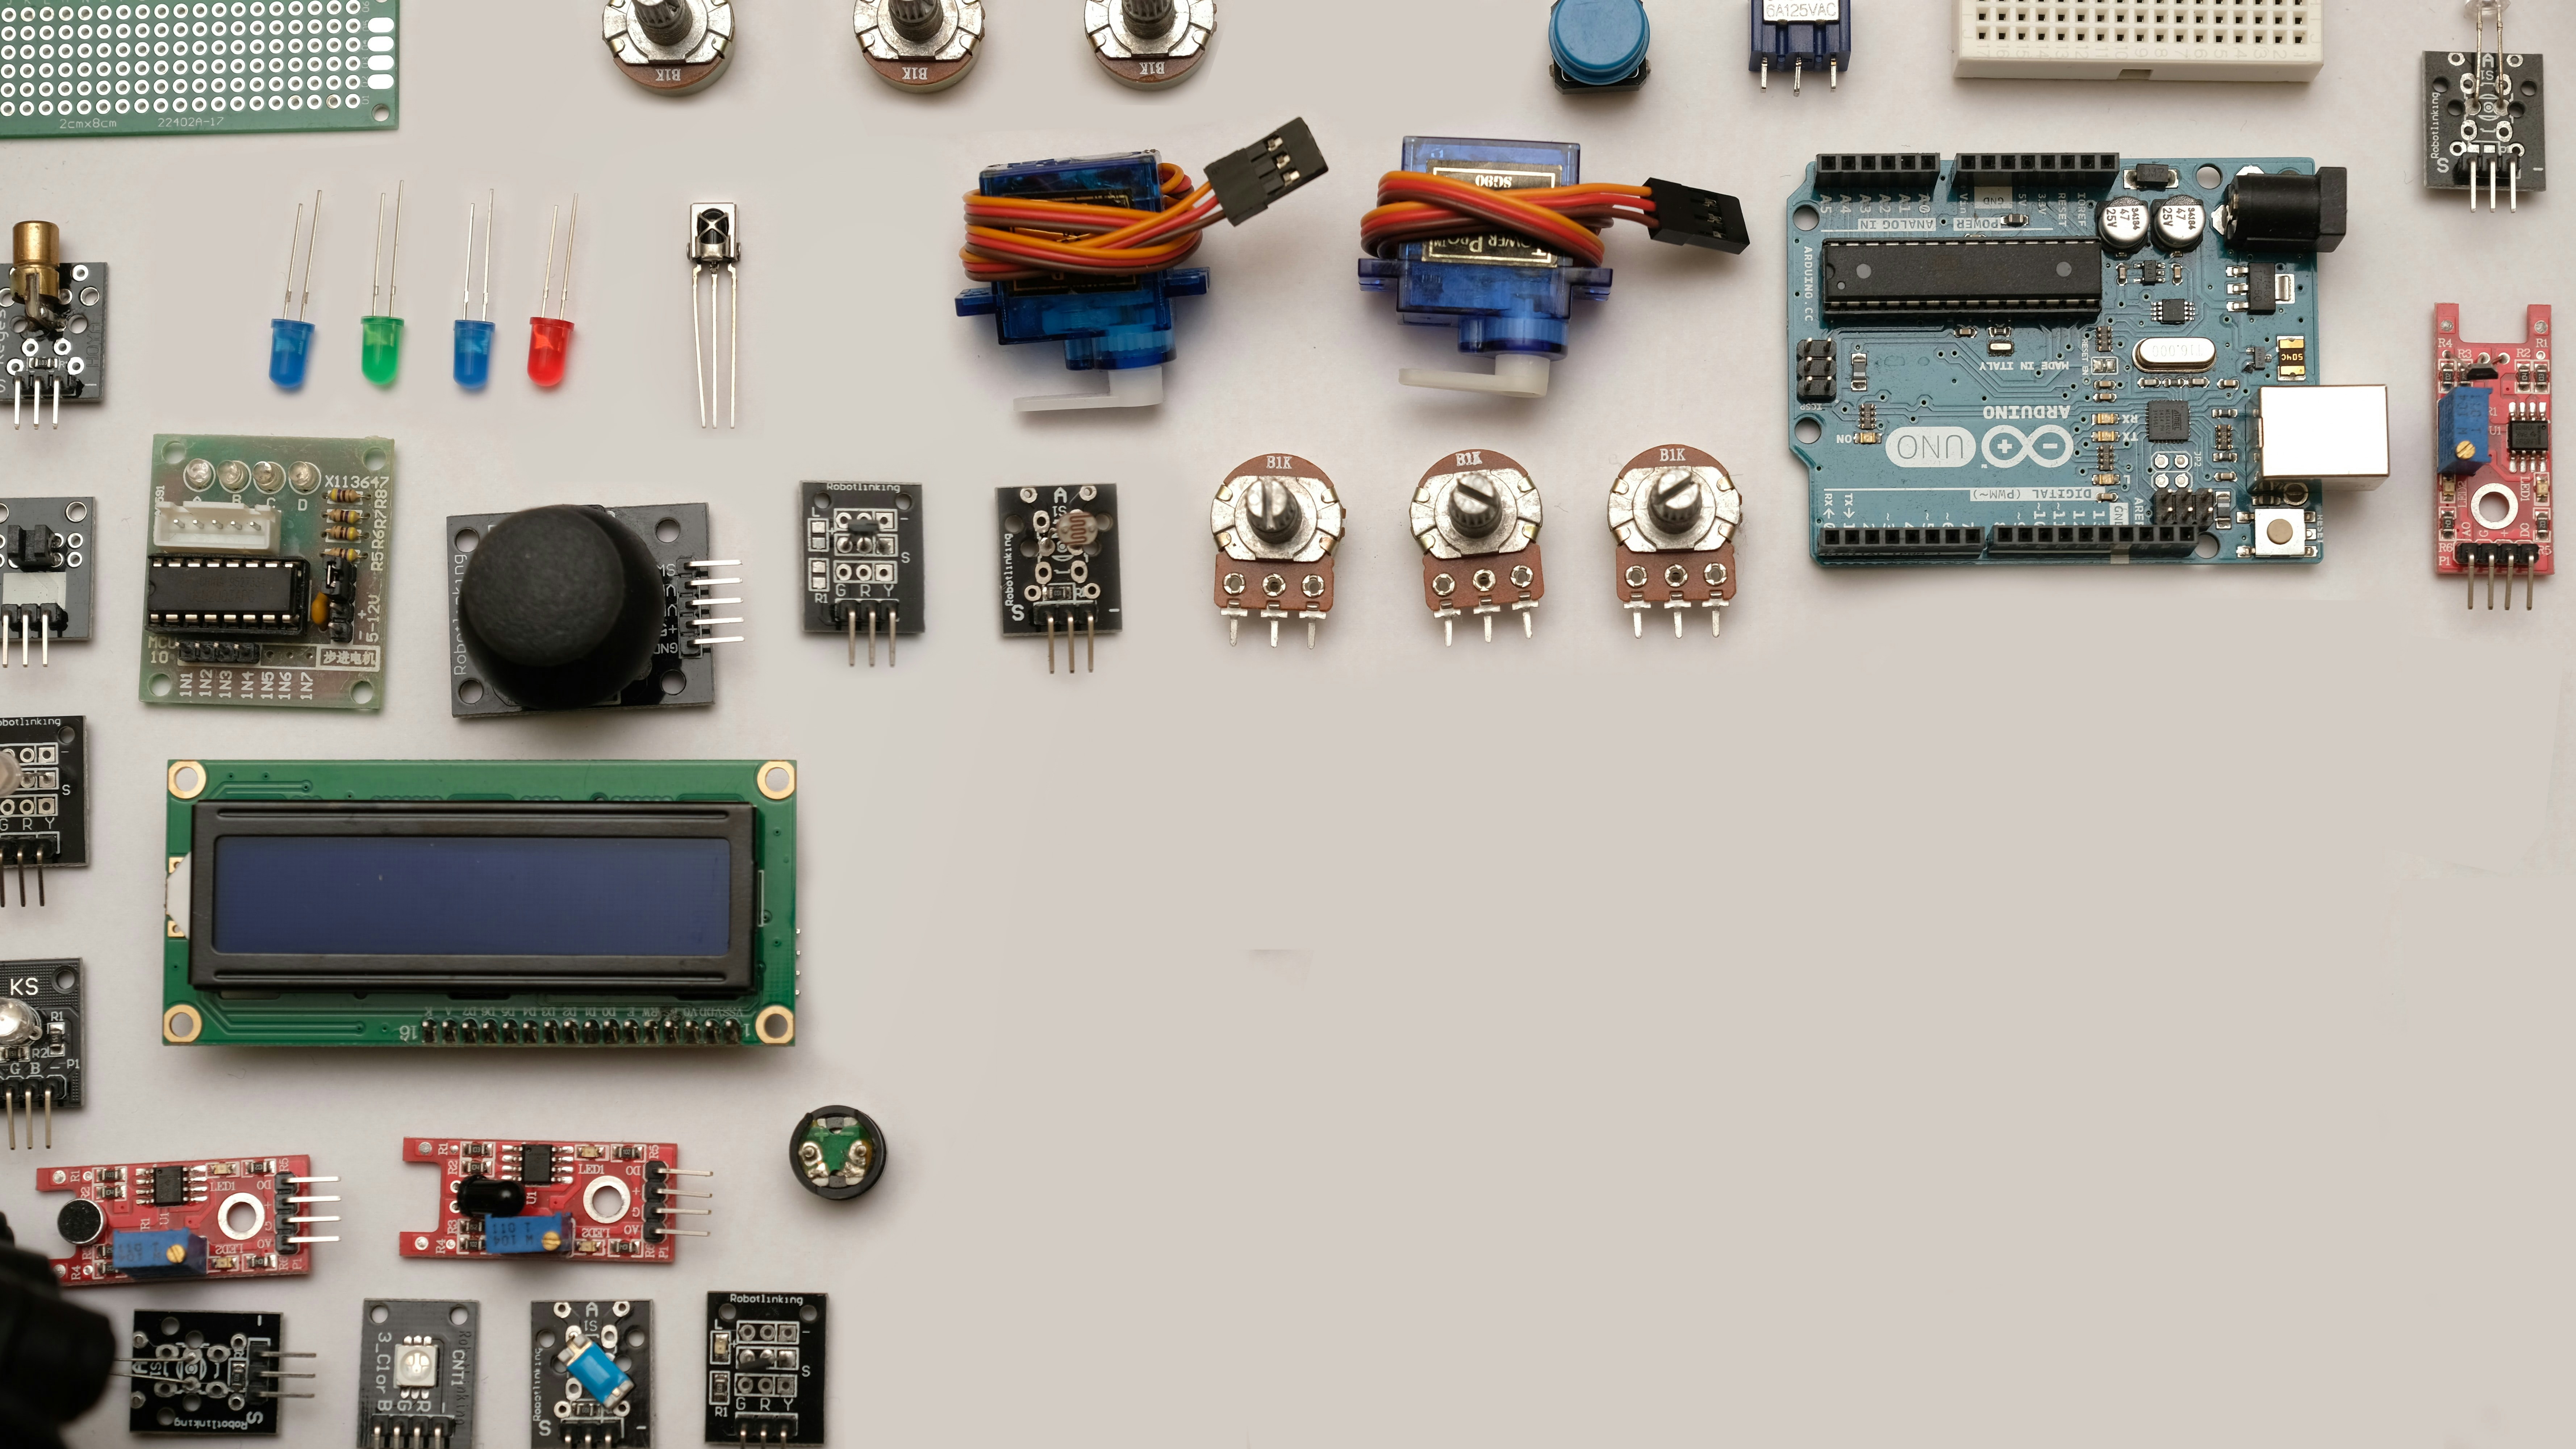
🧩 Essential Components and Sensors for Your Starter Kit
You don’t need to buy everything at once, but these are the must-haves.
- Breadboard: The foundation for protyping. No soldering required.
- Jumper Wires: Male-to-Male, Male-to-Female, and Female-to-Female.
- Resistors: 20Ω (LEDs), 10kΩ (Pull-up/Pull-down), 1kΩ (General).
- Capacitors: 10µF (Power smoothing).
- LEDs: Red, Green, Yellow, Blue, White.
- Push Buttons: For input.
- Potentiometer: 10kΩ for analog input.
- Servo Motor: SG90 (Micro) or MG96R (Heavy duty).
- Ultrasonic Sensor: HC-SR04.
- Breadboard Power Supply: To avoid draining your USB port.
👉 Shop Starter Kits on:
- Amazon: Arduino Starter Kit Official | ELEGO Super Starter Kit
- Adafruit: Arduino Ultimate Starter Kit
- SparkFun: Arduino Inventor’s Kit
🔌 Wiring Woes: Breadboards, Jumper Wires, and Circuit Safety
Wiring is 50% of the battle. A loose wire can ruin hours of coding.
Breadboard Anatomy
- Power Rails: The long lines on the sides (usually red and blue). Connect these to 5V and GND.
- Terminal Strips: The middle rows. Holes in the same row are connected horizontally.
- The Gap: The middle gap separates the two sides. This is where the microcontroller pins go.
Safety First
- Power Off: Always disconnect power before changing wires.
- Short Circuits: Never connect 5V directly to GND without a load (resistor/component).
- Current Limits: The Arduino Uno can only supply about 20mA total from the 5V pin. Don’t power high-current motors directly from the board; use an external power source.
Pro Tip: Color code your wires! Red for 5V, Black for GND, and other colors for signals. It makes debugging 10x faster.
📚 Top Resources, Libraries, and Community Support
You are never alone in this journey.
- Arduino Forum: The official community. Search before you ask!
- GitHub: Find open-source projects and libraries.
- Instructables: Step-by-step project guides.
- Adafruit Learning System: High-quality tutorials with clear diagrams.
- Arduino Library Manager: Built into the IDE. Search for “Servo”, “DHT”, etc.
For more on Artificial Intelligence and how it integrates with microcontrollers, visit our AI section.
🏁 Conclusion
So, did we answer the question: Is Arduino the right place to start your coding journey?
Absolutely.
We started by asking if you could learn to code without burning out. The answer is a resounding yes, provided you start with the physical feedback loop that Arduino provides. From the humble void setup() to complex IoT projects, the path is clear.
The Verdict:
- Pros: Massive community, low cost, open-source, immediate physical results, excellent for learning C++ logic.
- Cons: Limited memory on older boards, 5V logic can be tricky with modern 3.3V sensors,
delay()can be a bad habit if not managed.
Our Recommendation: Start with an Arduino Uno R3 and the Arduino IDE 2. Master the basics of setup, loop, and digitalRead/write. Then, move to the ESP32 for Wi-Fi projects. Don’t be afraid to break things; that’s how you learn.
Remember, the code you write today might control the robot of tomorrow. Keep coding, keep building, and never stop experimenting.
🔗 Recommended Links
Essential Hardware
- Arduino Uno R3 Official: Amazon | Arduino Store
- ELEGO Super Starter Kit: Amazon
- Servo Motor (SG90): Amazon
- Ultrasonic Sensor (HC-SR04): Amazon
Books & Learning
❓ FAQ: Your Burning Arduino Questions Answered
What is the easiest way to start coding Arduino for robotics?
The easiest way is to start with the Arduino Uno and the Blink sketch. Once you understand how to control an LED, move to a servo motor to create movement. Use the Arduino IDE 2 for better code assistance. Focus on understanding setup() and loop() before tackling complex libraries.
Read more about “Is Arduino Beginner Friendly? The 2026 Verdict & Top 7 Picks 🤖”
How do I program an Arduino to control a robot motor?
You cannot connect a motor directly to the Arduino; it will burn out. You need a Motor Driver (like the L298N or TB612FNG).
- Connect the motor to the driver.
- Connect the driver’s control pins to Arduino digital pins.
- Use the
digitalWrite()oranalogWrite()(for speed) functions to control the motor. - Ensure the motor has its own power source, not the Arduino’s 5V pin.
Read more about “🤖 15+ Ways Arduino Powers Robots (2026 Guide)”
What are the best Arduino projects for beginners in robotics?
- Line Follower Robot: Uses IR sensors to follow a black line.
- Obstacle Avoider: Uses an ultrasonic sensor to turn away from walls.
- Remote Control Car: Uses an IR or Bluetooth module to control movement.
These projects teach sensor integration, motor control, and basic logic.
Read more about “🤖 What Is Arduino Used For? 10 Real-World Uses & Why It Wins (2026)”
Which Arduino board is best for learning robotic coding?
The Arduino Uno R3 is the best for learning due to its simplicity and massive support. However, for modern robotics with Wi-Fi/Bluetooth, the ESP32 is superior because it has built-in wireless capabilities and more processing power.
Read more about “Is Arduino Similar to Raspberry Pi? The 2026 Showdown 🤖”
How do I connect sensors to Arduino for a beginner robot?
Most sensors use 3 wires: VCC (Power), GND (Ground), and Signal.
- Digital Sensors: Connect Signal to a digital pin.
- Analog Sensors: Connect Signal to analog pin (A0-A5).
- I2C Sensors: Connect SDA to A4 and SCL to A5.
Always check the sensor’s datasheet for voltage requirements (3.3V vs 5V).
Read more about “🤖 15+ Best Arduino Sensors for Robots (2026 Guide)”
What programming language is used for Arduino robotics?
Arduino uses a simplified version of C++. It includes standard C++ features like classes, objects, and pointers, but wrapped in an easy-to-use API. You don’t need to know complex C++ to start, but learning it will help you write more efficient code.
Read more about “Is MicroPython Compatible with CircuitPython? The 2026 Truth 🤖”
How can I debug my Arduino code for a robotic project?
Use the Serial Monitor (Tools > Serial Monitor). Insert Serial.print("Value: "); Serial.println(variable); in your code to see what the robot is “thinking.” If the robot behaves erratically, check your wiring for loose connections and ensure your power supply is stable.
Read more about “🤖 15 Best Resources to Learn Arduino for Robotics Coding (2026)”
📖 Reference Links
- Arduino Official Documentation: Getting Started with Arduino
- Arduino Language Reference: Arduino.cc Reference
- AVR Microcontroller Datasheet: Microchip ATmega328P
- ESP32 Datasheet: Espressif Systems
- Afrotechmods Tutorial: Ultimate Arduino Tutorial
- Code With Coner: Arduino Basics Full Course