
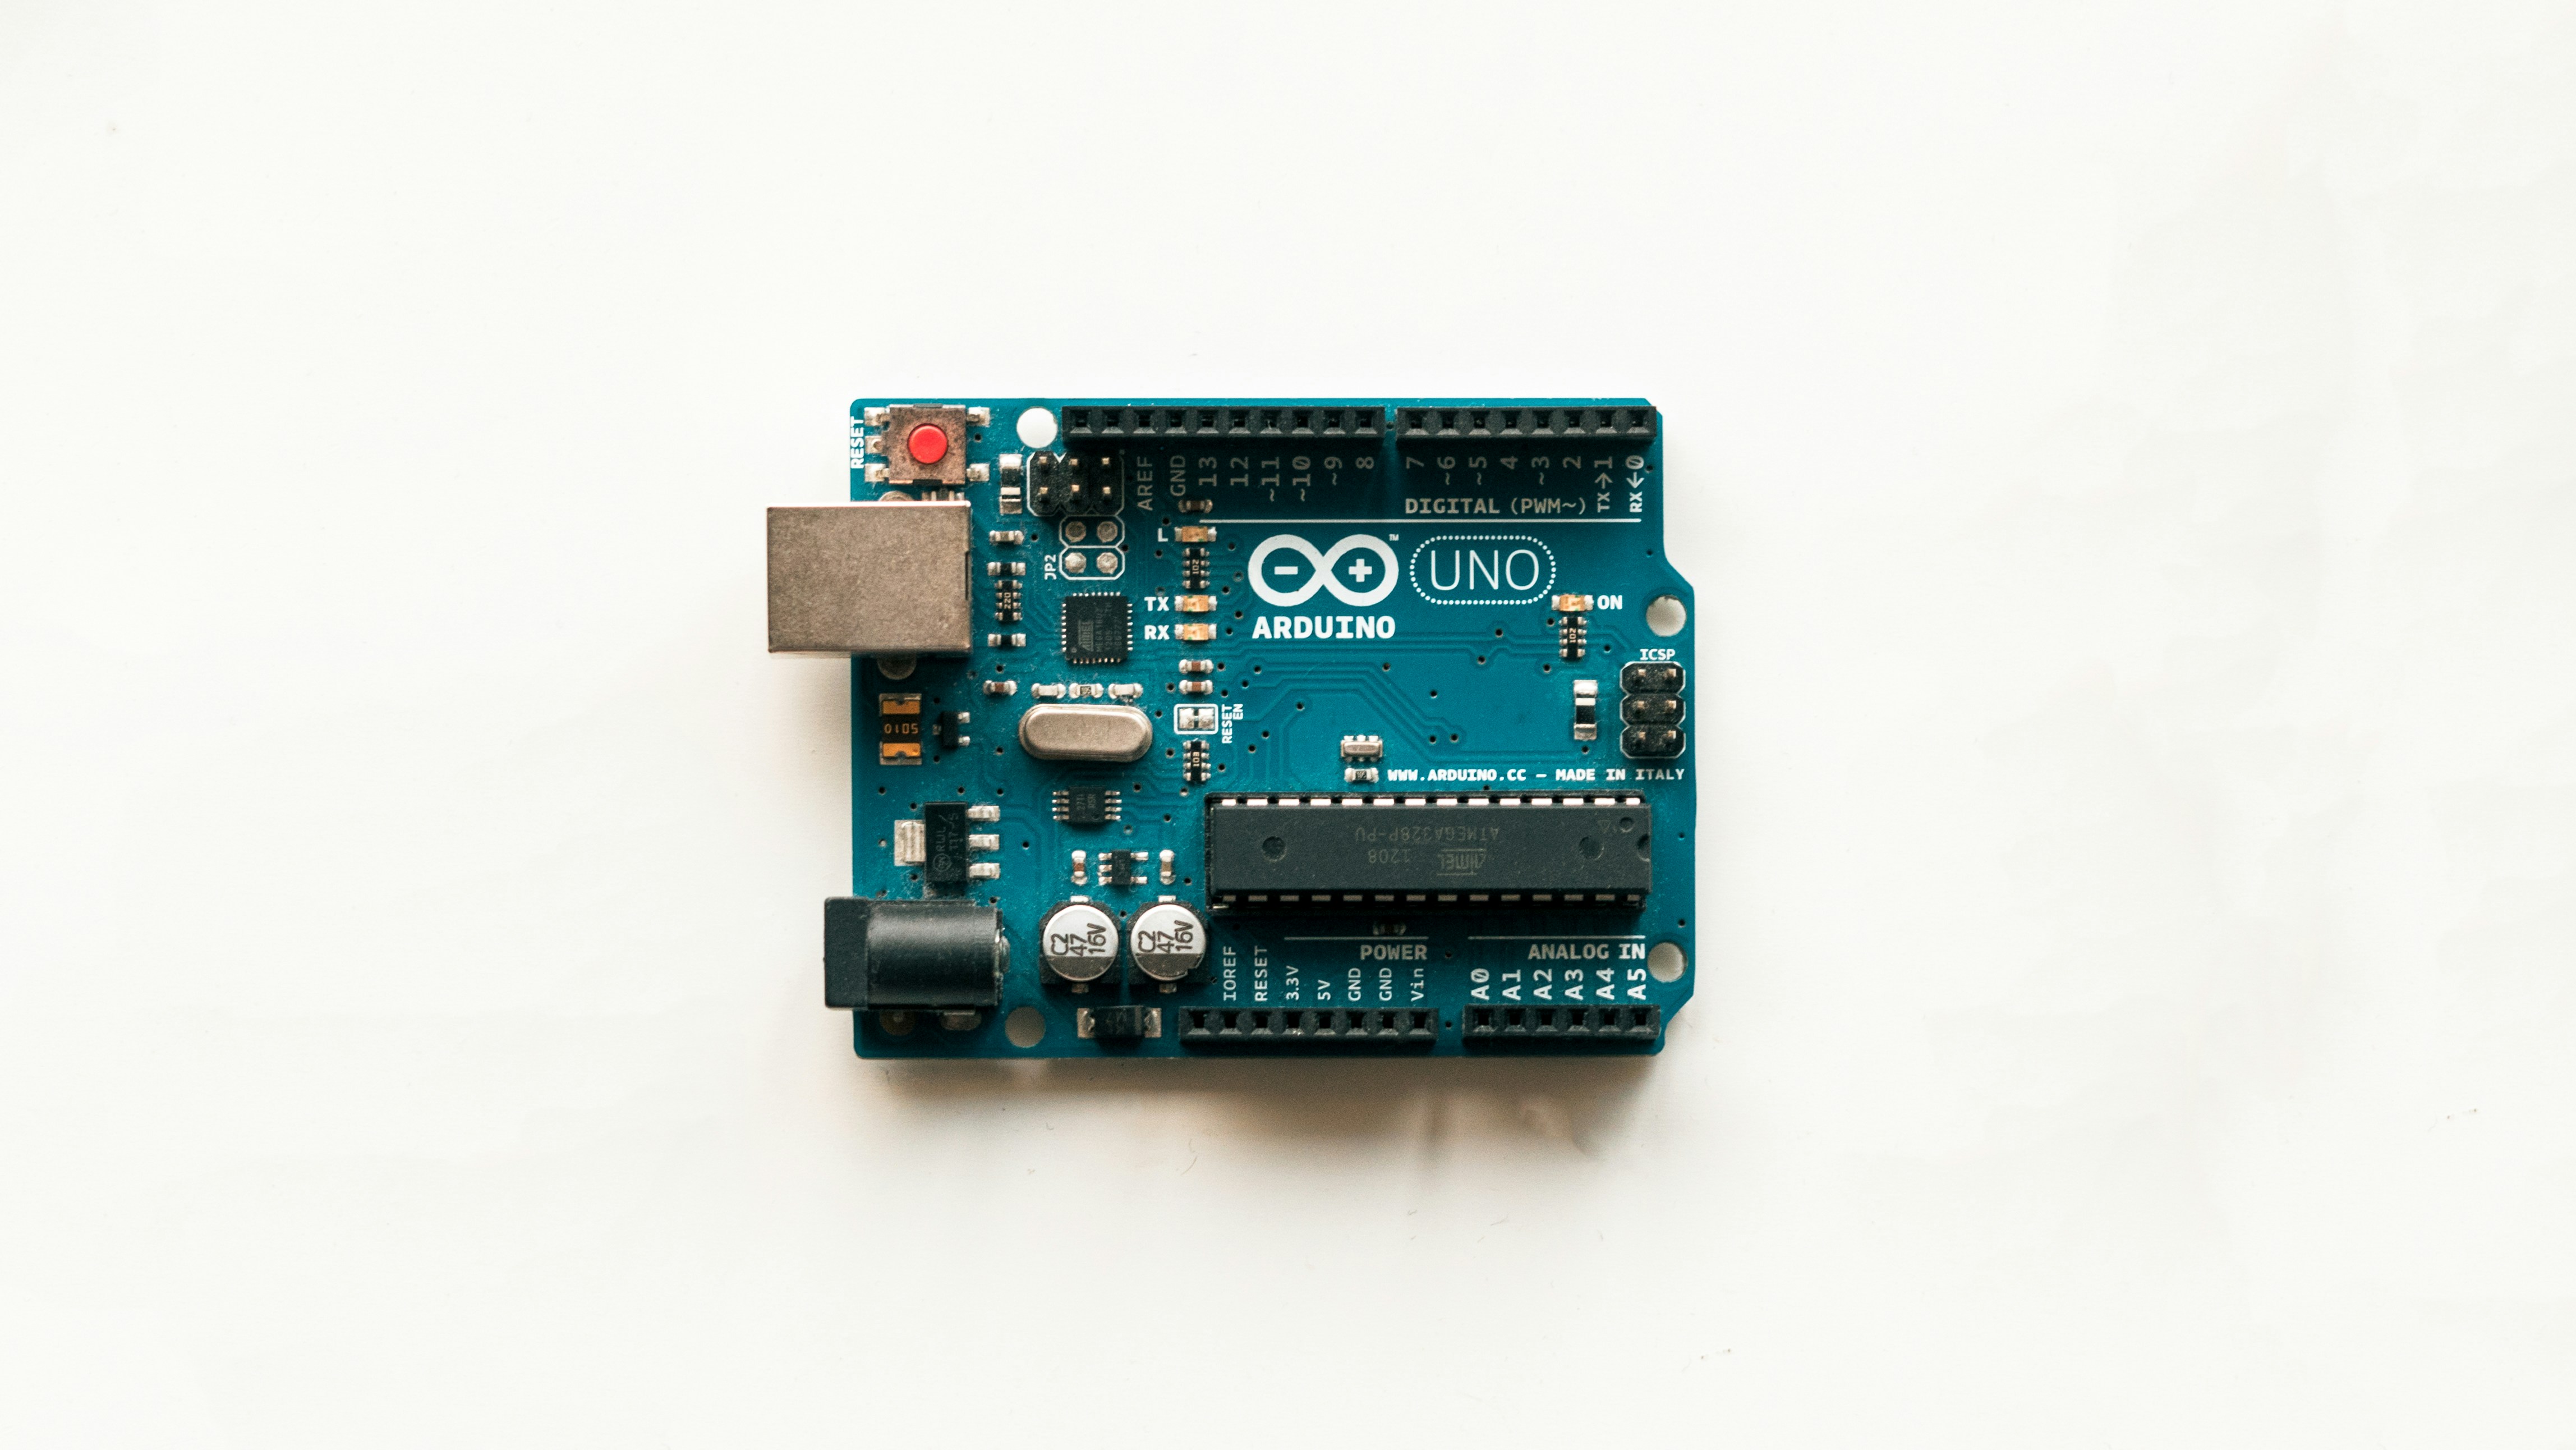
To get started with programming an Arduino board for your first robotics project, simply connect an Arduino Uno to a motor driver, load the Arduino IDE, and write a basic setup() and loop() sketch to control your wheels. You don’t need a computer science degree or a lab full of expensive equipment; you just need the right mindset and a few dollars worth of components.
Many beginners ask, “How do I get started with programming an Arduino board for my first robotics project?” and immediately get stuck on the fear of complex code. The truth is, your first robot will likely just move forward, stop, and turn, but that simple logic is the foundation of everything from Mars rovers to self-driving cars.
We once watched a team of high school students build a line-following robot in a single afternoon using nothing but a $20 kit and a laptop. They started with a blinking LED, and by sunset, they had a machine that could navigate a maze. That’s the magic of the Arduino ecosystem: it turns abstract code into physical motion almost instantly.
Key Takeaways
- Start Simple: Begin with an Arduino Uno R3 and a basic 2WD chassis to master motor control before tackling complex sensors.
- Power Matters: Always use an external battery pack for motors; never try to power them directly from the Arduino’s 5V pin.
- Code Structure: Master the
setup()(runs once) andloop()(runs forever) functions, which form the backbone of every Arduino sketch. - Debug Early: Use
Serial.println()to print data to your computer; it is the most effective way to troubleshoot logic errors in real-time. - Common Ground: Ensure all components share a common ground (GND) connection, or your robot will behave unpredictably.
Table of Contents
- ⚡️ Quick Tips and Facts
- 🕰️ A Brief History of Arduino: From the Maker Movement to Your Workbench
- 🛠️ Essential Hardware and Software for Your First Arduino Robotics Build
- 📦 Step-by-Step Guide: Unboxing and Setting Up Your Arduino Board
- 💻 Installing the Arduino IDE and Configuring Your Development Environment
- 🤖 Choosing the Right Robot Chassis and Actuators for Beginners
- 🔌 Wiring Your First Circuit: Sensors, Motors, and Power Management
- 🧠 Understanding the Basics of C++ for Arduino Programming
- 🚀 Writing Your First Sketch: Blinking LEDs and Moving Motors
- 🧭 Integrating Sensors: Ultrasonic, IR, and Line-Following Logic
- 🏎️ Building a Line-Follower Robot: Code, Calibration, and Tuning
- 🚧 Troubleshooting Common Arduino Robotics Errors and Connection Issues
- 🚀 Leveling Up: Adding Bluetooth Control and Autonomous Navigation
- 📚 Recommended Links
- ❓ FAQ: Your Burning Questions About Arduino Robotics Answered
- 📖 Reference Links
⚡️ Quick Tips and Facts
Before we solder our first joint or write a single line of code, let’s hit the pause button and drop some hard truths that usually get buried in the fluff. We’ve seen too many beginners burn out their boards because they skipped the basics.
- Power is King: Never power high-current motors directly from the Arduino’s 5V pin. You’ll fry the voltage regulator faster than you can say “smoke.” Always use an external battery pack with a dedicated motor driver.
- The “Blink” is Non-Negotiable: If your LED doesn’t blink, your robot won’t walk. It’s the “Hello World” of hardware. If you skip this, you’re flying blind.
- C++ isn’t Scary: Arduino uses a simplified version of C++. You don’t need a computer science degree; you just need to understand
setup()andloop(). - Ground is God: In robotics, Ground (GND) is the most important connection. If your grounds aren’t common between the Arduino, the motor driver, and the sensors, your robot will act like it’s possessed by a glitchy ghost.
- Don’t Trust the Breadboard: Breadboards are great for testing, but they are terrible for final builds. Vibration from motors will shake loose connections, leading to intermittent failures. Switch to perfboard or PCBs for the real deal.
Did you know? The Arduino Uno’s ATmega328P microcontroller has only 32KB of flash memory. That’s less than a single high-res photo! This is why efficient coding matters more in robotics than in web development.
🕰️ A Brief History of the Maker Movement: How Arduino Conquered the Workbench
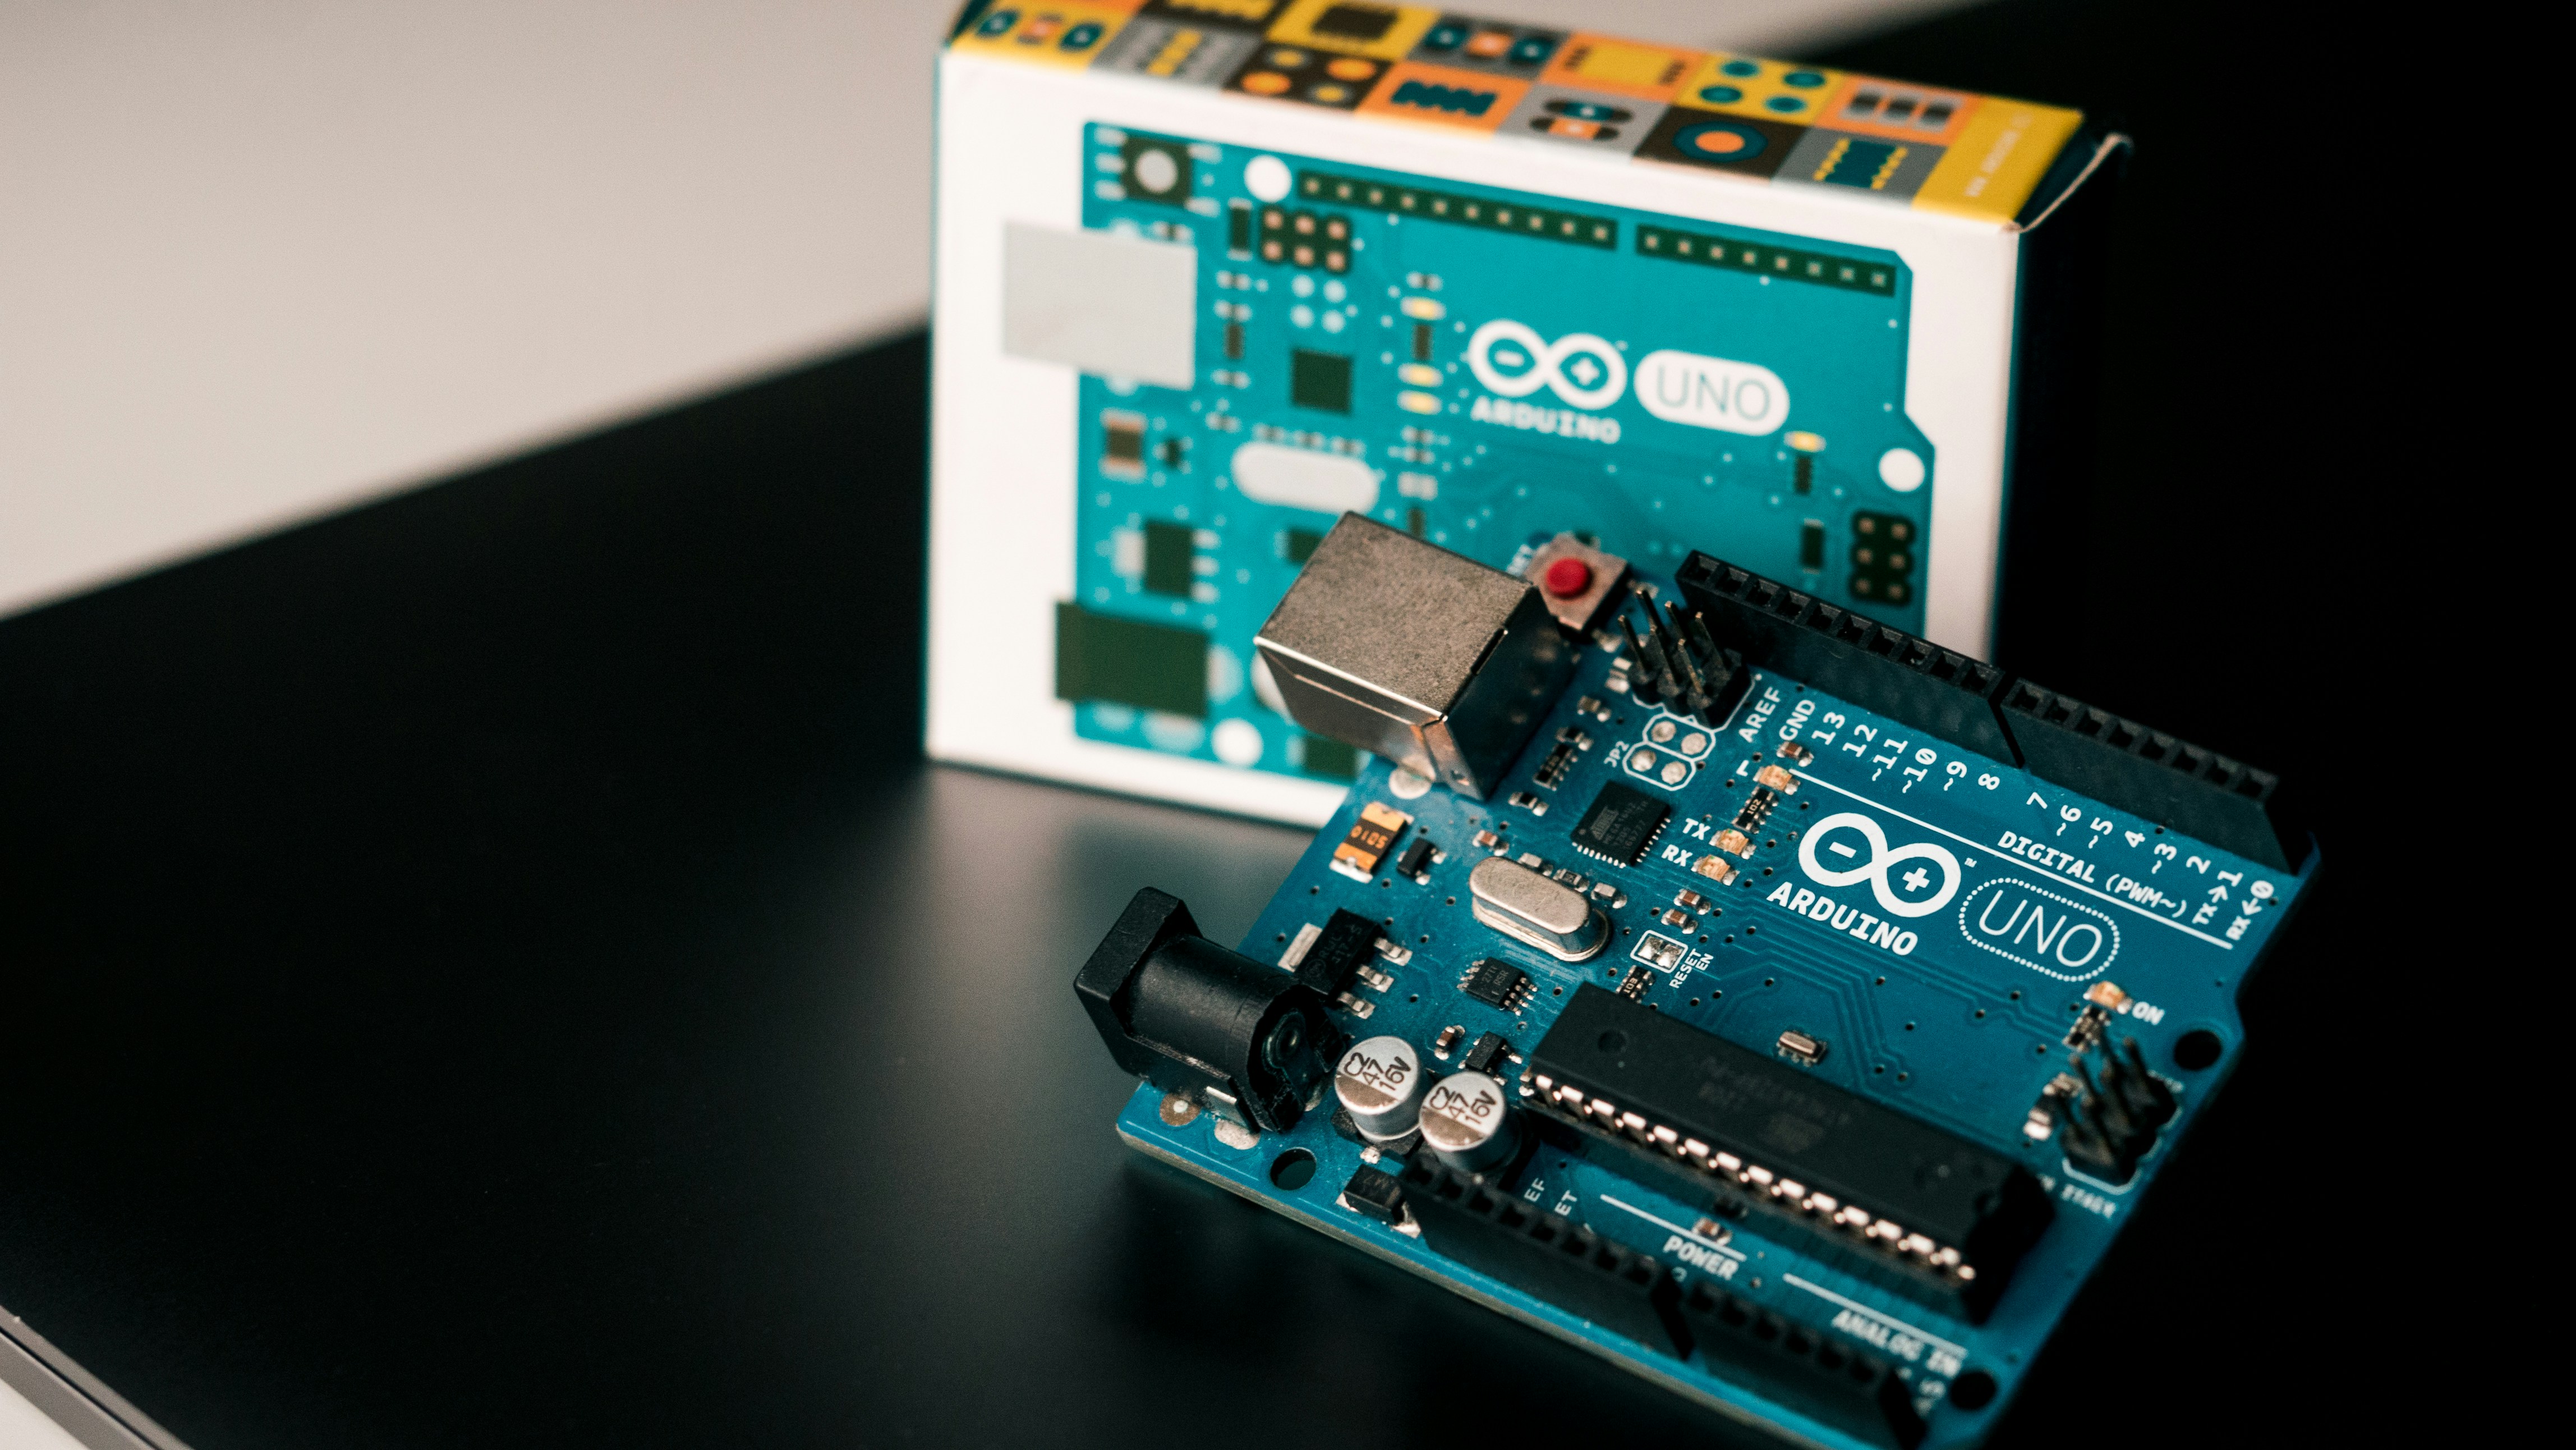
You might think robotics is a newfangled thing, but the roots go deep. However, the Arduino revolution changed everything in 205. Before this, microcontrollers were the domain of electrical engineers who spoke in assembly language and soldered wires with the precision of a surgeon.
Massimo Banzi and his team at the Interaction Design Institute in Ivrea, Italy, wanted to change that. They created a board that was cheap, open-source, and easy to program. The goal? To let artists, designers, and hobbyists build interactive objects without needing a PhD in EE.
Fast forward today, and we are in the golden age of DIY robotics. From the humble Arduino Uno to the powerful ESP32, the ecosystem has exploded. We’ve moved from blinking LEDs to building autonomous rovers that can navigate Mars (well, almost).
If you want to dive deeper into the evolution of these boards, check out our deep dive on Arduino history and architecture.
🛠️ Essential Hardware and Software for Your First Arduino Robotics Build
So, you want to build a robot? Awesome. But you can’t build a car with just a steering wheel. You need the chassis, the engine, the brain, and the fuel. Here is the shopping list that won’t leave you stranded in the garage.
The Brain: Choosing Your Board
Not all Arduinos are created equal. For a first robot, the Arduino Uno R3 is the gold standard. It has enough pins, plenty of memory, and a massive community support network. If you need more I/O pins for a complex sensor array, the Arduino Mega 2560 is your next step up.
| Feature | Arduino Uno R3 | Arduino Nano | Arduino Mega 2560 |
|---|---|---|---|
| Microcontroller | ATmega328P | ATmega328P | ATmega2560 |
| Digital I/O Pins | 14 (6 PWM) | 14 (6 PWM) | 54 (15 PWM) |
| Analog Inputs | 6 | 8 | 16 |
| Flash Memory | 32 KB | 32 KB | 256 KB |
| Best For | Beginers, simple robots | Compact robots, wearables | Complex robots, many sensors |
| Power Input | 7-12V (Barel) | 7-12V (Barel/USB) | 7-12V (Barel) |
The Muscles: Motors and Drivers
Robots need to move. You’ll likely start with DC motors (for wheels) or Servo motors (for arms).
- DC Motors: Great for continuous rotation. You need an H-Bridge to control direction and speed.
- Servo Motors: Great for precise angles (0-180 degrees). No driver needed usually, just a signal wire.
Crucial Component: The Motor Driver. The Arduino cannot power motors directly. You need a shield or module like the L298N or the TB612FNG. The L298N is cheap and robust, while the TB612 is more efficient and runs cooler.
The Senses: Sensors
A robot without sensors is just a remote-controlled car.
- Ultrasonic Sensor (HC-SR04): The classic “bat” sensor for obstacle avoidance.
- IR Line Sensors: Essential for line-following robots.
- IMU (Inertial Measurement Unit): Like the MPU6050, gives you tilt and acceleration data.
The Software: Your Toolkit
You need the Arduino IDE (Integrated Development Environment). It’s free, open-source, and runs on Windows, Mac, and Linux. For advanced users, PlatformIO (which we’ll touch on later regarding remote programming) offers a more professional workflow.
👉 CHECK PRICE on:
- Arduino Starter Kit: Amazon | Adafruit | SparkFun
- L298N Motor Driver: Amazon | DigiKey
- HC-SR04 Ultrasonic Sensor: Amazon | Adafruit
📦 Step-by-Step Guide: Unboxing and Setting Up Your Arduino Board
You’ve got your box. It’s time to play. But wait, don’t just plug it in and hope for the best.
- Inspect the Board: Look for bent pins on the USB port or the headers. If you bought a clone (which is fine, they work great), check that the USB chip is a genuine CH340 or ATmega16U2.
- The First Connection: Plug your Arduino into your computer via USB. You should see a green power LED light up. If it doesn’t, check your cable. Pro tip: Not all USB cables are data cables; some are for charging only.
- Driver Installation:
Windows: You might need to install the CH340 driver if you have a clone. Windows usually handles the official boards automatically.
Mac/Linux: Usually plug-and-play. - Verify the Port: Open your device manager (Windows) or
ls /dev/tty*(Linux/Mac) to see which COM port or/dev/ttydevice the Arduino is assigned. You’ll need this later.
Wait, why does my board show up as “Unknown Device”?
That’s a classic driver issue. Don’t panic. We’ll fix this in the troubleshooting section, but usually, it’s just a missing driver for the USB-to-Serial converter.
💻 Installing the Arduino IDE and Configuring Your Development Environment
The Arduino IDE is your command center. It’s where you write code, compile it, and upload it to the brain.
Installation Steps
- Download: Head to the official Arduino Software page. Download the installer for your OS.
- Install: Run the installer. On Windows, make sure to check the box for “Add to PATH” if prompted.
- Launch: Open the IDE. You’ll see a blank editor window with a toolbar at the top.
Configuring for Robotics
By default, the IDE is set up for basic sketches. For robotics, we need to tweak a few things:
- Board Selection: Go to
Tools > Boardand select Arduino Uno. - Port Selection: Go to
Tools > Portand select the COM port your board is on. - Baud Rate: For most serial communication, 960 or 1520 is standard. We’ll set this in code.
Advanced Tip: If you plan on doing complex projects, consider installing the Arduino IDE 2.0 (the new version with a better interface) or sticking with the classic 1.8.x if you prefer stability.
🤖 Choosing the Right Robot Chassis and Actuators for Beginners
Now, let’s talk about the body. A brain without a body is just a floating thought.
Chassis Options
- 2-Wheled Differential Drive: The easiest to code. Two motors, one for each wheel. Turning is as simple as spinning one wheel forward and the other backward.
- 4-Wheled Tank Drive: More stable, but requires a more complex motor driver (4 channels).
- Omni-Wheel: Cool, but harder to code and more expensive. Skip this for your first build.
Actuators: The Heart of Motion
- DC Gear Motors: These are DC motors with a gearbox attached to reduce speed and increase torque. Do not buy high-speed hobby motors without gears; they won’t have the torque to move your robot.
- Servos: If you want a robotic arm, you need servos. Look for SG90 (micro) or MG96R (metal gear, high torque).
👉 CHECK PRICE on:
- 2WD Robot Car Chassis Kit: Amazon | Adafruit
- L298N Motor Driver Module: Amazon
- MG96R Servo Motor: Amazon
🔌 Wiring Your First Circuit: Sensors, Motors, and Power Management
This is where the magic happens (and where things can go wrong). Safety first: Always disconnect power before wiring.
The Power Hierarchy
- Battery Pack: Connect your 9V or Li-Po battery to the motor driver’s power input.
- Motor Driver: Connect the motors to the output terminals.
- Arduino: Connect the logic power (5V and GND) from the motor driver to the Arduino. Crucial: Connect the GND of the battery to the GND of the Arduino. This creates a common ground.
- Control Signals: Connect the Arduino digital pins to the motor driver’s input pins (IN1, IN2, etc.).
Wiring the Ultrasonic Sensor
- VCC -> 5V
- GND -> GND
- Trig -> Digital Pin 9
- Echo -> Digital Pin 10
Why does my robot jerk when the motors start?
This is a classic voltage drop issue. When the motors start, they draw a surge of current, causing the voltage to dip. If the Arduino’s power supply isn’t isolated or regulated properly, the microcontroller resets. Solution: Use a separate battery for motors and Arduino, or add a large capacitor across the power rails.
🧠 Understanding the Basics of C++ for Arduino Programming
Don’t let the “C++” scare you. Arduino code is a simplified subset. You only really need to know a few concepts to build a robot.
The Structure
Every Arduino sketch has two main functions:
void setup(): Runs once when the board powers up. This is where you initialize pins, start serial communication, and set variables.void loop(): Runs over and over again, forever. This is where your robot’s logic lives.
Key Concepts
- Variables:
int,float,bool,String. - Functions:
digitalWrite(),digitalRead(),analogRead(),delay(). - Control Structures:
if,else,for,while.
Example: The Blink
void setup() {
 pinMode(13, OUTPUT); // Set pin 13 as output
}

void loop() {
 digitalWrite(13, HIGH); // Turn LED on
 delay(10); // Wait 1 second
 digitalWrite(13, LOW); // Turn LED off
 delay(10); // Wait 1 second
}
This simple logic is the foundation of everything. If you can blink an LED, you can control a motor.
🚀 Writing Your First Sketch: Blinking LEDs and Moving Motors
Let’s make something move. We’ll start with a simple “forward and stop” sketch.
Step 1: Define Pins
const int motor1Pin1 = 2;
const int motor1Pin2 = 3;
const int motor2Pin1 = 4;
const int motor2Pin2 = 5;
Step 2: Setup
void setup() {
 pinMode(motor1Pin1, OUTPUT);
 pinMode(motor1Pin2, OUTPUT);
 pinMode(motor2Pin1, OUTPUT);
 pinMode(motor2Pin2, OUTPUT);
 Serial.begin(960); // Start serial for debugging
}
Step 3: The Loop
void loop() {
 // Move Forward
 digitalWrite(motor1Pin1, HIGH);
 digitalWrite(motor1Pin2, LOW);
 digitalWrite(motor2Pin1, HIGH);
 digitalWrite(motor2Pin2, LOW);

 delay(20); // Move for 2 seconds

 // Stop
 digitalWrite(motor1Pin1, LOW);
 digitalWrite(motor1Pin2, LOW);
 digitalWrite(motor2Pin1, LOW);
 digitalWrite(motor2Pin2, LOW);

 delay(10); // Wait 1 second
}
Upload this, and watch your robot roll! If it goes backward, just swap the pins in the code.
🧭 Integrating Sensors: Ultrasonic, IR, and Line-Following Logic
Now that your robot can move, let’s make it smart.
Ultrasonic Obstacle Avoidance
The HC-SR04 sends a sound wave and measures how long it takes to bounce back.
- Logic: If distance < 20cm, stop and turn.
- Code Snippet:
long duration;
int distance;
digitalWrite(trigPin, LOW);
delayMicroseconds(2);
digitalWrite(trigPin, HIGH);
delayMicroseconds(10);
digitalWrite(trigPin, LOW);
duration = pulseIn(echoPin, HIGH);
distance = duration * 0.034 / 2;
Line Following
Line followers use IR sensors that detect the difference in reflectivity between a black line and a white floor.
- Logic: If left sensor sees black, turn left. If right sees black, turn right. If both see white, go straight.
- Pro Tip: You need to calibrate your sensors. The threshold value for “black” vs “white” changes with lighting conditions.
🏎️ Building a Line-Follower Robot: Code, Calibration, and Tuning
This is the rite of passage for every robotics newbie. A line follower is a robot that follows a black tape line on the floor.
The Algorithm
- Read all IR sensors.
- Determine the error (how far off the line are we?).
- Adjust motor speeds based on the error (Proportional Control).
Why not just if statements?
Simple if statements make the robot jerk. Using a PID Controller (Proportional-Integral-Derivative) makes the movement smooth.
- P: Reacts to current error.
- I: Reacts to accumulated past error.
- D: Predicts future error based on rate of change.
For a beginner, start with just P (Proportional). It’s easier to tune and usually good enough.
Wait, why is my robot oscillating wildly?
Your Kp (Proportional gain) is too high. Lower it until the robot stops shaking. If it’s too slow to correct, raise it. Finding the sweet spot is an art form.
🚧 Troubleshooting Common Arduino Robotics Errors and Connection Issues
Things will break. It’s part of the process. Here are the most common nightmares and how to slay them.
| Symptom | Possible Cause | Solution |
|---|---|---|
| Board not detected | Bad USB cable, missing driver | Try a different cable; install CH340 driver. |
| Upload error: “Device busy” | Serial monitor open, wrong port | Close Serial Monitor; check Tools > Port. |
| Motor spins one way only | Wiring reversed | Swap motor wires on the driver. |
| Robot resets when motors start | Power surge, shared ground | Use separate batteries; add capacitors. |
| Sensors give random values | Loose connections, noise | Check wiring; add delay() between reads. |
| Code compiles but doesn’t run | Logic error, infinite loop | Check if conditions; use Serial.print() to debug. |
Debuging Tip: Use Serial.println("Debug message"); liberally. It’s your window into the robot’s mind.
🚀 Leveling Up: Adding Bluetooth Control and Autonomous Navigation
You’ve mastered the basics. Now, let’s make it cool.
Bluetooth Control
Add an HC-05 or HC-06 Bluetooth module.
- Wiring: TX to RX, RX to TX (cross them!).
- App: Use a generic “Arduino Bluetooth Controller” app on your phone.
- Code: Read incoming characters from the serial port and map them to motor actions (e.g., ‘F’ = Forward).
Autonomous Navigation
Combine your ultrasonic sensor with a simple state machine.
- State 1: Move forward.
- State 2: If obstacle detected, stop.
- State 3: Turn right until path is clear.
- State 4: Resume forward.
For a deeper dive into remote control and advanced setups, check out our article on Programming Arduino from Raspberry Pi Remotely by RoboFoundry. It covers how to use a Raspberry Pi as a headless server to control your Arduino, a technique that scales beautifully for complex projects.
Conclusion
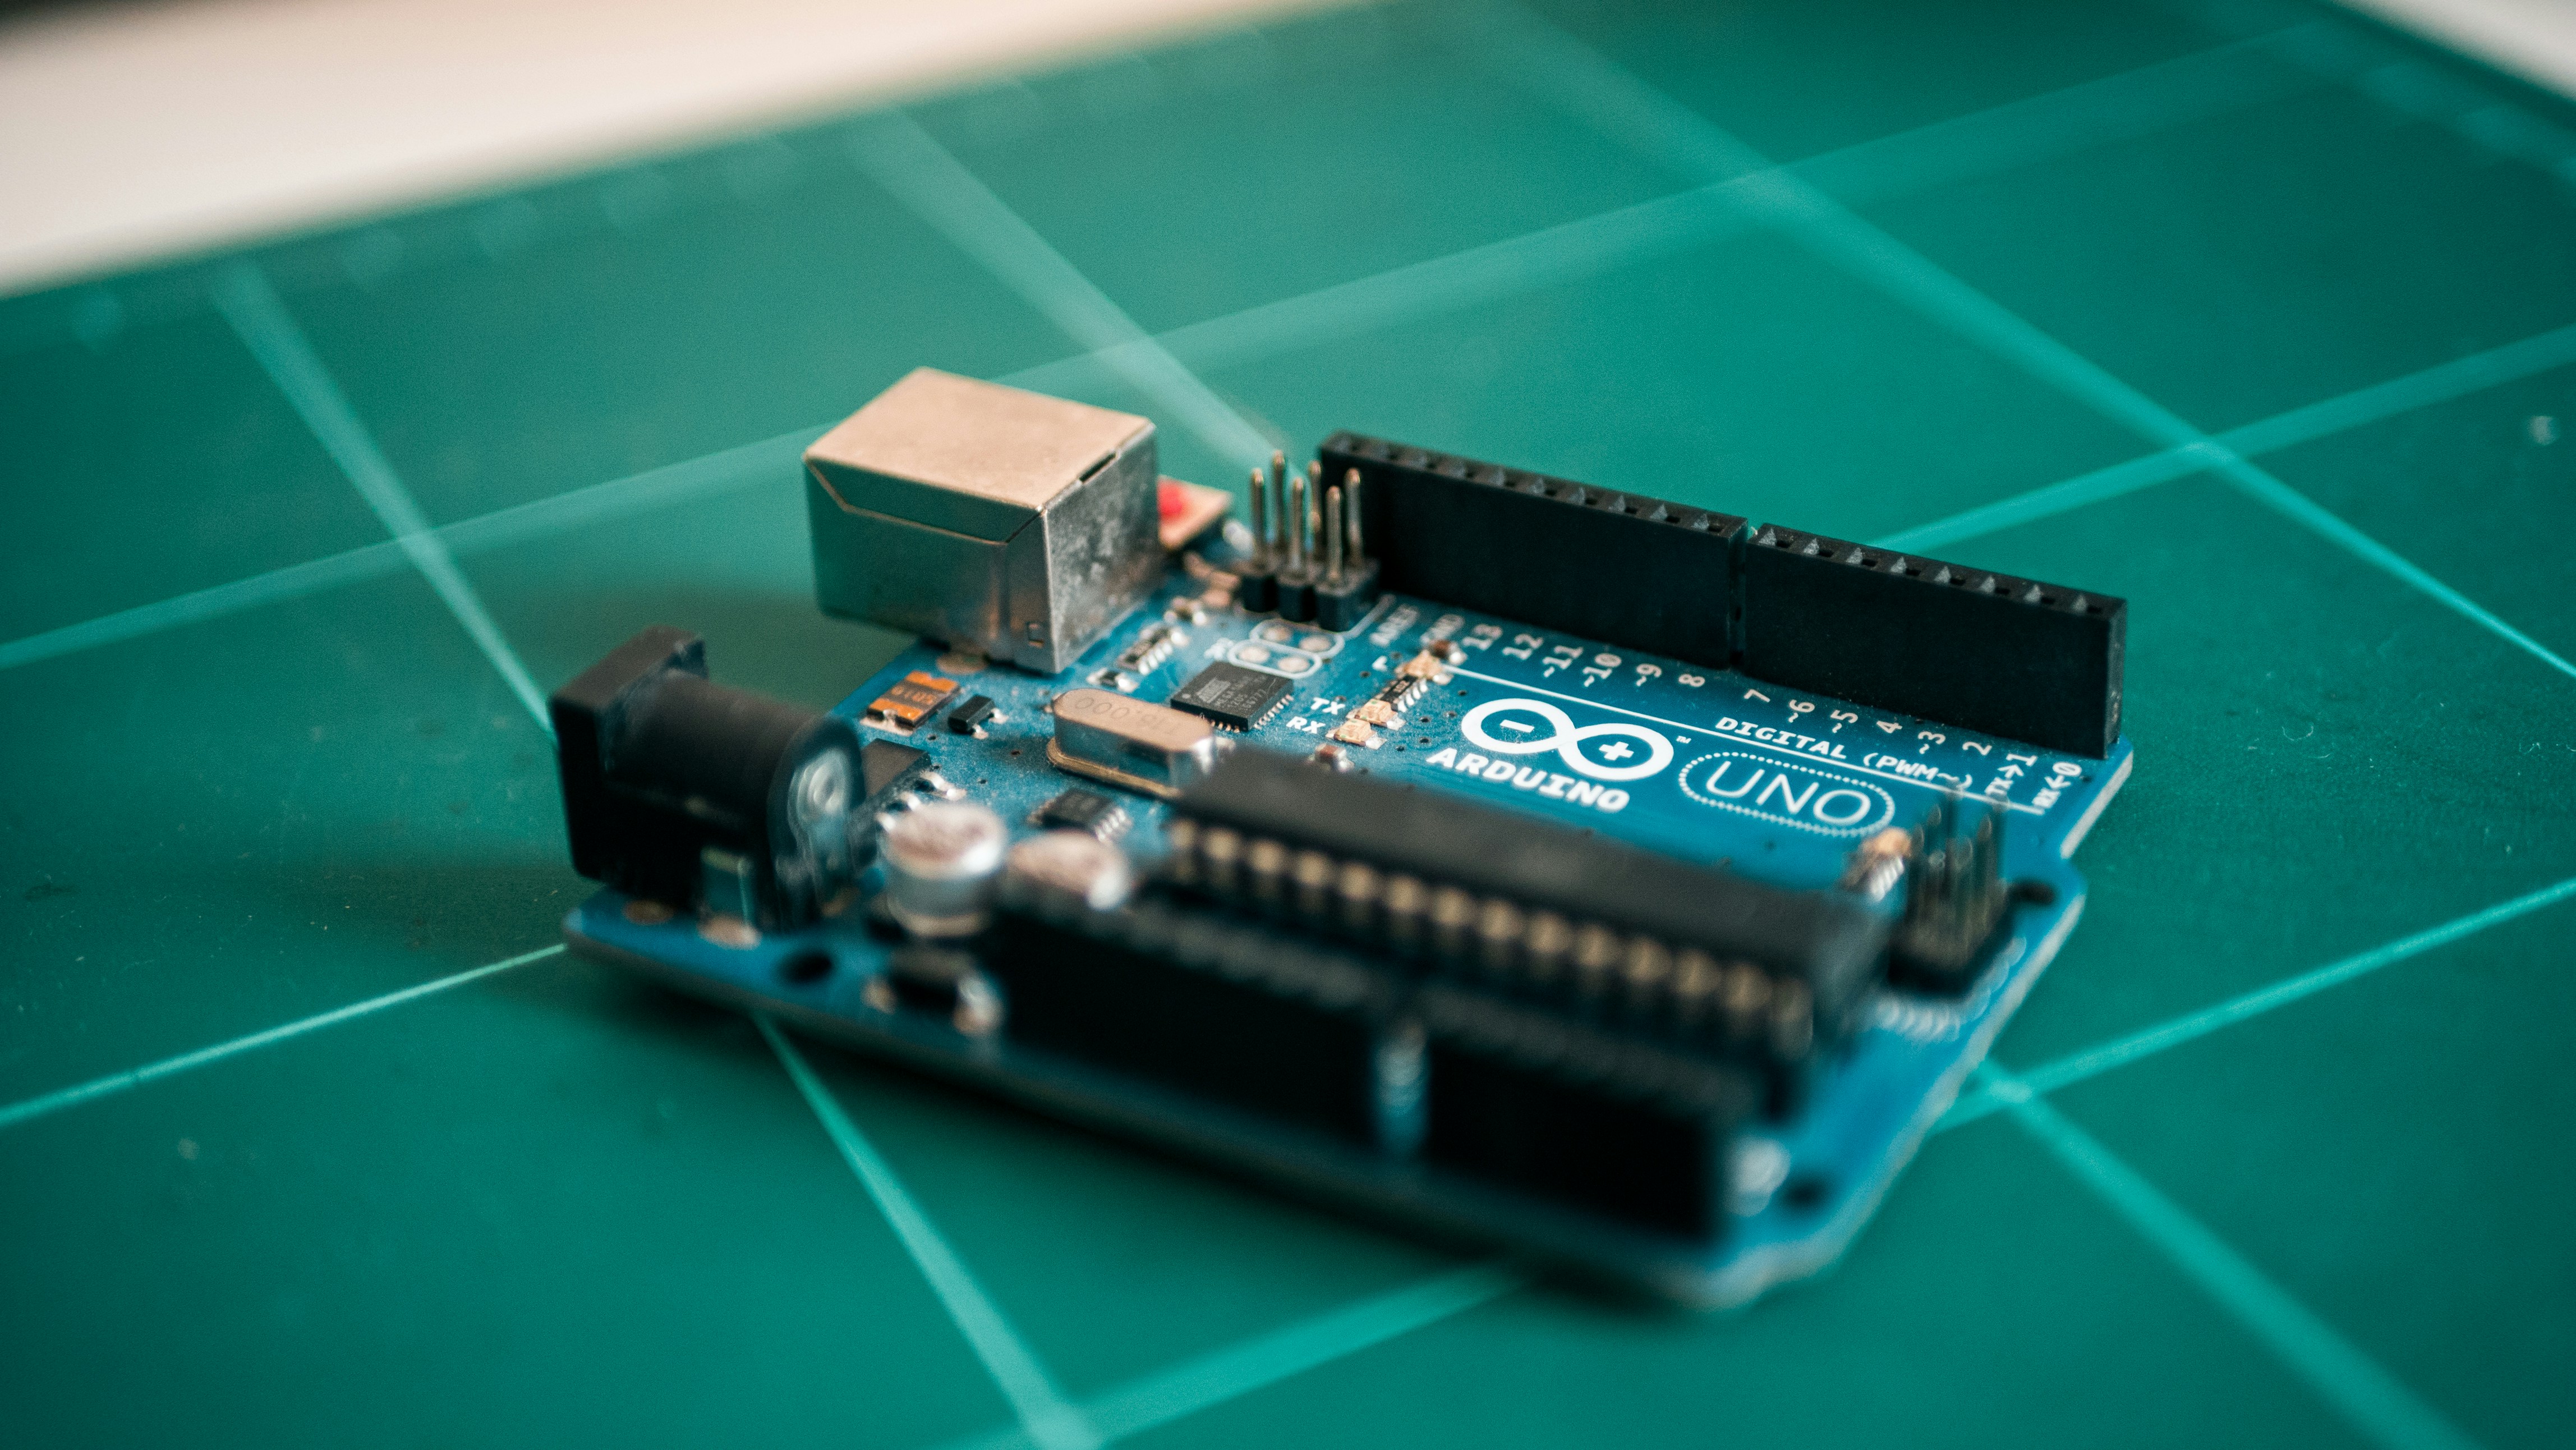
So, you’ve made it this far. You’ve unboxed the board, wired the motors, written the code, and maybe even built a robot that doesn’t immediately crash into a wall. Congratulations!
Building your first Arduino robot is a journey of trial, error, and triumph. You’ve learned that power management is just as important as coding, that common ground is the glue holding your project together, and that debuging is 90% of the work.
Remember, the robot you build today won’t be perfect. It might be slow, it might be jerky, and it might not follow the line perfectly. But it’s yours. And that’s the beauty of the maker movement.
Our Recommendation:
If you are just starting, stick with the Arduino Uno R3 and a 2WD chassis kit. Don’t overcomplicate it. Master the basics of motor control and sensor integration before moving to complex autonomous navigation or Raspberry Pi integration. Once you have the fundamentals down, the sky is the limit.
The question we left you with earlier: Why does my robot reset when the motors start?
The answer: It’s a voltage drop caused by the motor’s current surge. The fix? Isolate your power sources or add a capacitor. Now you know, and you can build a robot that actually works!
Happy coding, and may your soldering iron never overheat!
Recommended Links
Here are the essential resources to keep your robotics journey moving forward:
👉 CHECK PRICE on:
- Arduino Starter Kit (Official): Amazon | Adafruit | SparkFun
- L298N Motor Driver: Amazon | DigiKey
- HC-SR04 Ultrasonic Sensor: Amazon | Adafruit
- MG96R Servo Motor: Amazon | RobotShop
Books to Read:
FAQ
How do I troubleshoot common issues and errors that occur while programming and building my Arduino robotics project?
Start with the basics: check your power supply, ensure all grounds are connected, and verify your code logic. Use Serial.println() to debug. If the board isn’t recognized, check the USB cable and drivers. For motor issues, verify the motor driver wiring and ensure the power source can handle the current draw.
What are some beginner-friendly robotics projects that I can start with using an Arduino board?
The best projects are:
- Blinking LED: The absolute first step.
- Obstacle Avoidance Robot: Uses an ultrasonic sensor to stop and turn.
- Line Follower: Uses IR sensors to follow a black line.
- Bluetooth Controlled Car: Control a robot via a smartphone app.
Read more about “🤖 7 Best Arduino Boards for Robotic Coding Beginners (2026)”
Can I use Arduino for complex robotics projects or is it better suited for simple tasks?
Arduino is surprisingly capable. While it has limited memory and processing power compared to a Raspberry Pi, it excels at real-time control tasks like motor driving and sensor reading. For complex AI or image processing, you might pair an Arduino with a Raspberry Pi, where the Pi handles the heavy lifting and the Arduino handles the low-level control.
What is the best IDE for programming Arduino and how do I set it up on my computer?
The Arduino IDE is the standard and easiest to use. Download it from the official website, install it, and select your board and port under the Tools menu. For advanced users, PlatformIO (an extension for VS Code) offers better project management and debugging tools.
What are the essential components and sensors I need to get started with my first Arduino robotics project?
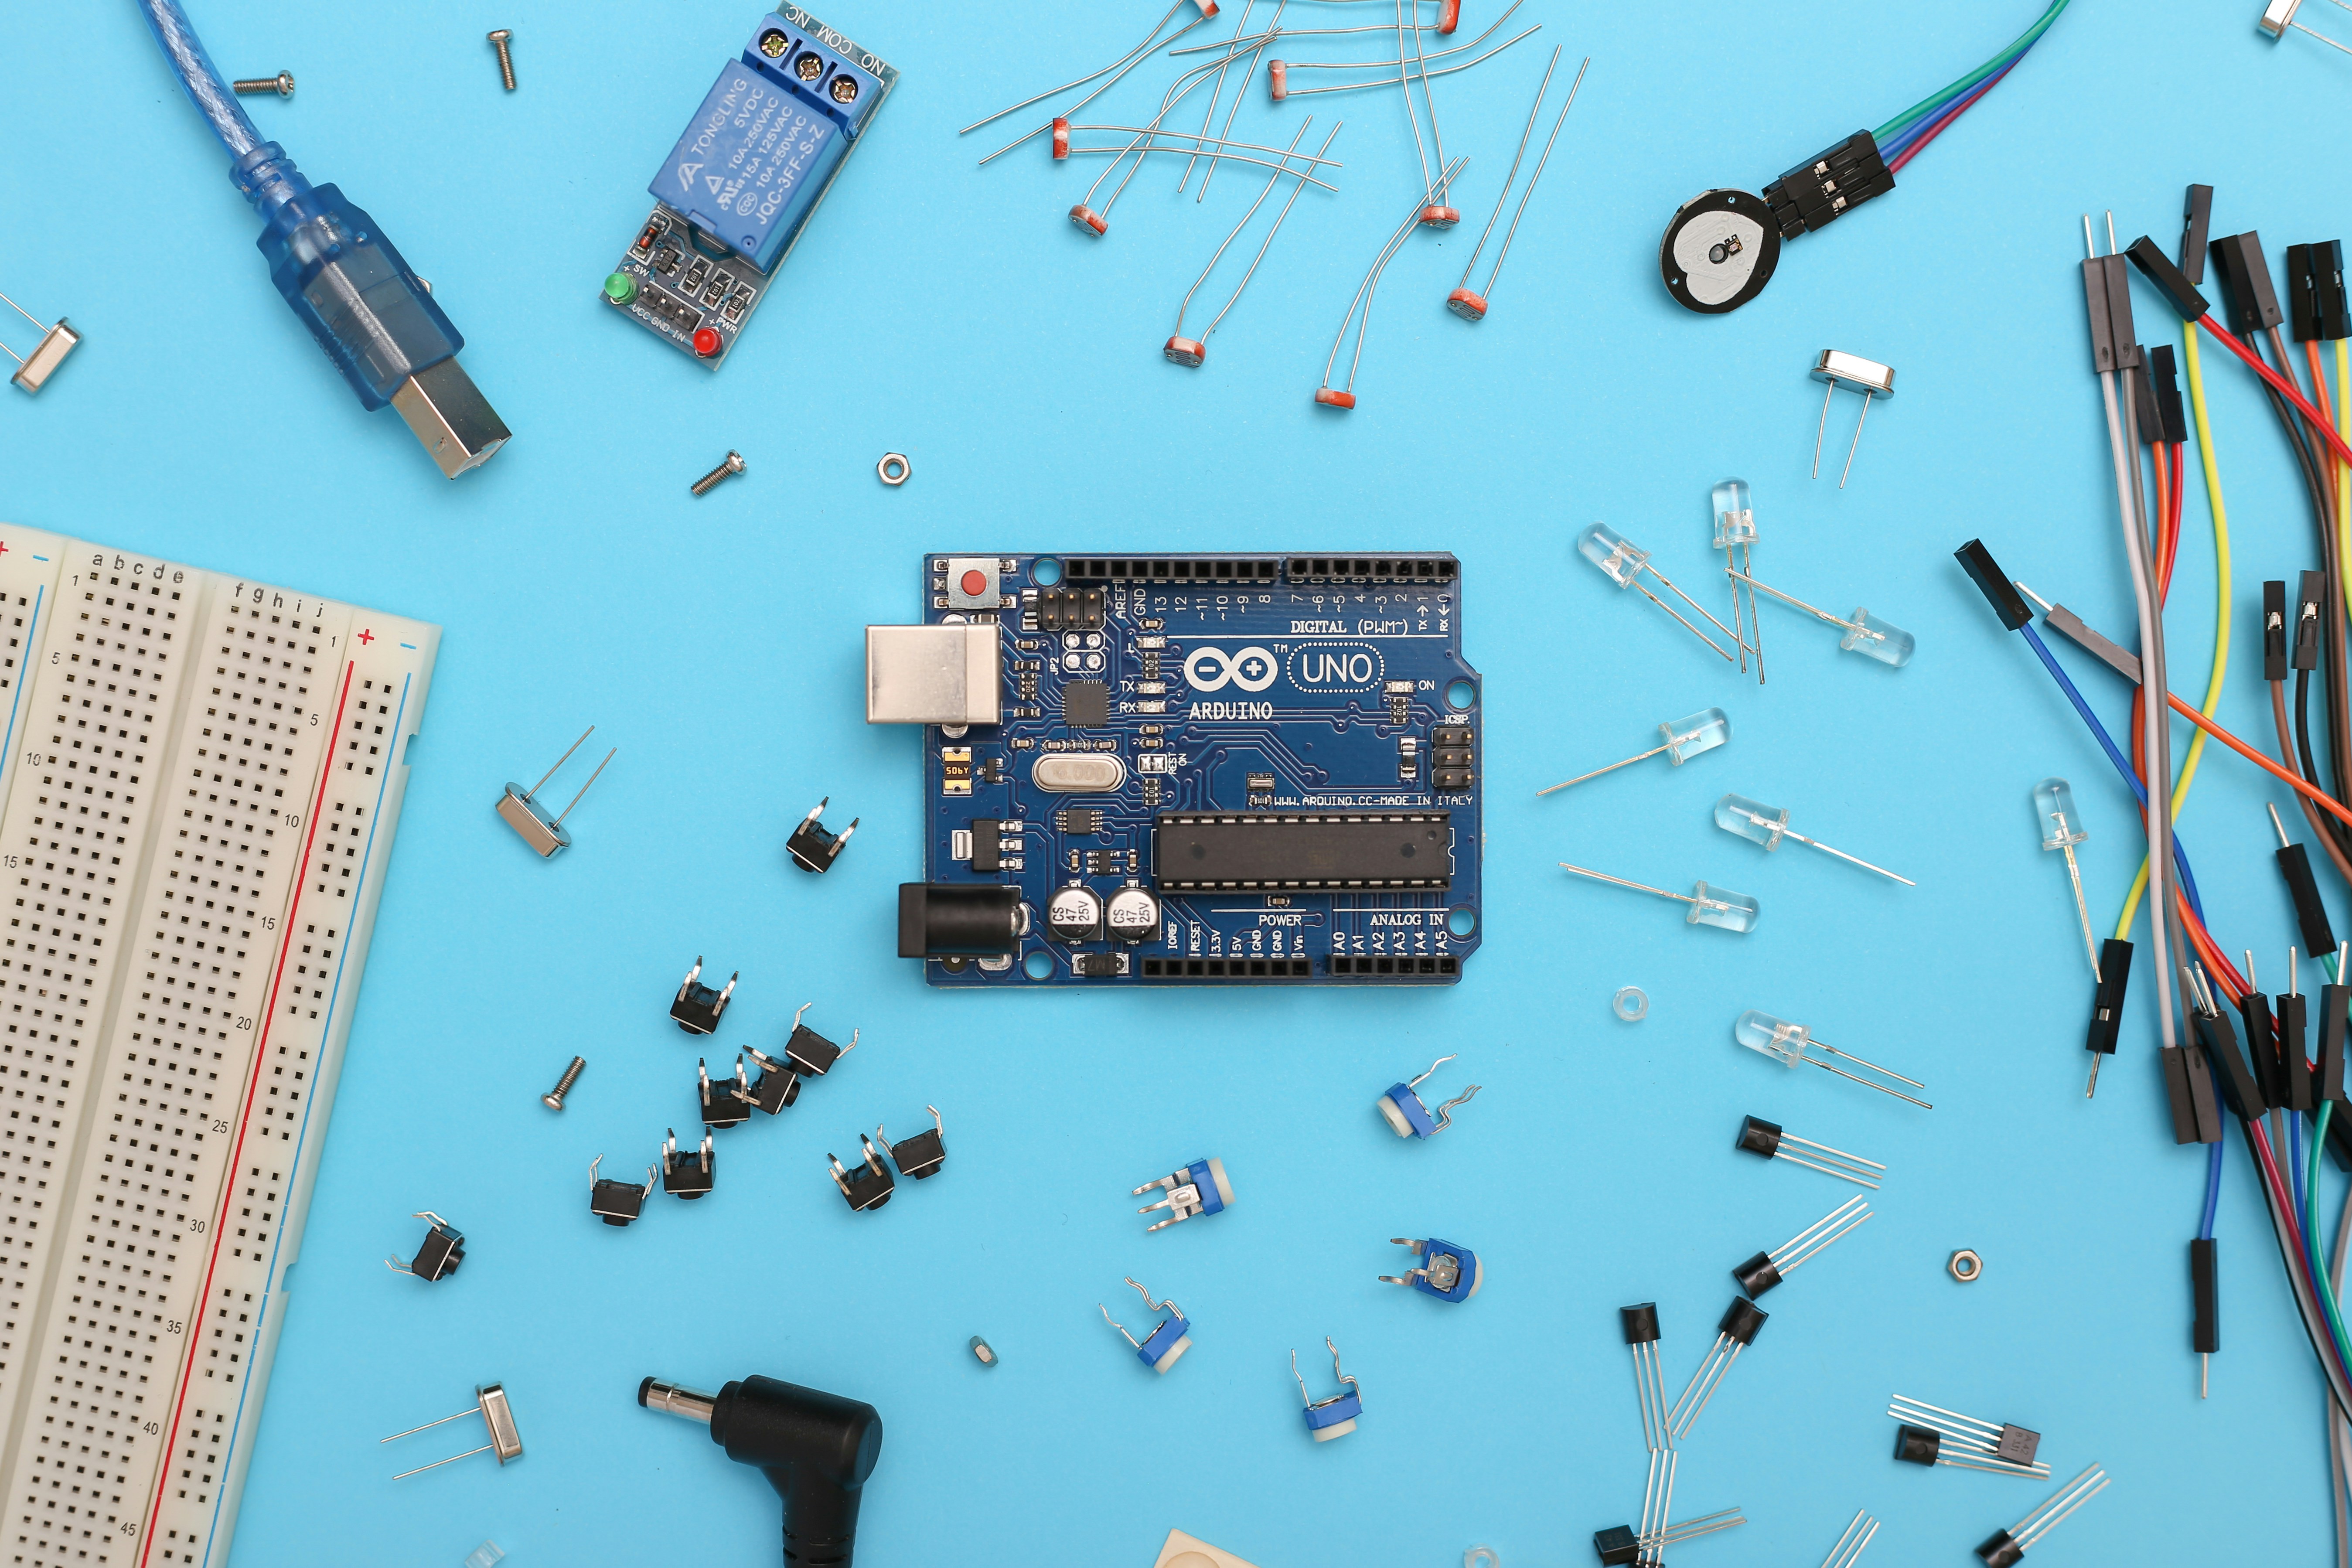
You need:
- Arduino Board (Uno or Nano)
- Motor Driver (L298N or TB612)
- DC Motors (with wheels)
- Chassis
- Battery Pack
- Ultrasonic Sensor (HC-SR04) or IR Sensors
- Jumper Wires and Breadboard
How do I choose the right Arduino board for my robotics project and what are the differences between them?
- Uno: Best for beginners, plenty of pins, standard size.
- Nano: Smaller, great for compact robots, but harder to solder.
- Mega: More pins and memory, ideal for complex robots with many sensors.
- ESP32: Has built-in Wi-Fi and Bluetooth, great for IoT robots, but different pinout.
What programming language is used for Arduino boards and where can I learn it?
Arduino uses a simplified version of C/C++. You can learn it through the official Arduino documentation, online tutorials, or books like Arduino Programming Notebook. The syntax is straightforward, focusing on setup() and loop() functions.
Read more about “🚀 Microcontroller Programming: The Ultimate 2026 Guide to Embedded Mastery”
What is the best Arduino board for a beginner robotics project?
The Arduino Uno R3 is the undisputed champion for beginners. It has a massive community, tons of tutorials, and is robust enough for almost any entry-level project.
Read more about “🤖 Best Robotics Boards: CircuitPython vs. MicroPython (2026)”
Which programming language should I use to code my Arduino robot?
Stick with C++ (Arduino language). It’s efficient, widely supported, and perfect for embedded systems. While Python is popular for Raspberry Pi, it’s not natively supported on standard Arduinos (though MicroPython exists for some boards).
Read more about “🤖 12+ Top Robotics Libraries for CircuitPython & MicroPython (2026)”
How do I install the Arduino IDE on my computer?
- Visit arduino.cc.
- Download the installer for your OS.
- Run the installer and follow the prompts.
- Open the IDE, go to
Tools > Boardand select your board.
Read more about “Mastering Arduino Software in 2026: 12 Expert Tips & Tricks 🚀”
What sensors do I need for my first Arduino robot?
Start with an Ultrasonic Sensor (HC-SR04) for obstacle avoidance. If you want to build a line follower, you’ll need IR Line Sensors. For balance orientation, an IMU (MPU6050) is a great addition.
Read more about “🚀 10 Essential MicroPython Tutorials to Master Hardware in 2026”
How can I control motors with an Arduino for robotics?
You cannot connect motors directly to the Arduino. You must use a Motor Driver (like the L298N). The Arduino sends low-power control signals to the driver, which then switches the high-power battery current to the motors.
Read more about “🤖 Intro to C++ for Robotics: The Ultimate 2026 Guide to Real-Time Control”
Where can I find free Arduino robotics tutorials for beginners?
- Arduino Official Website: Has a “Getting Started” section.
- YouTube: Channels like “DroneBot Workshop” and “Paul McWhorter” are excellent.
- Instructables: A community of makers sharing projects.
Read more about “🤖 Intro to MicroPython: The Ultimate 2026 Guide to Robotic Coding”
What are common mistakes to avoid when programming an Arduino robot?
- Forgetting to connect Grounds: This is the #1 cause of weird behavior.
- Using
delay()for everything: It blocks the code. Usemillis()for non-blocking timing. - Overloading the power supply: Motors need more current than the USB port can provide.
- Ignoring voltage levels: Don’t connect 5V sensors to 3.3V pins without a level shifter.
Read more about “🤖 CircuitPython vs MicroPython: The 2026 Showdown for Robots & Makers”
Reference Links
- Arduino Official Documentation: https://www.arduino.cc/reference
- Arduino Hardware Guide: https://docs.arduino.cc/
- Adafruit Learning System: https://learn.adafruit.com/
- SparkFun Tutorials: https://learn.sparkfun.com/
- Programming Arduino from Raspberry Pi Remotely | by RoboFoundry: https://robofoundry.medium.com/programming-arduino-from-raspberry-pi-remotely-dc71cf17d84e
- Blue Robotics Forum (ROV Project): https://discuss.bluerobotics.com/t/first-rov-project-construction-starting-son/193