
Arduino transforms simple code into moving, sensing, and thinking machines by acting as the real-time brain for motors, sensors, and complex mechanical systems. This is the definitive answer to how can Arduino be used in robotics projects, serving as the accessible gateway that turns abstract algorithms into physical action.
Forget the myth that robotics requires a PhD in engineering or a budget the size of a small nation. We’ve seen hobbyists build Mars Rover replicas in their garages using nothing but an Arduino Uno, a few servos, and some 3D-printed parts. The secret lies in Arduino’s ability to handle real-time interrupts, allowing it to read a sensor and react to an obstacle in microseconds—something a standard computer often struggles to do with such precision.
Imagine the first time you uploaded a sketch to make a servo motor sweep back and forth. That tiny movement was the spark. Now, imagine that same logic controlling a six-legged hexapod navigating a maze or a robotic arm sorting recycling by color. The jump from a blinking LED to a fully autonomous robot is closer than you think, and it all starts with understanding this versatile microcontroller.
Key Takeaways
- Real-Time Control: Arduino excels at deterministic timing, making it perfect for reading sensors and controlling motors simultaneously without lag.
- Scalable Ecosystem: From simple line-followers to complex 6-DOF robotic arms, the same core logic applies, just with more components and code.
- Cost-Effective Protyping: You can build functional robots for a fraction of the cost of industrial systems, thanks to the vast library of open-source code and affordable hardware.
- Hybrid Architectures: For advanced AI and vision, pair Arduino with a Raspberry Pi, letting the Pi handle “thinking” while Arduino handles “doing.”
- Community Support: Leverage thousands of pre-written libraries for inverse kinematics, motor drivers, and sensor fusion to skip the hard math.
Table of Contents
- ⚡️ Quick Tips and Facts
- 🕰️ From Microcontroller to Machine: The Evolution of Arduino in Robotics
- 🛠️ The Ultimate Toolkit: Essential Hardware for Your First Arduino Robot
- 🧠 Brain Power: Programming Logic and Sensor Integration
- 🤖 Top 15 Must-Build Arduino Robotics Projects for Every Skill Level
- 🦾 The Classic 6-DOF Arduino Robotic Arm
- 🚀 SCARA Robot: 3D Printed Precision and Speed
- 🌀 Mecanum Wheel Omni-Directional Robot Platform
- 🦗 DIY Arduino Hexapod Robot with Inverse Kinematics
- 🚗 Autonomous Line-Following and Obstacle-Avoiding Robot Car
- 📡 Arduino Radar (Sonar) and Range Measuring System
- 🎨 Laser Engraving Robot and DIY CNC Machine
- 🖊️ Automatic Pen Ploter with Tool Changer Mechanism
- 🎮 RC Hovercraft and Airplane Controlled via Arduino
- 🏠 Smart Home Automation with Arduino and IoT Sensors
- 🚪 RFID Access Control and Security Alarm System
- 🎨 Color Sorting Machine for Recycling and Automation
- 📱 Android Smartphone Controlled Power Outlet and Robot
- 🎭 Gesture-Controled Robotic Hand and Arm
- 🌍 DIY Mars Perseverance Rover Replica with Wireless Control
- 🔧 Advanced Mechanics: Gears, Drives, and Chassis Design
- 🦾 Cycloidal and Harmonic Drives for High-Precision Robot Arms
- 🛞 Choosing the Right Wheels: Mecanum vs. Omni vs. Standard
- ⚡ Power Management and Motor Control Strategies
- 📡 Wireless Communication: Bluetooth, Wi-Fi, and RF for Robotics
- 🛠️ Troubleshooting Common Arduino Robot Glitches
- 💡 Creative Arduino Project Ideas for Beginners and Pros
- 🏆 Conclusion
- 🔗 Recommended Links
- 📚 Reference Links
⚡️ Quick Tips and Facts
Before we strap on our soldering irons and start wiring up servos, let’s hit the pause button for a second. If you’re thinking that building a robot with Arduino is just about plugging in a few wires and hoping for the best, think again. The difference between a robot that wobbles off the table and one that navigates a maze like a pro often comes down to a few critical details.
Here are the golden rules we’ve learned the hard way (and the easy way) at Robotic Coding™:
- Power is King: Never power high-current motors (like DC gear motors or stepper motors) directly from the Arduino’s 5V pin. You’ll fry the board faster than you can say “smoke.” Always use an external battery pack and a proper motor driver.
- The “Ground” is Your Best Friend: If your sensors are acting spooky or your servos are jittering, 9 times out of 10, you forgot to connect the common ground between your Arduino, the motor driver, and the sensors. It’s the invisible highway for your electrons.
- Start Small, Dream Big: Don’t try to build a Mars Rover on day one. Start with a simple line follower. If you can make a robot follow a black line, you’ve mastered the basics of sensor feedback and motor control.
- Clones are Cool (But Check the Chip): You can save a bundle with Arduino clones (like those from Elegoo or SunFounder), but ensure they use a genuine ATmega328P chip if you plan on doing heavy lifting. Cheap knock-offs sometimes use inferior chips that overheat.
- Code Before You Build: We can’t stress this enough. Write your logic, simulate it, and test your code structure before you solder a single wire. It saves hours of debugging later.
Curious about how a simple “blink” sketch can evolve into a complex autonomous navigation system? Stick around, because we’re about to show you exactly how that happens in the sections below.
🕰️ From Microcontroller to Machine: The Evolution of Arduino in Robotics
Let’s take a trip down memory lane. Back in the early 20s, if you wanted to build a robot, you needed a degree in electrical engineering, a soldering iron the size of a baseball bat, and a budget that could buy a small car. Then, along came Massimo Banzi and his team in Italy with a simple idea: make electronics accessible to artists, designers, and hobbyists.
Enter Arduino.
Originally designed for interaction design, Arduino quickly realized it had stumbled upon something massive. As noted by experts at HowToMechatronics, “Arduino is an incredibly versatile microcontroller with limitless possibilities for developing electronics applications and prototypes.”
Why Arduino Conquered the Robot World
Unlike complex Single Board Computers (SBCs) like the Raspberry Pi, which are great for image processing but can be overkill (and power-hungry) for simple motor control, Arduino is the workhorse. It’s real-time, deterministic, and incredibly robust.
- Real-Time Control: Robots need to react now. Arduino’s interrupt-driven architecture allows it to handle sensor inputs and motor outputs with microsecond precision.
- The Ecosystem: There’s a library for almost everything. Need to read a gyroscope?
MPU6050library. Need to control a stepper motor?AccelStepperlibrary. - Community Power: If you have a bug, someone on the Arduino Forum has already solved it.
For those diving deeper into the coding side of things, check out our guide on Coding Languages to understand how C++ (the language of Arduino) powers these machines.
But here’s the million-dollar question: If Arduino is so great, why do some advanced robots use Raspberry Pis with Arduinos? We’ll uncover the secret of the “Brain and Brawn” architecture later in this article.
🛠️ The Ultimate Toolkit: Essential Hardware for Your First Arduino Robot
You wouldn’t try to build a house with a butter knife, right? Same goes for robotics. Before you start your first project, you need a solid foundation. Based on our experience at Robotic Coding™, here is the non-negotiable gear list.
The Core Components
| Component | Why You Need It | Top Brand Recommendations |
|---|---|---|
| Microcontroller | The brain. Processes logic and controls I/O. | Arduino Uno R3 (Best for beginners), Arduino Mega 2560 (For complex projects with many servos) |
| Motor Driver | The muscle. Amplifies signals to drive motors. | L298N (DC motors), A498 or DRV825 (Stepper motors) |
| Sensors | The eyes and ears. Detects environment. | HC-SR04 (Ultrasonic), TCS320 (Color), MPU6050 (IMU/Gyro) |
| Power Supply | The heart. Keeps everything running. | 18650 Li-Ion Battery Pack (with BMS), 9V Battery (for small logic only) |
| Chassis | The skeleton. Holds it all together. | Acrylic Robot Chassis, 3D Printed Parts |
| Wheels & Motors | The legs. Provides movement. | BO Motors, N20 Gear Motors, Stepper Motors (NEMA 17) |
| Connectors | The nervous system. Links components. | Jumper Wires (Male-to-Male, Male-to-Female), Breadboard |
A Personal Story: The “Magic Smoke” Incident
I remember my first robot build. I was so excited to get the wheels spinning that I connected a 9V battery directly to the motor pins on the Arduino. Pop. A tiny puff of smoke, a sad smell, and a dead board. Lesson learned: Always use a motor driver. The Arduino pins can only handle about 40mA; a motor might need 50mA or more. The motor driver acts as a buffer, taking the low-power signal from the Arduino and using the high-power battery to drive the motor.
For a deeper dive into selecting the right hardware, visit our Robotics category.
🧠 Brain Power: Programming Logic and Sensor Integration
So, you have the parts. Now, how do you make them dance? This is where the magic happens. Programming a robot isn’t just about writing code; it’s about creating a feedback loop.
The Feedback Loop: Sense, Think, Act
Every robot follows this cycle:
- Sense: Read data from sensors (e.g., “I am 10cm from a wall”).
- Think: Process the data (e.g., “If distance < 20cm, then turn right”).
- Act: Send commands to actuators (e.g., “Stop left motor, spin right motor”).
Key Libraries You Must Know
Don’t reinvent the wheel. The Arduino ecosystem is rich with libraries that handle the heavy lifting.
Servo.h: Essential for controlling servo motors (robotic arms, steering).AccelStepper.h: The gold standard for controlling stepper motors with acceleration and deceleration.NewPing.h: A better version of the standard ultrasonic library, allowing faster pings and better range.Wire.h: For I2C communication (connecting sensors like IMUs).
Example: The Logic of Obstacle Avoidance
Imagine your robot is driving forward. It hits a wall. What happens?
if (distance < 20) {
 stopMotors();
 delay(50);
 turnRight();
 delay(10);
 driveForward();
}
Simple, right? But what if the robot gets stuck in a corner? That’s where state machines come in. You need to track the robot’s “state” (e.g., FORWARD, TURNING, SEARCHING) to prevent it from getting confused.
Ever wondered how a robot knows which way is “up”? That’s where the IMU (Inertial Measurement Unit) comes in, and we’ll break down the math behind it in the advanced sections.
🤖 Top 15 Must-Build Arduino Robotics Projects for Every Skill Level
Ready to get your hands dirty? We’ve curated a list of 15 projects, ranging from “I can do this in an afternoon” to “I need to order a pizza and stay up all night.” These projects cover everything from simple cars to complex hexapods.
1. 🦾 The Classic 6-DOF Arduino Robotic Arm
Difficulty: Intermediate
The Gist: Build a 6-degree-of-fredom arm that can pick, place, and even paint.
Why Build It: It teaches you about inverse kinematics (calculating joint angles to reach a specific point).
Key Components: Arduino Mega (needs the pins!), 6x Servo motors (MG96R), 3D printed parts.
Pro Tip: Use the IK library to simplify the math. Don’t try to calculate the trigonometry by hand unless you love pain.
2. 🚀 SCARA Robot: 3D Printed Precision and Speed
Difficulty: Advanced
The Gist: SCARA (Selective Compliance Articulated Robot Arm) robots are faster than 6-DOF arms for planar tasks.
Why Build It: Great for pick-and-place applications. Uses stepper motors for precision.
Key Components: Arduino Uno, CNC Shield, 4x NEMA 17 Stepper motors, A498 drivers.
Insight: As noted by HowToMechatronics, “SCARA robots are ideal for small assembly tasks due to their speed and precision.”
3. 🌀 Mecanum Wheel Omni-Directional Robot Platform
Difficulty: Advanced
The Gist: A robot that can move in any direction (forward, backward, strafe, rotate) without turning.
Why Build It: It’s the coolest way to move. The rollers on the wheels allow for vector-based movement.
Key Components: 4x Mecanum wheels, 4x NEMA 17 stepper motors, L298N or custom driver.
Challenge: The math for the motor speeds is tricky. You need to calculate the vector sum for each wheel.
4. 🦗 DIY Arduino Hexapod Robot with Inverse Kinematics
Difficulty: Expert
The Gist: A six-legged robot that walks like a bug.
Why Build It: It’s biologically inspired and requires complex coordination of 18 servos.
Key Components: Arduino Mega, 18x Servo motors, ultrasonic sensor for obstacle detection.
Fun Fact: “Making biologically inspired robots is very popular among engineering students,” says the community at HowToMechatronics.
5. 🚗 Autonomous Line-Following and Obstacle-Avoiding Robot Car
Difficulty: Beginner
The Gist: A car that follows a black line and stops if it sees a wall.
Why Build It: The “Hello World” of robotics. Teaches PID control for smooth line following.
Key Components: Arduino Uno, IR sensor array, 2x DC motors, L298N driver.
Tip: Tune your PID values (Proportional, Integral, Derivative) to make the robot smooth, not jittery.
6. 📡 Arduino Radar (Sonar) and Range Measuring System
Difficulty: Intermediate
The Gist: A rotating ultrasonic sensor that maps the room in 2D.
Why Build It: Visualizes how robots “see” their environment.
Key Components: Arduino, HC-SR04, Servo motor (for rotation), Processing IDE (for the radar display).
Visual: Imagine a green sweep on a black screen showing obstacles in real-time.
7. 🎨 Laser Engraving Robot and DIY CNC Machine
Difficulty: Advanced
The Gist: Turn your robot arm or gantry into a laser engraver.
Why Build It: Combines mechanics, electronics, and software (G-code).
Key Components: Arduino Mega, RAMPs board, Marlin firmware, Laser module.
Safety First: Always wear laser safety goggles!
8. 🖊️ Automatic Pen Ploter with Tool Changer Mechanism
Difficulty: Intermediate
The Gist: A robot that draws intricate designs with a pen.
Why Build It: Great for understanding G-code and precise motion control.
Key Components: Arduino, NEMA 17 steppers, MGN12 linear rails, servo for pen lift.
9. 🎮 RC Hovercraft and Airplane Controlled via Arduino
Difficulty: Advanced
The Gist: Build a hovercraft or plane controlled by a custom Arduino transmitter.
Why Build It: Teaches RF communication and flight dynamics.
Key Components: Arduino Pro Mini, NRF24L01 modules, ESCs, Brushless motors.
Range: You can achieve up to 70m range with the right setup.
10. 🏠 Smart Home Automation with Arduino and IoT Sensors
Difficulty: Intermediate
The Gist: Control lights, fans, and sensors from your phone.
Why Build It: Bridges the gap between robotics and IoT.
Key Components: Arduino, ESP826 (Wi-Fi), Relay modules, Temperature sensors.
Integration: Connect to Home Assistant or Blynk for a slick interface.
1. 🚪 RFID Access Control and Security Alarm System
Difficulty: Beginner
The Gist: A door lock that opens with a specific RFID tag.
Why Build It: Practical security application.
Key Components: Arduino, RC52 RFID module, Servo lock, Buzzer.
12. 🎨 Color Sorting Machine for Recycling and Automation
Difficulty: Intermediate
The Gist: A conveyor belt that sorts objects by color.
Why Build It: Demonstrates industrial automation principles.
Key Components: Arduino, TCS320 color sensor, Servo pushers, Conveyor belt motor.
13. 📱 Android Smartphone Controlled Power Outlet and Robot
Difficulty: Intermediate
The Gist: Control a robot or power outlet via a custom Android app.
Why Build It: Teaches Bluetooth communication and app development.
Key Components: Arduino, HC-05 Bluetooth module, Android phone.
App: Use MIT App Inventor to build the controller in minutes.
14. 🎭 Gesture-Controled Robotic Hand and Arm
Difficulty: Advanced
The Gist: Control a robotic hand with your own hand using flex sensors.
Why Build It: Human-robot interaction is the future.
Key Components: Arduino, Flex sensors, Servo motors, Bluetooth.
15. 🌍 DIY Mars Perseverance Rover Replica with Wireless Control
Difficulty: Expert
The Gist: A 6-wheled rover with a rocker-bogie suspension.
Why Build It: The ultimate challenge. Combines suspension mechanics, wireless control, and camera feedback.
Key Components: Arduino Mega, 6x DC motors, 4x Servos, FPV camera.
Inspiration: Based on NASA’s Mars 2020 mission.
🔧 Advanced Mechanics: Gears, Drives, and Chassis Design
You can have the best code in the world, but if your robot falls apart, it’s useless. Let’s talk mechanics.
Cycloidal and Harmonic Drives for High-Precision Robot Arms
Most hobbyist robots use standard gearboxes. But if you want backlash-free precision (like industrial arms), you need Cycloidal or Harmonic drives.
- Cycloidal Drives: High torque, compact, zero backlash. Perfect for heavy lifting.
- Harmonic Drives: Extremely precise, used in space robots and high-end manufacturing.
- The Trade-off: They are expensive and harder to source for DIYers. For most projects, a high-quality planetary gearbox is sufficient.
Choosing the Right Wheels: Mecanum vs. Omni vs. Standard
| Wheel Type | Movement | Complexity | Best For |
|---|---|---|---|
| Standard | Forward/Back/Turn | Low | Simple line followers, basic cars |
| Omni | Forward/Back/Strafe | Medium | Quick direction changes, indoor robots |
| Mecanum | 360° movement | High | Precision positioning, complex navigation |
Why do Mecanum wheels require such complex code? Because every wheel must spin at a different speed and direction to achieve a specific vector. It’s a beautiful dance of math and physics.
⚡ Power Management and Motor Control Strategies
Power is the silent killer of robots. We’ve seen too many projects fail because of poor power planning.
The Battery Dilemma
- Li-Ion (18650): High capacity, high discharge rate. Must use a BMS (Battery Management System) to prevent fires.
- LiPo: Lightweight, high discharge. Great for drones and fast robots. Dangerous if punctured.
- NiMH: Safe, but lower capacity. Good for beginners.
Motor Drivers: The Gatekeepers
Never connect a motor directly to the Arduino.
- L298N: The classic. Handles up to 2A per channel. Good for DC motors.
- TB612FNG: More efficient, runs cooler than L298N.
- A498/DRV825: For stepper motors. Allows microstepping for smooth motion.
Pro Tip: Always add a flyback diode (or use a driver with built-in protection) to prevent voltage spikes from killing your Arduino when the motor stops.
📡 Wireless Communication: Bluetooth, Wi-Fi, and RF for Robotics
How does your robot talk to the world?
- Bluetooth (HC-05/HC-06): Great for short-range control (10-30m). Easy to pair with phones.
- Wi-Fi (ESP826/ESP32): Connects to the internet. Perfect for IoT and remote control via web browsers.
- RF (NRF24L01): Long range (up to 10m+), low latency. Best for custom RC transmitters.
- LoRa: Extreme range (kilometers), low data rate. Good for outdoor exploration.
The Debate: Should you use Bluetooth or Wi-Fi?
- Bluetooth: Lower power, simpler code, but limited range.
- Wi-Fi: Higher power, complex setup, but you can control it from anywhere in the world.
Can you control a robot with a smartphone without writing an app? Yes! We’ll show you how to use MIT App Inventor to build a controller in the next section.
🛠️ Troubleshooting Common Arduino Robot Glitches
Even the best engineers hit a wall. Here are the most common issues and how to fix them.
- The Robot Won’t Move:
Check: Is the battery connected? Is the motor driver powered?
Fix: Use a multimeter to check voltage at the motor terminals. - The Servos are Jittering:
Check: Is the power supply noisy?
Fix: Add a large capacitor (10uF) across the power rails. Ensure common ground. - The Code Upload Fails:
Check: Is the correct board selected in the IDE? Is the USB cable data-capable?
Fix: Try a different USB cable. Reset the board while uploading. - The Robot Drifts:
Check: Are the wheels aligned? Is the PID tuned?
Fix: Calibrate your motors. Adjust the PID values.
💡 Creative Arduino Project Ideas for Beginners and Pros
Not sure what to build next? Here are some wild ideas to spark your creativity.
- Interactive LED Coffee Table: A table that reacts touch and sound.
- Air Quality Monitor: A robot that roams your house measuring CO2 and PM2.5.
- Gesture-Controled Home Automation: Turn lights on with a wave of your hand.
- Self-Balancing Robot: The ultimate test of PID control.
- Robotic Cat: A mechanical pet that purs and follows you.
What if you could combine a robotic arm with a camera to sort trash automatically? That’s the future of sustainable robotics, and it starts with your next project.
🏆 Conclusion
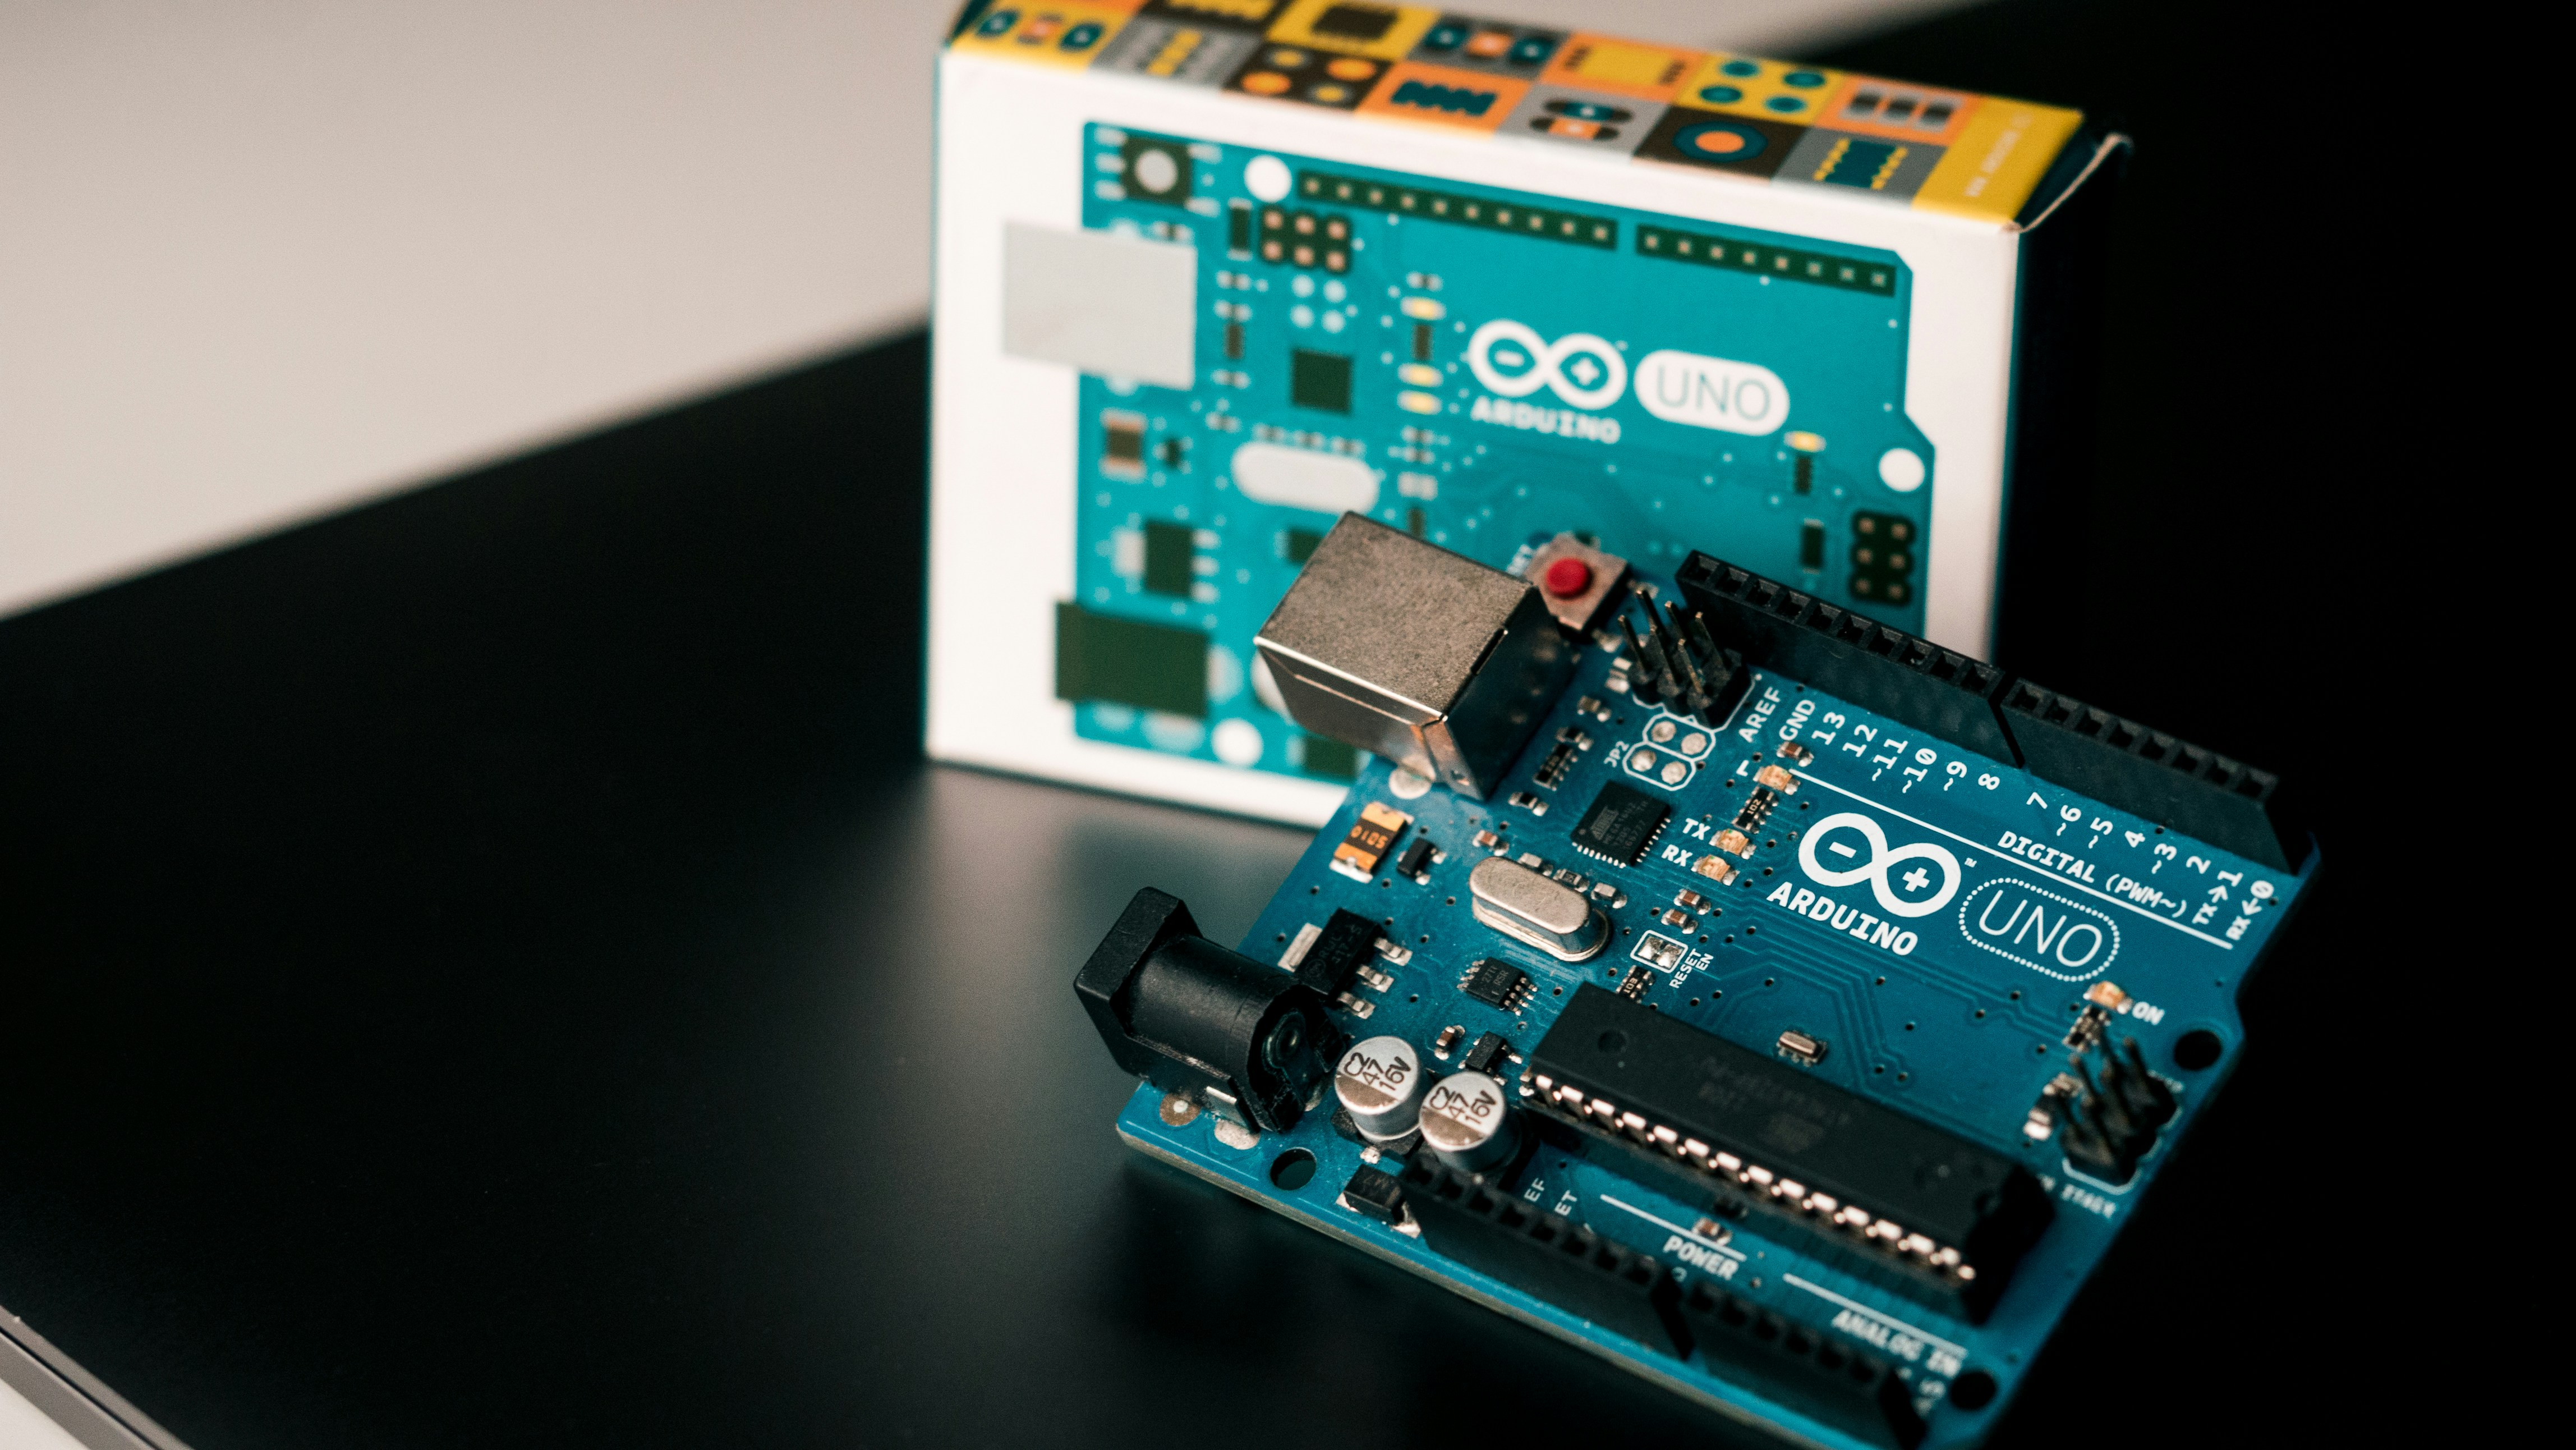
So, we’ve journeyed from the humble “blink” sketch to complex hexapods and Mars rovers. The question we started with—How can Arduino be used in robotics projects?—has a simple answer: Limitlessly.
Arduino is the bridge between your imagination and the physical world. Whether you are a student building your first line follower or an engineer protyping a SCARA arm, the principles remain the same: Sense, Think, Act.
Our Top Recommendation:
If you are just starting, do not buy a kit that does everything for you. Buy the individual components (Arduino Uno, L298N, HC-SR04, wheels, chassis) and build a simple robot car. You will learn more from debugging a single motor than from assembling a pre-made kit.
The Verdict:
- Positives: Massive community, low cost, real-time performance, endless tutorials.
- Negatives: Limited processing power for AI, requires external power for motors, breadboards can be flaky for final builds.
Final Thought:
Remember the “magic smoke” incident? It happens to everyone. The key is to keep building, keep learning, and never stop asking “What if?”
Ready to start your first build? Grab your soldering iron, fire up the Arduino IDE, and let’s make something amazing.
🔗 Recommended Links
Here are the essential tools and resources to get your robotics journey started:
- Arduino Uno R3 Board: Buy on Amazon
- Elegoo Starter Kit (Great for Beginners): Buy on Amazon
- L298N Motor Driver Module: Buy on Amazon
- HC-SR04 Ultrasonic Sensor: Buy on Amazon
- Servo Motor MG96R: Buy on Amazon
- Book: “Make: Arduino Bots and Gadgets”: Buy on Amazon
- Book: “Programming Arduino: Getting Started with Sketches”: Buy on Amazon
📚 Reference Links
- Arduino Official Documentation: https://www.arduino.cc/
- HowToMechatronics Tutorials: https://howtomechatronics.com/arduino-projects/
- Arduino Forum: https://forum.arduino.cc/
- International Competition Network (Arduino Projects Category): https://www.internationalcompetitionetwork.org/product/category/4959354041910
- Adafruit Learning System: https://learn.adafruit.com/
- SparkFun Tutorials: https://learn.sparkfun.com/
FAQ
What are the best Arduino boards for beginner robotics projects?
For beginners, the Arduino Uno R3 is the undisputed champion. It has enough I/O pins for most simple robots, a massive community for support, and is widely available. If you plan to build a robot with many servos (like a hexapod) or need more memory, upgrade to the Arduino Mega 2560. Avoid the Nano for beginners unless space is a critical constraint, as its small size can make breadboarding difficult.
Read more about “Why Raspberry Pi Pico is Better Than Arduino: The 2026 Verdict 🏆”
How do I connect sensors to Arduino for robot navigation?
Sensors connect via three main methods:
- Digital/Analog Pins: Simple sensors like ultrasonic (HC-SR04) or buttons connect directly to digital or analog pins.
- I2C (Wire): Sensors like IMUs (MPU6050) or OLED screens use the SDA and SCL pins. This allows multiple sensors to share the same two wires.
- SPI: Faster sensors like some GPS modules or SD card readers use MOSI, MISO, SCK, and CS pins.
Always check the sensor’s datasheet for voltage requirements (3.3V vs 5V) and use a logic level shifter if necessary.
Read more about “🤔 Does Raspberry Pi Pico Have WiFi? The Shocking Truth (2026)”
Can Arduino be used to control robotic arms?
Absolutely. Arduino is widely used for robotic arms, from simple 3-DOF arms to complex 6-DOF industrial prototypes. The key is using the right board (Mega for many servos) and libraries like Servo.h or IK for inverse kinematics. For high-precision industrial arms, you might combine Arduino with a Raspberry Pi for vision processing, where the Pi handles the heavy lifting and the Arduino handles the real-time motor control.
Read more about “10 Beginner-Friendly Raspberry Pi Pico Robot Projects (2026) 🤖”
What programming languages work best with Arduino for robotics?
Arduino uses a simplified version of C++. While you don’t need to be a C++ expert, understanding concepts like variables, loops, functions, and classes is essential. The Arduino IDE handles the compilation and uploading. For advanced robotics, you might eventually move to Python (on Raspberry Pi) or C (for bare-metal microcontrollers), but C++ in the Arduino IDE is the perfect starting point.
Read more about “🤖 Can the Pico Run AI? The Ultimate 2026 Robot Guide”
How to power an Arduino-based robot efficiently?
Efficiency is key.
- Separate Power Rails: Use a separate battery for motors and a separate regulator (or the Arduino’s onboard regulator) for the logic.
- Voltage Regulators: If your battery is 12V, use a buck converter to step it down to 5V for the Arduino.
- Capacitors: Add large capacitors (10uF) across the motor power lines to smooth out voltage spikes.
- Battery Type: Li-Ion or LiPo batteries offer the best energy density for mobile robots.
What are common mistakes when coding Arduino for robots?
- Blocking Code: Using
delay()stops the robot from reading sensors. Usemillis()for non-blocking timing. - Ignoring Debouncing: Buttons and switches need debouncing to prevent false triggers.
- Floating Pins: Always set unused pins as inputs with
INPUT_PULLUPor outputs to avoid noise. - Not Checking Return Values: Always check if a sensor read was successful before using the data.
Read more about “🤖 7 Top Languages for Raspberry Pi Pico Robotics (2026)”
How can I integrate Arduino with Raspberry Pi for advanced robotics?
This is the “Brain and Brawn” architecture.
- Raspberry Pi (The Brain): Handles vision, AI, complex decision-making, and Wi-Fi connectivity.
- Arduino (The Brawn): Handles real-time motor control, sensor reading, and safety loops.
- Communication: They talk via Serial (UART), I2C, or SPI. The Pi sends high-level commands (e.g., “Move forward 1 meter”), and the Arduino executes them with precise timing. This setup is perfect for autonomous robots that need to “see” and “think” while moving smoothly.
Read more about “🤖 What Is an Arduino Used For? 15+ Real-World Projects (2026)”